
Easy No Bake Biscoff Cheesecake Cups
I’ll never forget the first time I tried to make these. It was for my friend’s birthday and I was feeling ambitious. I didn’t realize my cream cheese was still cold from the fridge. I ended up with lumpy cheesecake filling and had to serve these weird, chunky cups. Everyone was nice about it but I was so embarrassed. Now I make them all the time and they’re my go-to for any last-minute thing. They’re seriously the easiest no bake dessert and always a hit.
Recipe Card
| Recipe Title | Easy No Bake Biscoff Cheesecake Cups |
|---|---|
| Servings | 6 |
| Prep Time | 20 minutes |
| Cooking Time | 0 minutes (Chill time: 4+ hours) |
| Calories | Approx. 420 per serving |
Ingredients
- 1 cup Biscoff cookie crumbs (about 16 cookies)
- 3 tablespoons melted unsalted butter
- 1 (8 ounce) block full-fat cream cheese, softened
- 1/2 cup powdered sugar
- 1 teaspoon vanilla extract
- 1 cup heavy whipping cream, cold
- Extra Biscoff cookies and cookie butter for topping
That block of cream cheese is the real star here. I once tried to use the low-fat stuff and it just would not whip up right. It stayed soupy and my crusts floated. Full-fat is the only way to go for the right texture. And for the Biscoff crumbs, just smash the cookies in a bag. Don’t be fancy, a rolling pin works great.
Directions
- Make the crust by mixing the Biscoff cookie crumbs and melted butter in a bowl until it looks like wet sand.
- Press about two tablespoons of the crust mixture firmly into the bottom of each cup or jar.
- In a large bowl, beat the softened cream cheese with an electric mixer until it’s completely smooth.
- Add the powdered sugar and vanilla extract to the cream cheese and beat again until well combined.
- In a separate, clean bowl, whip the cold heavy cream until you get stiff peaks.
- Gently fold the whipped cream into the cream cheese mixture until no white streaks remain.
- Divide the cheesecake filling evenly among your cups, on top of the crust.
- Cover the cups and chill them in the fridge for at least 4 hours, but overnight is best.
- Right before serving, top with a dollop of Biscoff cookie butter and a crumbled cookie.
The step where you fold in the whipped cream is where I messed up big time once. I was in a hurry and just mixed it on high speed. It completely deflated my cream and I ended up with a thin, runny mess. You gotta be gentle and fold it by hand with a spatula. It feels like it takes forever, but it’s the secret to that fluffy, cloud-like filling.
Another thing I learned the hard way is the chilling time. I tried to serve these after just two hours once because I was impatient. They were a soupy, delicious failure. The cups were warm from my hands and the whole thing just melted. Now I always make them the night before. It’s one less thing to worry about and they set up perfectly.
I love how these are basically foolproof now that I’ve made every mistake possible. They’re my favorite easy dessert to bring to family gatherings. My cousin always asks me to make them now, which is funny considering my first lumpy batch. They feel fancy but they’re so simple, and there are never any leftovers, which is the best compliment.
Nutrition Info (per serving)
| Calories | Carbs | Fat | Protein |
|---|---|---|---|
| 420 | 35g | 30g | 5g |
Okay, so it’s not a salad. I know the numbers look a little scary, but it’s a dessert! I have tried to make a lighter version using lower-fat dairy, but it just doesn’t set the same way and the flavor isn’t as rich. If you’re watching sugar, you could maybe use a little less powdered sugar, but honestly, I just enjoy these as a treat.
Ingredient Swaps
| Ingredient | Substitution |
|---|---|
| Biscoff Cookies | Graham crackers or gingersnaps |
| Heavy Whipping Cream | Cool Whip (thawed) |
| Biscoff Cookie Butter | Nutella or peanut butter |
I’ve tried all these swaps at some point. Graham crackers are a classic and work great, but you lose that special spiced flavor. Using Cool Whip is actually a decent shortcut if you’re really pressed for time, but I think the texture with real whipped cream is so much better. And swapping in Nutella makes a killer chocolate hazelnut cheesecake, it’s a totally different vibe but just as delicious.
Tips
- Let your cream cheese sit on the counter for a good hour or two. Room temp is non-negotiable for a smooth filling.
- Chill your mixing bowl and beaters in the freezer for 10 minutes before whipping the cream. It whips up so much faster and fluffier.
- Use a glass or a small jar to press down the crust. It gets it really compact and even, way better than using your fingers.
The chilled bowl tip was a game-changer for me. I used to just whip the cream straight from the fridge and it would take forever and sometimes just wouldn’t peak. I’d end up with sad, soft cream. One hot summer day I was so frustrated I stuck the bowl in the freezer out of spite. It worked like a charm and I felt so silly for not trying it sooner.
FAQ
Can I make these ahead of time?
Absolutely, and you should! They’re even better the next day. The flavors have more time to meld and the texture gets perfect. I make them up to 24 hours in advance. Just wait to add the final cookie butter and cookie topping until you’re ready to serve so they don’t get soggy.
Why is my filling runny?
Oh, I’ve been there. It’s usually one of three things: your cream cheese was too cold, you overmixed and deflated the whipped cream, or you didn’t chill them long enough. The fridge is your best friend here. If it’s runny, just pop them back in and pray for a few more hours. They usually recover.
Can I freeze them?
You can, but the texture changes a bit. It becomes more like a frozen ice cream cake, which is still delicious, but not as creamy. If you do freeze them, let them thaw in the fridge for an hour or two before you eat them. I froze a batch once by accident and they were still totally edible, just different.
That’s everything I know about making Easy No Bake Biscoff Cheesecake Cups! Hope you give it a try, and if you mess it up, you’re in good company—I do it all the time.
Easy No Bake Biscoff Cheesecake Cups
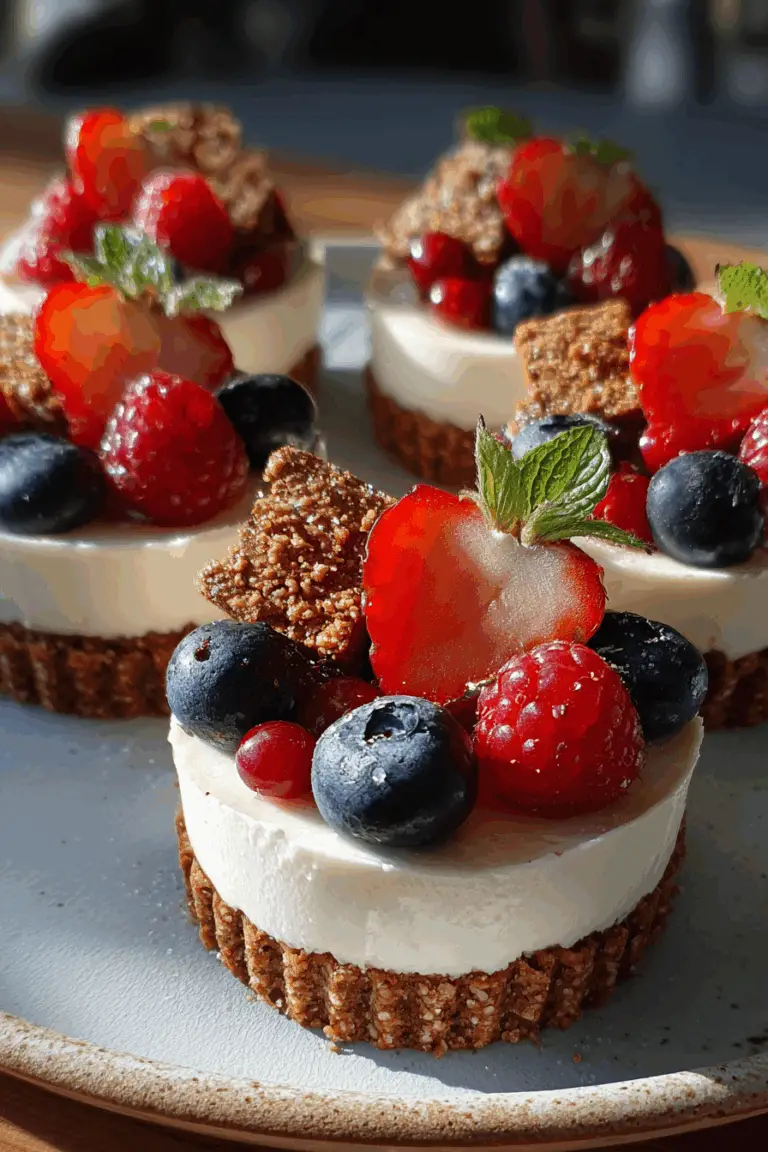
Creamy, no-bake cheesecake cups with a spiced Biscoff cookie crust and fluffy filling, perfect for make-ahead desserts.

Ingredients
- 1 cup Biscoff cookie crumbs (about 16 cookies)
- 3 tablespoons melted unsalted butter
- 1 (8 ounce) block full-fat cream cheese, softened
- 1/2 cup powdered sugar
- 1 teaspoon vanilla extract
- 1 cup heavy whipping cream, cold
- Extra Biscoff cookies and cookie butter for topping
Instructions
-
Make the crust by mixing the Biscoff cookie crumbs and melted butter in a bowl until it resembles wet sand.
-
Press about two tablespoons of the crust mixture firmly into the bottom of each cup or jar.
-
In a large bowl, beat the softened cream cheese with an electric mixer until completely smooth.
-
Add the powdered sugar and vanilla extract to the cream cheese and beat again until well combined.
-
In a separate, clean bowl, whip the cold heavy cream until stiff peaks form.
-
Gently fold the whipped cream into the cream cheese mixture until no white streaks remain.
-
Divide the cheesecake filling evenly among your cups, on top of the crust.
-
Cover the cups and chill them in the refrigerator for at least 4 hours, but overnight is best.
-
Right before serving, top with a dollop of Biscoff cookie butter and a crumbled cookie.
Nutrition (Per Serving)

