

Easy Hot Chocolate Recipe
Oh man, Easy Hot Chocolate. This recipe, it’s not just about chocolate and milk for me, it’s about a specific Christmas Eve a few years back. My oldest, Lily, she was maybe five then, and we’d just gotten home from seeing all the twinkly lights around town. She was shivering a little, nose all red, but her eyes were just sparkling from the magic of it all. She asked, “Mommy, can we have a *real* hot chocolate, like in the movie?”
I usually just grab the powder mix from the pantry, you know? But her little face, full of hope, made me want to actually *make* it. So, I dug out a recipe I’d scribbled on a napkin ages ago. I remember trying to grate chocolate that first time, and it was just a mess—chocolate shards flying everywhere, me giggling like a fool. The first batch was kinda thin, watery even, because I didn’t add enough chocolate, but the next day, after a little tweak, it was perfect. That warm, rich smell filling the kitchen, Lily’s happy sigh with a chocolate mustache, it’s now a tradition, and this Easy Hot Chocolate Recipe holds a special spot in my heart.
Recipe Card
| Recipe Title | Easy Hot Chocolate Recipe |
|---|---|
| Servings | 4 |
| Prep Time | 5 minutes |
| Cooking Time | 8 minutes |
| Calories | 280 |
Ingredients
- 4 cups whole milk
- 1/2 cup good quality cocoa powder (unsweetened)
- 1/2 cup granulated sugar
- 1/4 teaspoon salt
- 1 teaspoon vanilla extract
- 4 ounces (about 113g) dark chocolate, chopped (60-70% cacao works best)
Okay, so let’s talk about these ingredients, because sometimes you think they’re all the same, and then you mess it up and learn the hard way.
First up, **whole milk**. I used to think skim milk was fine, or even almond milk. And sure, you *can* use them, but it just doesn’t get that creamy, rich mouthfeel. One time, I tried making it with skim milk for a “healthier” version, and it tasted like chocolate-flavored water. We still drank it, but it was just… sad. Trust me, whole milk is the way to go for that cozy, indulgent feel.
Next, **good quality unsweetened cocoa powder**. This isn’t where you want to skimp. I once grabbed a super cheap, generic brand, figuring “cocoa is cocoa,” right? Wrong. It was gritty, didn’t dissolve well, and had a kinda flat, almost dusty flavor. The difference a good quality cocoa makes is huge; it’s what gives it that deep, chocolatey base.
Then there’s **granulated sugar**. Simple, right? But don’t go overboard. I’ve definitely had batches where I got a little heavy-handed with the sugar because I wanted it “extra sweet.” It ended up cloyingly sweet, masking the chocolate flavor instead of enhancing it. Start with the recommended amount, then taste and add more if you *really* need it.
A tiny bit of **salt** is magic, I swear. Seriously, don’t skip this. I forgot it once and thought, “Oh, it’s just a pinch, what difference could it make?” But it *does* make a difference. It doesn’t make it salty, it just brings out all the other flavors, especially the chocolate, making it taste richer and more complex. It’s like a secret weapon.
**Vanilla extract** is another one of those things that seems small but packs a punch. I ran out once and decided to just skip it. Big mistake. It just wasn’t as warm or inviting. That little splash of vanilla adds depth and a subtle sweetness that rounds everything out beautifully. Don’t add it too early, though, or the heat can cook off some of its flavor.
And finally, the star of the show: **dark chocolate, chopped**. This is where the real richness comes from. I used to just use chocolate chips, thinking it’d be easier, but chips often have stabilizers that make them melt a bit differently, sometimes leading to a less smooth finish. Chopping a good quality bar, like a 60-70% cacao, makes it melt faster and gives a much smoother, more luxurious texture. One time, I tried using milk chocolate, and it was just too sweet and kinda flat; the dark chocolate is key for that grown-up, deep flavor.
Directions
- In a medium saucepan, whisk together the cocoa powder, sugar, and salt.
- Gradually whisk in about 1 cup of the whole milk until a smooth paste forms. This helps prevent lumps.
- Add the remaining 3 cups of milk to the saucepan and place over medium heat.
- Heat, stirring occasionally, until the mixture is hot and just starting to steam, but not boiling.
- Remove from heat and stir in the chopped dark chocolate and vanilla extract until completely melted and smooth.
- Taste and adjust sweetness if desired. Serve immediately with your favorite toppings.
Alright, so the directions look pretty straightforward, right? And they mostly are, but I’ve definitely messed up a step or two along the way. The biggest one for me, and one I see other folks do, is getting impatient in step 4. I can’t tell you how many times I’ve cranked the heat up to “medium-high” or even “high” because I wanted that hot chocolate *now*.
What happens then? Well, the milk either scalds and gets a weird film on top, or it boils over and makes a huge, sticky mess on the stove that is just a nightmare to clean. And trust me, that burnt milk smell? It lingers. Now, I always make sure to keep it on a gentle medium heat, stirring occasionally, and as soon as I see those tiny bubbles forming around the edge and a little steam rising, I pull it off. You want it hot, not boiling and definitely not scorched. Patience is truly a virtue when it comes to good hot chocolate. It’s worth the extra couple of minutes, I promise.
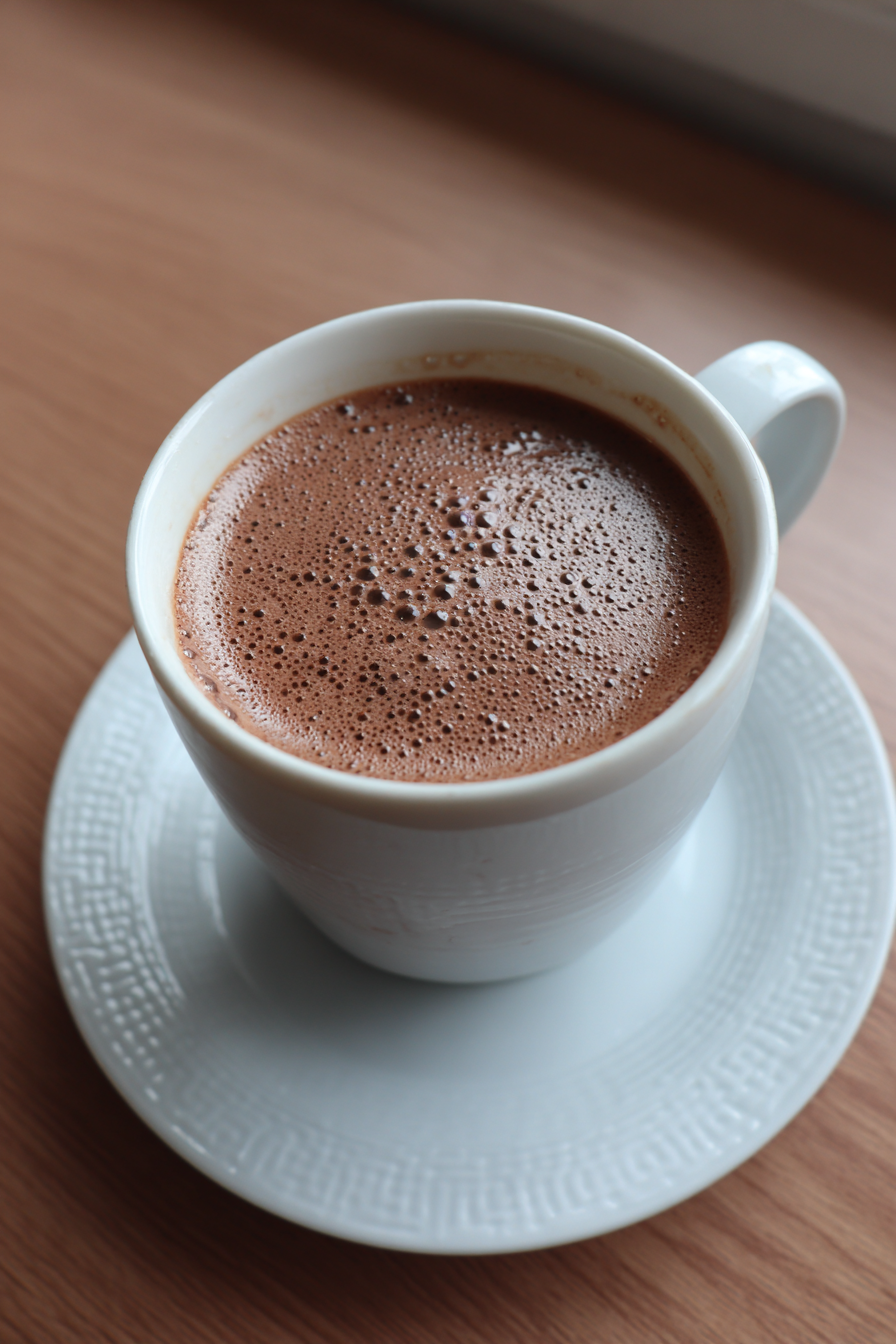
Okay, let’s get real about this hot chocolate. It’s more than just a drink; it’s a hug in a mug, especially when it’s cold outside. This Easy Hot Chocolate Recipe is my go-to comfort food. It’s something I whip up for the kids when they come in from playing in the snow, or for myself when I just need a moment of peace after a long day. It’s surprisingly quick to make, so it fits right into those busy weeknights when you need a little treat but don’t have much time.
I love how forgiving it is, too. Even if I don’t have exactly 4 ounces of dark chocolate, a little more or less works out fine. It’s a true family favorite, and the best part is that it often makes a little extra, which is amazing for “leftovers.” Just pop it in the fridge, and you can gently reheat it the next day for another cozy moment. It’s not really a one-pot situation if you count the whisk, but it’s close enough that cleanup isn’t a huge chore. I’m always thinking about what I’d change next time, maybe a dash of cinnamon or a bit of chili powder for an interesting kick, but for classic perfection, this recipe is solid.
Nutrition Info (per serving)
| Calories | Carbs | Fat | Protein |
|---|---|---|---|
| 280 | 40g | 18g | 8g |
Yeah, those numbers don’t exactly scream “diet food,” do they? Honestly, it doesn’t surprise me too much, especially with whole milk, sugar, and dark chocolate in there. It’s definitely an indulgence! I’ve tried to make it lighter sometimes, swapping to skim milk or cutting back on sugar, but it just doesn’t hit the same. If you’re really watching your calories or fat, you could try using a lower-fat milk and maybe a sugar substitute, but the richness will definitely change. For folks with special diets, like dairy-free, a good oat milk or full-fat coconut milk (the kind in the carton, not the can) can work, and just make sure your chocolate is dairy-free too. It won’t be exactly the same, but it can still be pretty good!
Ingredient Swaps
| Ingredient | Substitution |
|---|---|
| Whole Milk | 2% milk, oat milk, almond milk, full-fat coconut milk (from carton) |
| Granulated Sugar | Maple syrup, honey, coconut sugar, stevia (to taste) |
| Dark Chocolate | Milk chocolate (for sweeter), bittersweet chocolate (for richer), chocolate chips (for convenience) |
| Vanilla Extract | Almond extract (use sparingly), dash of cinnamon |
So, these swaps? Some of ’em work pretty well, and some are just… nope. For milk, 2% milk is totally fine, it just won’t be *as* creamy as whole milk. Oat milk is actually my favorite dairy-free swap; it keeps a nice body and neutral flavor. Almond milk can be a bit thin, and if you use full-fat coconut milk from a carton, it’s decent, but the coconut flavor *will* peek through. I once tried rice milk, and it was just like brown water, super thin and unsatisfying.
As for sugar, maple syrup or honey can be great for a different flavor profile, but they’re liquids, so they can affect the final consistency a tiny bit. Coconut sugar works pretty well as a 1:1 swap and adds a slight caramel note. I tried stevia once to make it “sugar-free,” and it ended up with that weird artificial aftertaste that I just can’t stand. When it comes to chocolate, using milk chocolate makes it way sweeter, almost like a Hershey’s syrup vibe, which some people love but it’s not my preference. Bittersweet chocolate makes it super intense and less sweet, which is awesome if you’re a dark chocolate fanatic. Chocolate chips are convenient, but sometimes they don’t melt as smoothly as chopped bar chocolate. And vanilla? A tiny bit of cinnamon is nice, but almond extract can easily overpower everything, so use like half the amount and taste carefully!
Tips
- **Whisk cocoa, sugar, and salt into a paste first:** This prevents lumps and ensures a smooth hot chocolate.
- **Don’t boil the milk:** Gentle heat is key. Boiling can scald the milk, making it taste burnt and creating a skin.
- **Add vanilla and chocolate off the heat:** High heat can diminish vanilla’s flavor and cause chocolate to seize or burn.
- **Use good quality ingredients:** Especially for cocoa and chocolate; it makes a huge difference in flavor.
- **Taste and adjust:** Everyone’s sweetness preference is different. Taste before serving and add more sugar if needed.
Okay, so these tips, they’re not just theoretical for me; they’re born from a lot of trial and error, mostly error! The one about whisking the cocoa into a paste first? Oh man, I learned that the hard way. I used to just dump all the dry ingredients into the milk and start heating. And you know what you get? Lumps. Just awful, dry pockets of cocoa powder that never fully dissolve, floating around in your otherwise delicious drink. It’s like finding little islands of disappointment.
I remember once I was making hot chocolate for a bunch of kids after a sledding party, and I was in a rush. I skipped the paste step, and the result was a big pot of lumpy, uneven hot chocolate. The kids, bless their hearts, still drank it, but I felt like such a hot chocolate failure. Now, I always take the extra minute to make that paste; it truly creates a silky, smooth base. It’s one of those little steps that seems minor but makes a world of difference. I wish someone had drilled that into my head earlier, instead of me having to discover it through countless lumpy batches!
FAQ
**Q: My hot chocolate isn’t very rich. What am I doing wrong?**
A: Oh, I’ve been there! A common culprit is not enough chocolate, or using a lower-fat milk. Make sure you’re using whole milk, and don’t skimp on the good quality dark chocolate. Sometimes I even add an extra ounce of chocolate if I’m feeling really indulgent. Also, make sure your cocoa powder is fresh; old cocoa can lose some of its punch.
**Q: Why does my hot chocolate have a weird film on top?**
A: That’s usually from boiling the milk or heating it too high, too fast. Milk can easily scald or form a skin if it gets too hot. Keep the heat on medium, stir occasionally, and take it off the stove as soon as you see steam and tiny bubbles around the edges, before it even thinks about boiling. If it happens, you can usually just skim it off, but it’s better to prevent it!
**Q: Can I make a big batch of this ahead of time?**
A: Absolutely! This is great for making ahead. I usually make a double batch if we have friends over or for the holidays. Just let it cool completely, then store it in an airtight container in the fridge for up to 3-4 days. When you want to reheat it, do it gently on the stove over low-medium heat, stirring frequently, or in the microwave in short bursts. Don’t let it boil again!
**Q: My hot chocolate tastes a little bitter. How can I fix that?**
A: If it’s bitter, you might have used a chocolate with a very high cacao percentage (like 80% or 90%), or perhaps your cocoa powder is just naturally more robust. Try adding a little more sugar, a tiny pinch at a time, until it balances out the bitterness. Sometimes, a dash more vanilla can also mellow it out nicely without making it overly sweet. Taste as you go!
**Q: What are your favorite toppings for this hot chocolate?**
A: Oh, the toppings are half the fun! Classic marshmallows are a must, especially the big fluffy ones that melt slowly. A dollop of fresh whipped cream is heavenly. I also love a sprinkle of cinnamon, a tiny dash of nutmeg, or even some chocolate shavings on top. For a little extra something, a drizzle of caramel sauce or a peppermint stick during the holidays is just divine. Don’t be afraid to experiment!
That’s everything I know about making Easy Hot Chocolate Recipe! Hope you give it a try. And if you mess it up, you’re in good company—I still do it sometimes.
Easy Hot Chocolate Recipe
Experience the cozy magic of a rich, creamy homemade hot chocolate that’s surprisingly easy to make. This beloved recipe, born from a cherished family tradition, offers deep chocolate flavor perfect for chilly evenings.
Ingredients
- 4 cups whole milk
- 1/2 cup good quality cocoa powder (unsweetened)
- 1/2 cup granulated sugar
- 1/4 teaspoon salt
- 1 teaspoon vanilla extract
- 4 ounces (about 113g) dark chocolate, chopped (60-70% cacao works best)
Instructions
-
In a medium saucepan, whisk together the cocoa powder, sugar, and salt.
-
Gradually whisk in about 1 cup of the whole milk until a smooth paste forms. This helps prevent lumps.
-
Add the remaining 3 cups of milk to the saucepan and place over medium heat.
-
Heat, stirring occasionally, until the mixture is hot and just starting to steam, but not boiling.
-
Remove from heat and stir in the chopped dark chocolate and vanilla extract until completely melted and smooth.
-
Taste and adjust sweetness if desired. Serve immediately with your favorite toppings.
Nutrition (Per Serving)

