

Easy Apple Pie Recipe
Oh man, apple pie. It’s funny, the first time I ever really tried to bake one from scratch, I was maybe 10 or 11. My grandma was this baking wizard, you know? She’d make it look so easy. I decided I was going to surprise her, so I snuck into the kitchen with her recipe card that just said “Easy Apple Pie Recipe” on it. Of course, “easy” to Grandma meant “you know how to make pie crust already and have an innate sense for how many apples to use.”
My first attempt was… well, a disaster. I used way too much flour in the filling, so it came out like apple concrete. And the crust? Oh, the crust! It was so tough, you could have used it as a frisbee. Grandma just smiled, said it was “rustic,” and helped me make another one, teaching me all her little tricks along the way. That’s why this recipe is so special to me—it’s got all her wisdom, but written down in a way even my 10-year-old self could follow. I’ve tweaked it a bit over the years, making it truly foolproof, even for the most ambitious amateur baker.
Recipe Card
| Recipe Title | Easy Apple Pie Recipe |
|---|---|
| Servings | 8 |
| Prep Time | 30 minutes |
| Cooking Time | 50-60 minutes |
| Calories | ~450 per slice (estimated) |
You know, making this apple pie always brings back those memories. It’s such a comfort food for my family, especially when the weather gets a little chilly. We usually make it for holidays, but honestly, any Sunday is a good excuse to whip one up. The smell alone is enough to make everyone happy.
I’ve messed this recipe up in so many creative ways over the years – burnt edges, undercooked apples, soggy bottoms – you name it. But every single time, it was still eaten, even if it wasn’t perfect. That’s the beauty of home cooking, right? It doesn’t have to be magazine-perfect to be delicious and full of love. My kids absolutely devour it, and it always tastes better the next day, which is a big win for leftovers.
One time I even tried to make it “healthy” with whole wheat crust and less sugar. It was… fine. But honestly, some things are just meant to be enjoyed as they are. My biggest advice is just to embrace the butter and sugar, and enjoy the process. There’s really no healthy swap for pure apple pie joy.
Ingredients
- 2 store-bought pie crusts (or your favorite homemade recipe)
- 6-8 medium baking apples (like Granny Smith, Honeycrisp, or a mix)
- 1/2 cup granulated sugar (adjust to your apples’ sweetness)
- 1/4 cup packed light brown sugar
- 1/4 cup all-purpose flour
- 1 teaspoon ground cinnamon
- 1/4 teaspoon ground nutmeg
- Pinch of ground cloves (optional, but I love it!)
- 1 tablespoon lemon juice
- 2 tablespoons unsalted butter, cut into small pieces
- 1 large egg, whisked (for egg wash)
- 1 tablespoon coarse sugar (for sprinkling, optional)
Okay, the pie crusts. Look, I’m a home cook, not a pastry chef. Store-bought is totally fine, and it’s what makes this an “easy” recipe! I tried homemade once, and it shrunk so much in the oven, my pie looked like it was wearing high-water pants. Never again, unless I have a whole afternoon to fuss with it.
Apples are super important. Don’t skimp! Granny Smith gives that nice tartness, but I love mixing in something sweeter like Honeycrisp for balance. One time I used only Red Delicious because that’s all I had, and they turned to mush. Live and learn, right?
Sugar is where you can play a bit. If your apples are super sweet, dial back the granulated sugar a touch. I once added a whole extra cup of sugar thinking “more is more” and it was like eating a sugar cube with a hint of apple. Not good. Balance is key here.
The flour is your thickening agent. It helps absorb the apple juices so you don’t end up with a watery pie. I used to forget it sometimes, and the pie would be soupy. Delicious soup, but not a pie slice.
Cinnamon and nutmeg are non-negotiable for me. That pinch of cloves? Trust me, it adds something special. It’s my grandma’s secret touch. Just don’t get carried away, a pinch is all you need, otherwise it tastes like a Christmas candle.
Lemon juice is magic. It brightens the flavor and stops your apples from turning brown while you’re prepping. Once I skipped it, and the apples looked so unappetizing by the time they went into the oven. Even though they tasted fine, first impressions matter, ya know?
Butter pieces melt into the filling, adding richness and a little bit of lusciousness. Don’t skip it. It’s a pie, not a diet food. These little bits of fat make all the difference in the final texture of the filling.
The egg wash is what gives your crust that beautiful golden-brown shine. And the coarse sugar? It adds a lovely crunch and sparkle. It just makes it look so professional, even if it feels like you just threw it together.
Directions
- Preheat your oven to 400°F (200°C).
- On a lightly floured surface, unroll one pie crust and carefully place it into a 9-inch pie plate. Trim the edges, leaving a small overhang. Chill in the fridge while you prepare the filling.
- Peel, core, and slice your apples into 1/4-inch thick pieces.
- In a large bowl, toss the sliced apples with granulated sugar, brown sugar, flour, cinnamon, nutmeg, cloves (if using), and lemon juice until the apples are evenly coated.
- Pour the apple mixture into the chilled pie crust, mounding them slightly in the center. Dot the top with the small pieces of butter.
- Unroll the second pie crust and place it over the apples. Trim and crimp the edges together with the bottom crust to seal. Cut several slits in the top crust for steam to escape.
- Brush the top crust with the whisked egg and sprinkle with coarse sugar, if desired.
- Place the pie on a baking sheet (to catch any drips!) and bake for 15 minutes at 400°F (200°C).
- Reduce the oven temperature to 375°F (190°C) and continue baking for another 35-45 minutes, or until the crust is golden brown and the filling is bubbling. If the crust starts browning too quickly, loosely cover the edges with aluminum foil.
- Remove from oven and let cool on a wire rack for at least 2-3 hours before slicing. This is the hardest part, I swear!
Let’s talk about pie assembly for a second, because this is where I’ve had some epic fails. That whole “mounding the apples” thing? Yeah, I used to just dump them in flat, and then the top crust would sink and make a big weird crater. Mounding them helps keep that nice dome shape. And the slitting the top crust part is super important. Once, I forgot to do it, and the steam had nowhere to go. My top crust puffed up like a balloon and almost exploded. It was both hilarious and a little tragic.
Nutrition Info (per serving)
| Calories | Carbs | Fat | Protein |
|---|---|---|---|
| 450 | 65g | 20g | 4g |
Honestly, the nutrition info on a slice of apple pie usually surprises me a little, but in a good way sometimes, and in a “oops, maybe I should only have one slice” way other times. I’ve definitely tried to make it lighter by reducing the butter or sugar, but it just doesn’t have that same comforting taste. For special diets, I haven’t really found a good substitute for the crust or the full sugar content without it becoming a completely different dessert. Maybe gluten-free crust, but I haven’t tried it myself. If you’re gonna have pie, have pie, I say!
Ingredient Swaps
| Ingredient | Substitution |
|---|---|
| Granny Smith apples | Braeburn, Gala, or a mix of sweet and tart apples |
| Granulated sugar | Maple syrup (reduce liquid elsewhere), coconut sugar (might change flavor slightly) |
| All-purpose flour | Cornstarch (use half the amount) or tapioca starch (use same amount) for gluten-free |
| Unsalted butter | Vegan butter (ensure it’s baking-friendly) |
So, about these swaps. I’ve tried a few. Swapping apple types usually works out great, a mix is actually my favorite. I tried maple syrup instead of sugar once, and while it tasted okay, the filling was a little too runny because of the extra liquid. If you do that, you might need a tiny bit more flour. Cornstarch for flour works, but just remember it’s a stronger thickener, so you use less. The biggest fail for me was trying a “healthy” pre-made crust – it fell apart and tasted like cardboard. Some things are just better left alone!
Tips
- **Chill your bottom crust:** Pop that pie plate with the crust in the fridge while you do the filling. It helps prevent a soggy bottom and keeps the crust from shrinking too much.
- **Don’t skimp on apples:** You want a tall, proud pie. Apples cook down a lot, so fill it high!
- **Let it cool completely:** This is probably the hardest tip to follow. If you cut into it too early, the filling will just ooze out. Give it at least 2-3 hours to set up. Seriously, step away from the pie.
- **Tenting with foil:** If your crust is browning too fast, especially the edges, just loosely cover the whole pie with foil, or make a little foil ring for the edges. It saves the crust from burning while the apples finish cooking.
That “chill your bottom crust” tip? Oh, I learned that the hard way. I used to just put the crust in and immediately fill it, and it inevitably led to a sad, soggy bottom. There’s nothing worse than cutting into a beautiful pie only to find a mushy crust underneath. That first time, I was so proud of my golden top, only to be utterly disappointed when I served it up. Now, I swear by a good chill; it’s a little extra time, but it makes all the difference.
FAQ
Q: My pie crust is getting too dark too fast, what do I do?
A: This happens to me all the time! Just grab some aluminum foil and lightly tent it over the whole pie. Or, if it’s just the edges, you can tear off strips of foil and make a little ring to cover the edges only. It’ll protect the crust from burning while the inside finishes baking. Don’t worry, it’s super common!
Q: How do I know when the apples are cooked through?
A: The best way is to look for the filling to be actively bubbling up through the slits in the top crust. Also, if you stick a thin knife or skewer through one of the slits, the apples should feel tender. If they still feel hard, give it another 5-10 minutes. I once undercooked apples and they were just crunchy, not soft and sweet. Lesson learned!
Q: Can I make this pie ahead of time?
A: Absolutely! Apple pie is actually one of those things that often tastes even better the next day. You can bake it completely, let it cool, and then cover it loosely with foil or plastic wrap. It’ll be great at room temperature for a day or two, or you can pop it in the fridge for up to 4-5 days. It reheats beautifully in a low oven if you want it warm again.
Q: My pie has a “soggy bottom,” what went wrong?
A: Oh, the dreaded soggy bottom! There are a few culprits. You might not have baked it long enough, or the oven wasn’t hot enough initially. Make sure your oven is fully preheated before the pie goes in. Also, chilling your bottom crust before adding the filling helps a lot. And sometimes, it’s just super juicy apples! A little extra flour in the filling can help too, but don’t overdo it. Baking on a hot baking sheet can sometimes help crisp up the bottom too.
That’s everything I know about making Easy Apple Pie Recipe! Hope you give it a try. And if you mess it up, you’re in good company—I still do it sometimes.
Easy Apple Pie Recipe
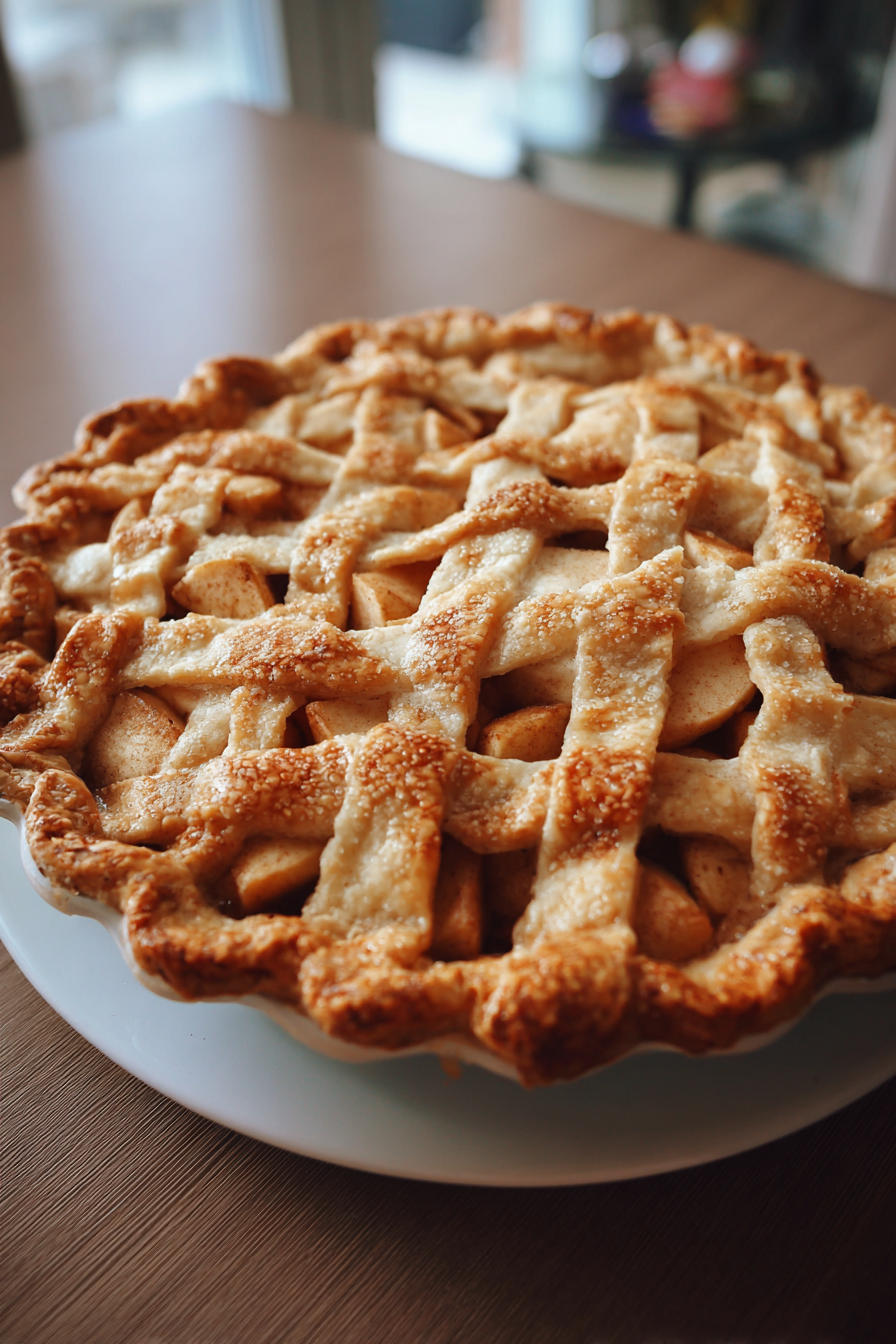
A cherished family recipe made truly foolproof, this easy apple pie delivers a comforting, classic dessert perfect for any occasion. Even ambitious amateur bakers can achieve a golden crust and perfectly spiced, tender apple filling with this simple guide.
Ingredients
- 2 store-bought pie crusts (or your favorite homemade recipe)
- 6-8 medium baking apples (like Granny Smith, Honeycrisp, or a mix)
- 1/2 cup granulated sugar (adjust to your apples’ sweetness)
- 1/4 cup packed light brown sugar
- 1/4 cup all-purpose flour
- 1 teaspoon ground cinnamon
- 1/4 teaspoon ground nutmeg
- Pinch of ground cloves (optional)
- 1 tablespoon lemon juice
- 2 tablespoons unsalted butter, cut into small pieces
- 1 large egg, whisked (for egg wash)
- 1 tablespoon coarse sugar (for sprinkling, optional)
Instructions
-
Preheat your oven to 400°F (200°C).
-
On a lightly floured surface, unroll one pie crust and carefully place it into a 9-inch pie plate. Trim the edges, leaving a small overhang. Chill in the fridge while you prepare the filling.
-
Peel, core, and slice your apples into 1/4-inch thick pieces.
-
In a large bowl, toss the sliced apples with granulated sugar, brown sugar, flour, cinnamon, nutmeg, cloves (if using), and lemon juice until the apples are evenly coated.
-
Pour the apple mixture into the chilled pie crust, mounding them slightly in the center. Dot the top with the small pieces of butter.
-
Unroll the second pie crust and place it over the apples. Trim and crimp the edges together with the bottom crust to seal. Cut several slits in the top crust for steam to escape.
-
Brush the top crust with the whisked egg and sprinkle with coarse sugar, if desired.
-
Place the pie on a baking sheet (to catch any drips!) and bake for 15 minutes at 400°F (200°C).
-
Reduce the oven temperature to 375°F (190°C) and continue baking for another 35-45 minutes, or until the crust is golden brown and the filling is bubbling. If the crust starts browning too quickly, loosely cover the edges with aluminum foil.
-
Remove from oven and let cool on a wire rack for at least 2-3 hours before slicing.
Nutrition (Per Serving)

