Easy Pierogi Recipe for Homemade Dumplings
My first attempt at an Easy Pierogi Recipe for Homemade Dumplings was an absolute disaster. I was so confident, I invited my whole family over. The dough ended up so tough, my grandma said they looked like little hockey pucks. I was so embarrassed, but it just made me determined to get it right. Now, after many, many tries, it’s my favorite thing to make on a lazy Sunday. It’s not about being perfect, it’s about the fun of making them.
Recipe Card
| Recipe Title | Easy Pierogi Recipe for Homemade Dumplings |
|---|---|
| Servings | About 4 dozen pierogi |
| Prep Time | 1 hour 30 minutes |
| Cooking Time | 5 minutes per batch |
| Calories | Approx. 45-50 per pierogi |
Ingredients
- For the Dough: 2 cups all-purpose flour, plus more for dusting
- 1/2 teaspoon salt
- 1 large egg
- 1/2 cup sour cream
- 1/4 cup butter, softened
- For the Filling: 2 large russet potatoes, peeled and cubed
- 1 cup sharp cheddar cheese, shredded
- 1/4 cup butter
- 1/2 teaspoon onion powder
- Salt and pepper to taste
- For Serving: More butter, caramelized onions, sour cream, bacon bits
The first time I made the dough, I used cold butter straight from the fridge. Big mistake. It never incorporated right and left weird greasy spots. Letting your butter soften first is a total game-changer. And for the filling, don’t skip the onion powder. It adds that deep flavor without you having to cook down onions, which I always seem to burn.
Directions
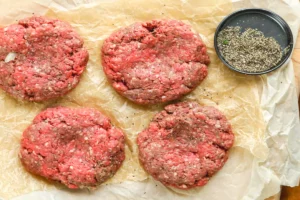
- First, make the filling. Boil the potatoes until super tender, about 15 minutes.
- Drain the potatoes really well and mash them with the 1/4 cup butter, cheese, and seasonings. Let this cool completely. I mean it, cold!
- Now for the dough. In a big bowl, mix the flour and salt.
- In another bowl, beat the egg, then mix in the sour cream and softened butter.
- Pour the wet mix into the flour and stir until a shaggy dough forms.
- Dump it onto a floured surface and knead for 3-4 minutes until it’s smooth and elastic.
- Wrap the dough in plastic and let it rest on the counter for 30 minutes.
- Divide the dough into two balls. Roll one ball out until it’s about 1/8-inch thick.
- Use a glass or a round cutter to cut out 3-inch circles.
- Place a small spoonful of the cold filling in the center of each circle.
- Fold the dough over to make a half-moon, press the edges to seal, then crimp with a fork.
- Get a big pot of salted water boiling. Gently drop in a few pierogi at a time.
- They’re done when they float to the top, about 3-4 minutes. Scoop them out with a slotted spoon.
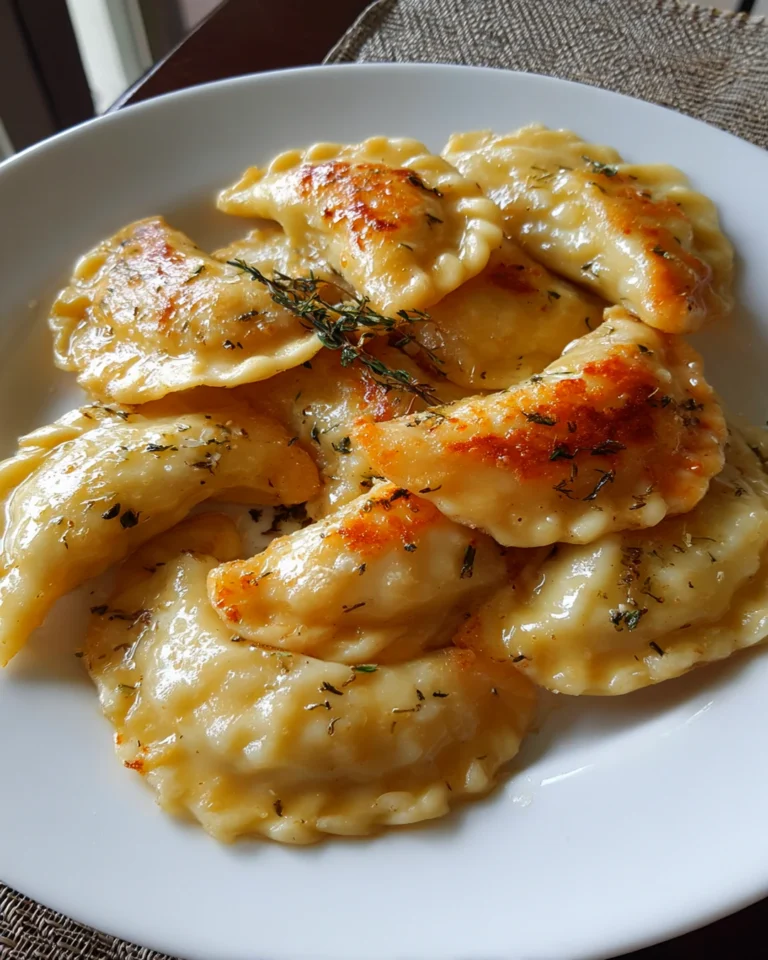
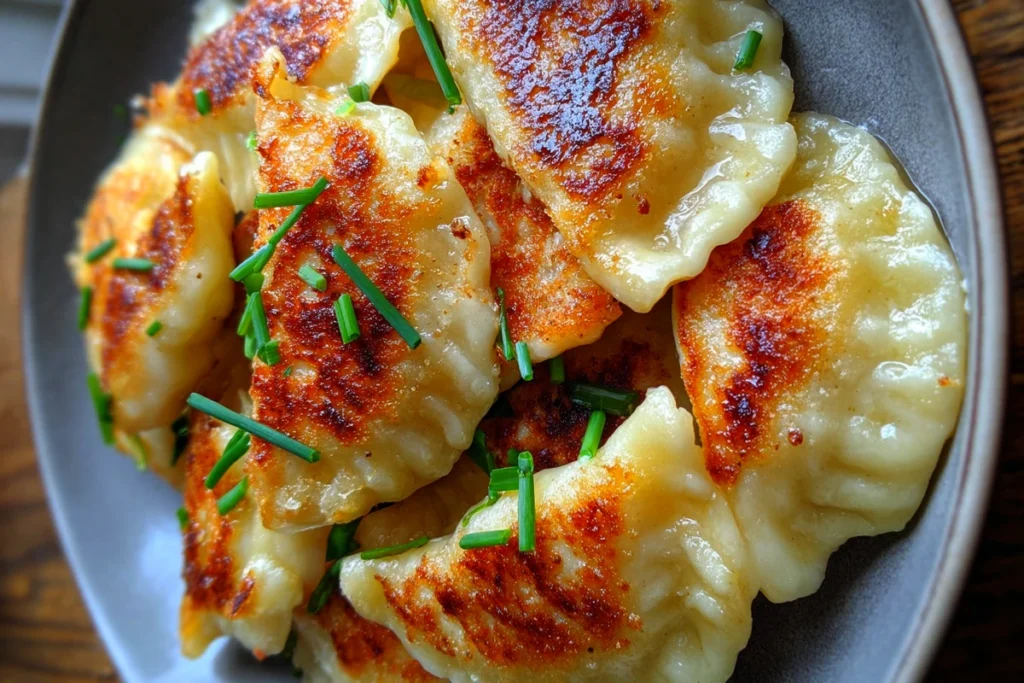
- You can eat them soft like this, or pan-fry them in butter until crispy and golden brown.
The biggest lesson I learned the hard way was not letting the filling cool. I was impatient and used warm filling once. The steam made the dough so wet and sticky, every single pierogi burst open in the water. It was a total potato soup situation. Now I always make the filling first and pop it in the fridge while I make the dough.
Rolling the dough thin enough is another tricky part. My first batch was way too thick. We ended up with mostly dough bombs with a tiny bit of filling inside. You really have to go for it and get it nice and thin, almost see-through. It feels wrong, but it’s so right.
And don’t overcrowd the pot! I got excited and dumped a dozen in at once. The water temperature dropped, they all stuck together, and I had one giant, bizarre pierogi blob. Cook them in small batches for the best results, even if it takes a little longer.
This Easy Pierogi Recipe for Homemade Dumplings has become my go-to comfort food for a reason. It’s a project, for sure, but it’s the best kind. I love putting on some music and just getting into the rhythm of filling and folding. They freeze incredibly well, so I always make a double batch. Having a bag of homemade pierogi in the freezer feels like having a secret weapon for an easy dinner. My family goes nuts for them, especially my nephew who will eat a truly alarming number in one sitting. They reheat perfectly in a skillet with a little butter, making the leftovers sometimes even better than the first night.
Nutrition Info (per serving)
| Calories | Carbs | Fat | Protein |
|---|---|---|---|
| ~50 | ~6g | ~2g | ~1.5g |
Okay, so these aren’t exactly a health food, but hey, it’s comfort food! The nutrition can vary a lot based on how much butter you fry them in at the end. I’ve tried lighter swaps, like using Greek yogurt instead of sour cream in the dough, and it works pretty well. For a healthier twist, you could try a sweet potato filling or add some spinach to the potato mix.
Ingredient Swaps
| Ingredient | Substitution |
|---|---|
| Sour Cream (in dough) | Plain Greek Yogurt |
| Cheddar Cheese | Farmer’s Cheese, Ricotta, or Goat Cheese |
| Potato Filling | Sauerkraut & Mushroom, Sweet Potato, or Berry |
I’ve tried a bunch of these swaps. Greek yogurt works great in the dough, no problem. Farmer’s cheese is the classic filling and is delicious, but it can be hard to find. My sauerkraut and mushroom attempt was… not great. I didn’t squeeze the sauerkraut enough and the filling was way too wet. Learned that lesson the messy way!
Tips
- Keep your filling COLD. This is the number one rule to prevent blowouts.
- Don’t skip the dough rest. It relaxes the gluten and makes it so much easier to roll out.
- Use a floured surface and keep your dough circles covered with a towel so they don’t dry out.
- When sealing, make sure there’s no filling on the edges. A clean edge is a sealed edge.
- After boiling, spread them on a baking sheet so they don’t stick together before you fry them.
I cannot stress the cold filling tip enough. I already told you about my pierogi soup disaster. The dough rest tip I learned after my arms were sore from trying to roll out a super tough, elastic dough that just kept snapping back. Letting it rest makes it so much more cooperative, I promise.
FAQ
Can I make these ahead of time?
Absolutely! You can assemble them and keep them in a single layer on a floured baking sheet in the fridge for a few hours before cooking. Or, freeze them solid on the sheet pan first, then toss them all in a bag. Boil them straight from frozen, just add a minute or two to the cooking time.
Why did my pierogi fall apart in the water?
Oh man, I feel this. It’s usually one of two things: the filling was too warm or wet, or the edges weren’t sealed properly. Make sure your filling is cool and thick, not runny. And when you press the edges, really go for it. A fork crimp adds an extra layer of security.
What’s the best way to reheat leftovers?
The skillet, 100%. Just melt a little butter in a pan over medium heat and fry them up until they’re warm and crispy again. The microwave will make them soft and kinda gummy, which is fine in a pinch, but pan-frying is the way to go.
That’s everything I know about making Easy Pierogi Recipe for Homemade Dumplings! Hope you give it a try, and if you mess it up, you’re in good company—I do it all the time.