
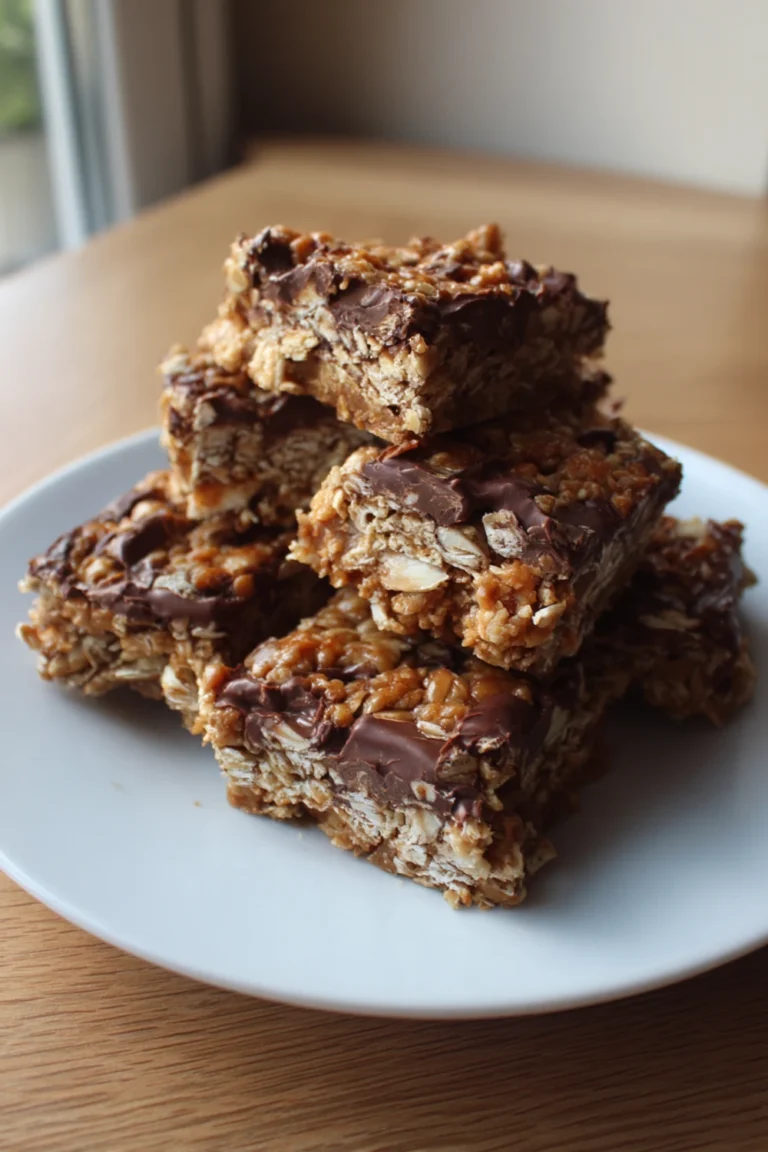
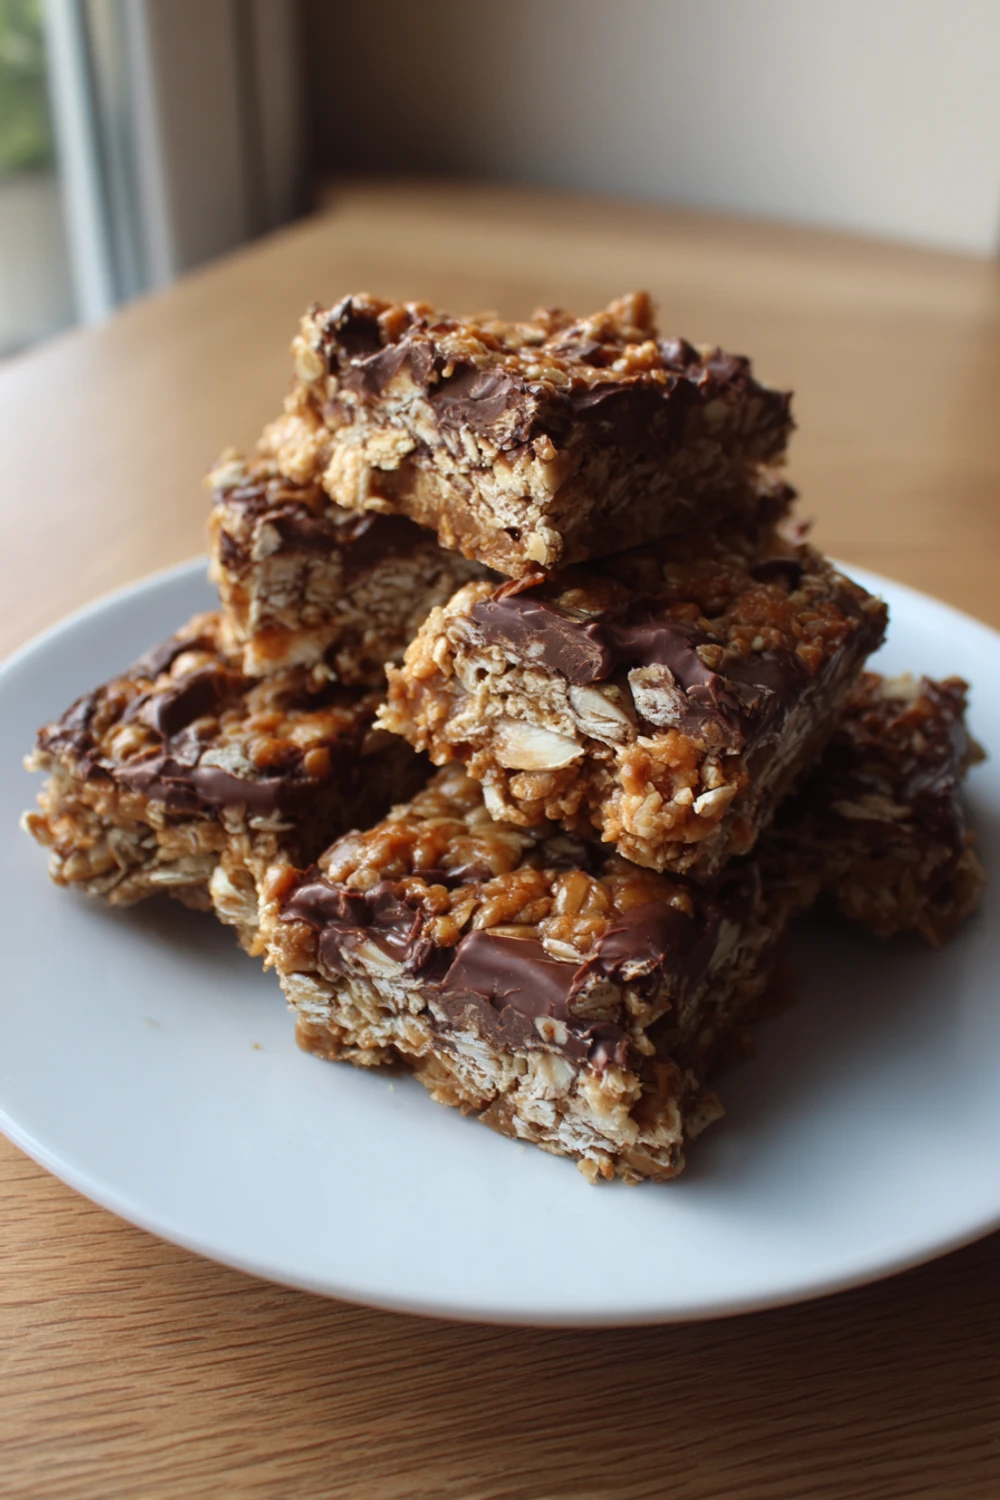
Chocolate Peanut Butter Oat Bars Recipe
I’ll never forget the first time I tried to make these Chocolate Peanut Butter Oat Bars. I was so excited I skipped reading the whole recipe first, my classic mistake. I melted the chocolate layer and just dumped it on top of the oat base, which was still warm. Let’s just say I ended up with a delicious but soupy, un-cuttable mess in a pan. My friends still call it my “chocolate peanut butter soup” incident. But that’s why I love this recipe now—it’s forgiving, and even the fails taste pretty good.
Recipe Card
| Recipe Title | Chocolate Peanut Butter Oat Bars Recipe |
|---|---|
| Servings | 16 bars |
| Prep Time | 15 minutes |
| Cooking Time | 0 minutes (just chilling time) |
| Calories | About 320 per bar |
Ingredients
- 1 cup creamy peanut butter
- 1/2 cup honey
- 1/2 cup unsalted butter
- 1 teaspoon vanilla extract
- 3 cups old-fashioned rolled oats
- 1/4 teaspoon salt
- 1 cup semi-sweet chocolate chips
- 1/2 cup creamy peanut butter (for topping)
The peanut butter is key—I once used a natural kind that separates and it made the base way too oily. Stick with the regular, creamy stuff for the right texture. And for the love of all that is good, do not forget the salt. I did once and the whole batch tasted weirdly flat and sweet. It’s a small thing that makes a huge difference.
Directions
- Line an 8×8 or 9×9 inch baking pan with parchment paper, leaving some overhang on the sides.
- In a medium saucepan, combine the 1 cup peanut butter, honey, and butter. Heat over medium-low, stirring constantly, until everything is melted and smooth.
- Remove the saucepan from the heat and stir in the vanilla extract and salt.
- Add the rolled oats to the saucepan and stir until every oat is thoroughly coated.
- Press about two-thirds of this oat mixture firmly into the bottom of your prepared pan. Really pack it down!
- In a separate, microwave-safe bowl, combine the chocolate chips and the remaining 1/2 cup of peanut butter. Heat in 30-second bursts, stirring each time, until smooth.
- Pour the chocolate peanut butter mixture over the pressed oat base and spread it into an even layer.
- Crumble the remaining oat mixture evenly over the top of the chocolate layer.
- Refrigerate for at least 3 hours, or until completely firm.
- Use the parchment paper to lift the whole block out of the pan. Place it on a cutting board and slice into bars.
The biggest lesson I learned the hard way is in step 5. You have to press that base down HARD. I didn’t once, I just kind of patted it, and when I went to cut the bars, the base completely crumbled apart from the top layers. It was a delicious granola, but not a bar. Now I use the bottom of a heavy glass or a measuring cup to really compact it.
Another time, I was impatient and only chilled the bars for an hour. I went to cut them and my knife just dragged through melted chocolate, making a huge mess. The waiting is the hardest part, but it’s non-negotiable. Put on a movie and forget about them for a while.
I love this recipe because it’s a no-bake wonder. It’s my go-to for last-minute potlucks or when I need a quick comfort food fix. The whole family goes crazy for them, and they’re perfect for leftovers—if they even last that long. I keep them in the fridge and grab one with my coffee for a little treat.
I’ve thought about making a healthier swap, like using coconut oil instead of butter, but honestly, butter just gives it that rich, classic flavor that makes it a true family favorite. Sometimes you just gotta go for it.
Nutrition Info (per serving)
| Calories | Carbs | Fat | Protein |
|---|---|---|---|
| 320 | 28g | 21g | 7g |
Okay, so these aren’t exactly a health food, but they’re not the worst thing either! The oats and peanut butter give you some protein and fiber, which is nice. I’ve tried making them lighter by using sugar-free syrup instead of honey, but it changes the texture and makes them a bit gummy. If you’re watching sugar, maybe just enjoy a smaller piece.
Ingredient Swaps
| Ingredient | Substitution |
|---|---|
| Honey | Maple syrup |
| Butter | Coconut oil |
| Peanut Butter | Almond butter or sunflower seed butter |
| Semi-sweet Chocolate Chips | Dark chocolate chips or milk chocolate chips |
I’ve tried almost all of these swaps. Maple syrup works great, it just gives a slightly different flavor. Coconut oil instead of butter works in a pinch, but the bars can get a little harder when cold. The biggest fail was when I used sunflower seed butter for a friend with a nut allergy. It turned the chocolate layer a weird greenish color! Tasted fine, but looked very strange.
Tips
- Don’t rush the melting process for the base. Low and slow heat prevents burning.
- Press the base layer down until your hand hurts. Seriously, it can’t be too packed.
- Let the chocolate layer cool for a minute or two after melting before you pour it on. This prevents it from melting the base you just worked so hard to pack down.
- Use a sharp knife to cut the bars, and wipe it clean between cuts for neat edges.
I learned that last tip about the knife after I made a batch for my mom’s birthday. I just used a butter knife and sawed through them. The chocolate smeared everywhere and the tops looked terrible. They tasted amazing, but they looked like a toddler made them. A sharp chef’s knife run under hot water is the secret weapon for perfect squares.
FAQ
Can I use quick oats instead of old-fashioned?
You can, but the texture will be different. Quick oats are more powdery, so the bars can become a bit mushy and lose that nice chewy texture. I did it once when I was out of old-fashioned oats and regretted it. They held together okay but just didn’t have the same heartiness.
Why are my bars falling apart?
Oh, I feel this one. Usually, it’s one of two things: you didn’t press the base down firmly enough, or you didn’t chill them long enough. The fridge time is what binds everything together. If they’re crumbly, just call it “deconstructed bar parfait” and eat it with a spoon. No shame.
How long do they last stored?
They keep great in an airtight container in the fridge for up to a week… in theory. In my house, they’re lucky to last two days. You can also freeze them for a couple months. I wrap them individually in plastic wrap and grab one whenever a craving hits.
That’s everything I know about making these Chocolate Peanut Butter Oat Bars! Hope you give it a try. And if you mess it up, you’re in good company—I still do it sometimes.
Chocolate Peanut Butter Oat Bars
No-bake chocolate peanut butter oat bars with a crunchy oat base and creamy chocolate topping – perfect for quick comfort food fixes and last-minute potlucks.
Ingredients
- 1 cup creamy peanut butter (regular, not natural)
- 1/2 cup honey
- 1/2 cup unsalted butter
- 1 teaspoon vanilla extract
- 3 cups old-fashioned rolled oats
- 1/4 teaspoon salt
- 1 cup semi-sweet chocolate chips
- 1/2 cup creamy peanut butter (for topping)
Instructions
-
Line an 8×8 or 9×9 inch baking pan with parchment paper, leaving overhang on the sides for easy removal.
-
In a medium saucepan, combine 1 cup peanut butter, honey, and butter. Heat over medium-low heat, stirring constantly, until melted and smooth.
-
Remove from heat and stir in vanilla extract and salt.
-
Add rolled oats and stir until every oat is thoroughly coated with the peanut butter mixture.
-
Press about two-thirds of the oat mixture firmly into the bottom of the prepared pan, packing it down tightly using the bottom of a glass or measuring cup.
-
In a microwave-safe bowl, combine chocolate chips and remaining 1/2 cup peanut butter. Microwave in 30-second intervals, stirring each time, until smooth.
-
Let the chocolate mixture cool for 1-2 minutes, then pour over the pressed oat base and spread into an even layer.
-
Crumble the remaining oat mixture evenly over the chocolate layer.
-
Refrigerate for at least 3 hours, or until completely firm and set.
-
Use parchment paper to lift the entire block from the pan. Place on cutting board and slice into 16 bars using a sharp knife wiped clean between cuts.
Nutrition (Per Serving)

