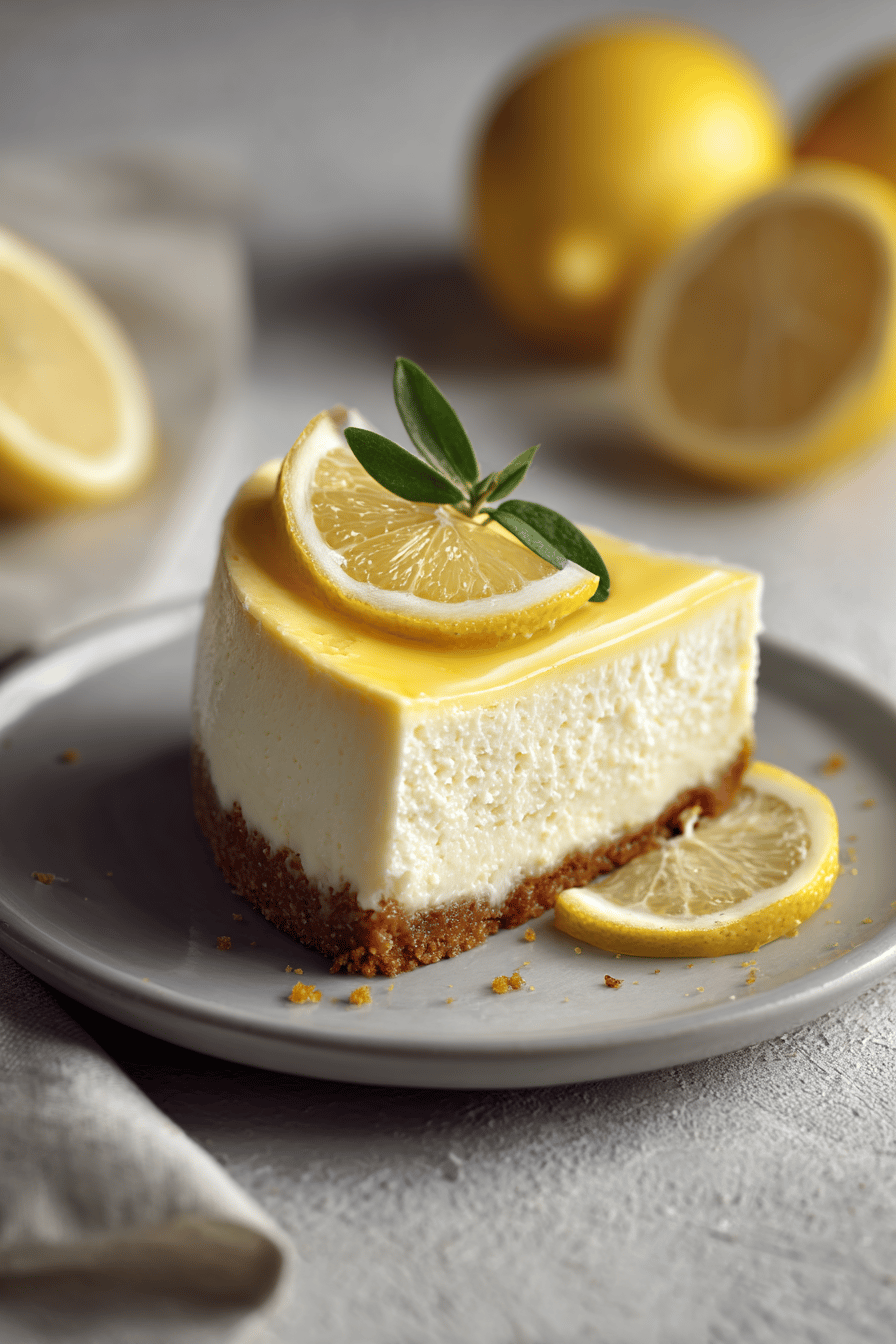
Easy lemon cheesecake recipe with creamy filling
Easy lemon cheesecake recipe with creamy filling Okay, so I have this thing with lemon desserts. Like, if there’s a lemon option on the menu, I’m ordering it. Lemon bars, lemon meringue pie, lemon cookies—you name it, I’ll eat it. But my absolute favorite? Lemon cheesecake. There’s just something about that tangy lemon mixed with…
Easy lemon cheesecake recipe with creamy filling
Okay, so I have this thing with lemon desserts. Like, if there’s a lemon option on the menu, I’m ordering it. Lemon bars, lemon meringue pie, lemon cookies—you name it, I’ll eat it. But my absolute favorite? Lemon cheesecake. There’s just something about that tangy lemon mixed with creamy cheesecake that makes my taste buds do a happy dance.
This recipe is my go-to when I want something sweet but not too heavy. It’s super easy, doesn’t require fancy ingredients, and tastes like you spent way more time on it than you actually did. Plus, it’s basically foolproof. Even if you’re not a baking pro (I’m definitely not), you can totally pull this off. Let’s get into it!
Recipe Card
Recipe Title: Easy lemon cheesecake recipe with creamy filling
Servings: 8
Prep Time: 20 minutes
Cooking Time: 40 minutes (plus chilling time)
Calories: 320 kcal per serving
Ingredients:
- 1 1/2 cups graham cracker crumbs
- 1/4 cup sugar
- 1/3 cup melted butter
- 16 oz cream cheese, softened
- 3/4 cup sugar
- 2 eggs
- 1/4 cup sour cream
- 1/4 cup lemon juice (fresh is best, but bottled works too)
- 1 tbsp lemon zest
- 1 tsp vanilla extract
Directions:
- Preheat your oven to 325°F (160°C).
- Mix the graham cracker crumbs, 1/4 cup sugar, and melted butter in a bowl until it feels like wet sand.
- Press the mixture into the bottom of a 9-inch springform pan. Use a glass or your hands to make it even.
- Bake the crust for 10 minutes, then let it cool while you make the filling.
- In a big bowl, beat the cream cheese and 3/4 cup sugar until smooth. No lumps, please.
- Add the eggs one at a time, mixing after each.
- Stir in the sour cream, lemon juice, lemon zest, and vanilla. Keep mixing until it’s all happy and combined.
- Pour the filling over the cooled crust and smooth the top.
- Bake for 30-40 minutes until the edges are set but the center still jiggles a little.
- Turn off the oven, crack the door open, and let the cheesecake chill in there for an hour. This helps prevent cracks (but if it cracks, no big deal—it’ll still taste amazing).
- Refrigerate for at least 4 hours, or overnight if you can wait that long.
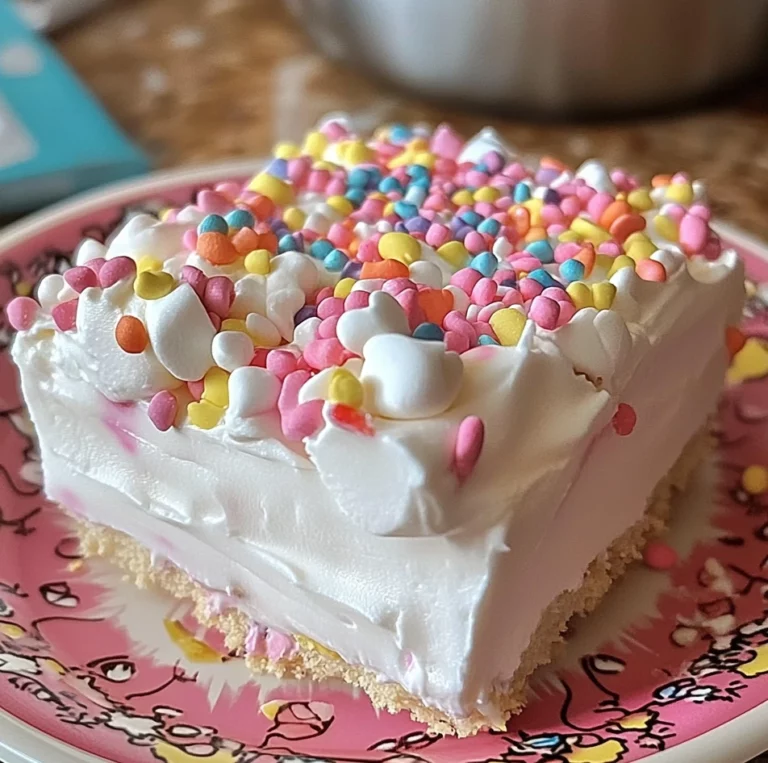
And that’s it! You’ve got yourself a creamy, dreamy lemon cheesecake. Top it with whipped cream, berries, or just eat it plain. No judgment here.
Nutrition Info (per serving)
| Calories | Carbs | Fat | Protein |
|---|---|---|---|
| 320 | 30g | 15g | 6g |
Ingredient Swaps
| Ingredient | Substitution |
|---|---|
| Graham cracker crumbs | Digestive biscuits or vanilla wafers |
| Sour cream | Greek yogurt |
| Butter | Margarine or coconut oil |
Tips
- Room temperature cream cheese is key. If it’s cold, you’ll end up with lumps, and nobody wants that.
- Don’t overmix the batter after adding the eggs. It can make the cheesecake puff up and then sink, which is sad.
- If you’re lazy like me, you can skip the springform pan and use a regular pie dish. Just know it might be harder to slice neatly.
FAQ
Q: Can I make this ahead of time?
A: Absolutely! Cheesecake actually tastes better the next day. Just keep it covered in the fridge.
Q: Can I freeze leftovers?
A: Yep! Wrap it tightly in plastic wrap and foil, then freeze for up to 2 months. Thaw in the fridge overnight.
Q: My cheesecake cracked. Did I ruin it?
A: Not at all! Cracks happen. Cover it with whipped cream or fruit, and no one will ever know.
So there you have it—my favorite easy lemon cheesecake recipe. It’s creamy, tangy, and just sweet enough to hit the spot. Perfect for summer picnics, potlucks, or just treating yourself because, hey, you deserve it.
That’s it. Hope you enjoy it. Let me know how it goes if you try it!