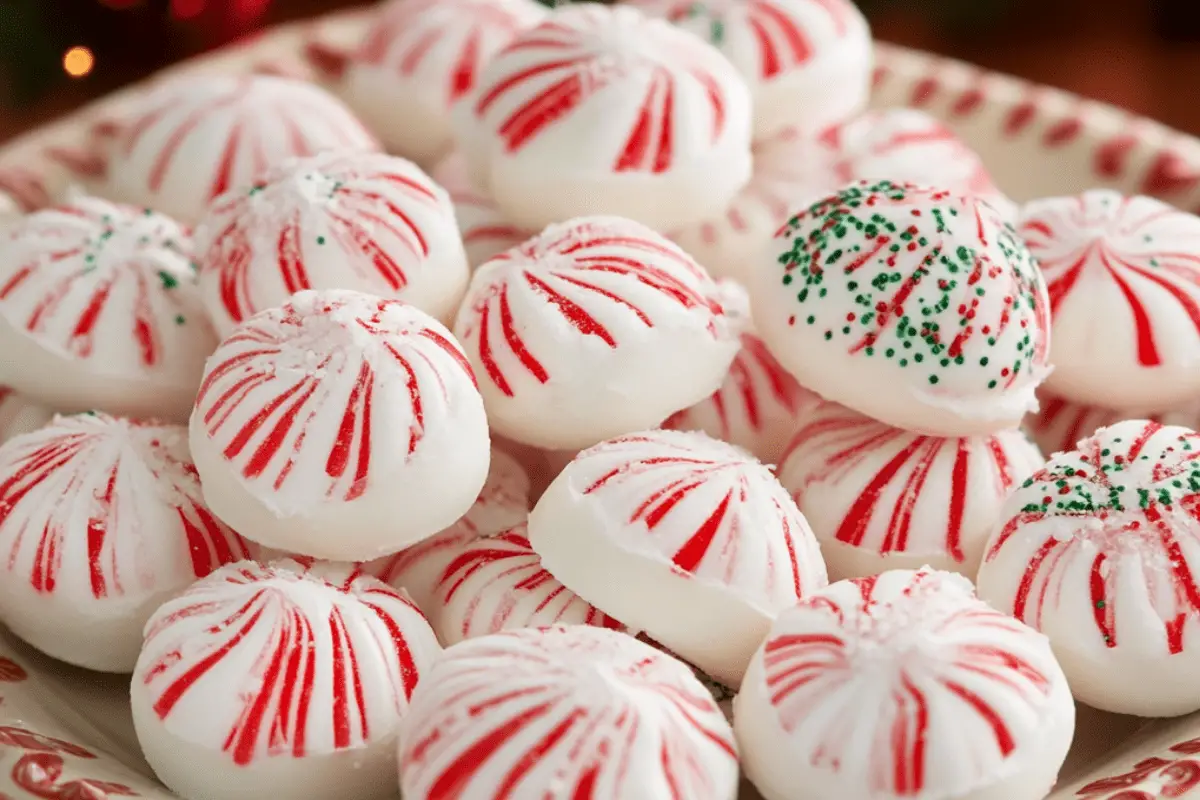
Why You’ll Love This Recipe
These Soft Christmas Peppermints are the perfect homemade treat for the holiday season. Their melt-in-your-mouth texture and cool, minty flavor make them a delightful addition to your Christmas celebrations. Easy to make and endlessly versatile, they’re great for gifting, decorating dessert platters, or simply enjoying with a cup of hot cocoa.
Preparation Phase & Tools to Use
Essential Tools and Equipment
- Mixing Bowl: For creating the dough base.
- Hand or Stand Mixer: Ensures a smooth, creamy consistency.
- Parchment Paper: Prevents sticking while setting the mints.
- Food-Safe Gloves (Optional): Protects hands from staining when kneading food coloring into the dough.
- Knife or Bench Scraper: For cutting the dough into even, bite-sized pieces.
Ingredients Breakdown
For the Peppermint Dough
- ¼ tsp peppermint extract: Provides the signature minty flavor. Adjust to taste for stronger or milder mints.
- 3 cups powdered sugar: Acts as the base, giving structure and sweetness.
- ½ cup butter (softened): Adds richness and a creamy texture.
- 2 tbsp heavy whipping cream: Helps bind the dough and achieve a soft, pliable consistency.
For the Festive Touch
- Red gel food coloring: Adds a holiday-inspired pop of color to the mints. Adjust the amount to create your desired shade.
Step-by-Step Directions
1. Prepare the Butter Base:
- In a large mixing bowl, beat the softened butter until smooth and creamy.
- Gradually add powdered sugar, one cup at a time, mixing well after each addition.
2. Add Cream and Peppermint:
- Pour in the heavy whipping cream and peppermint extract. Continue mixing until the mixture forms a dough that holds together when pressed.
- Taste the dough and adjust the peppermint extract if you prefer a stronger flavor.
3. Color the Dough:
- Divide the dough into two portions. Leave one portion plain for a classic white look.
- Add a small amount of red gel food coloring to the other portion. Knead the color into the dough until evenly distributed, creating a festive pink or red hue.
4. Shape the Mints:
- On a clean surface, roll each portion of dough into small ropes, approximately ½ inch thick.
- Slice the ropes into bite-sized pieces about ½ inch long. Optionally, shape the pieces into rounds or gently flatten them with your fingers for a classic peppermint look.
5. Let the Mints Set:
- Place the mints on a parchment-lined baking sheet.
- Let them sit at room temperature for 1–2 hours to firm up. As they set, the mints will develop a soft, chewy texture.
6. Store and Serve:
- Transfer the mints to an airtight container and store in a cool, dry place for up to two weeks.
Tips for Success
- Use Softened Butter: Soft butter ensures a smooth, lump-free dough.
- Work Quickly with Food Coloring: Gel food coloring can stain surfaces, so knead on parchment paper or wear gloves.
- Avoid Overmixing: Once the dough forms, stop mixing to prevent it from becoming overly soft.
Serving Suggestions
- Holiday Platters: Arrange these mints alongside other festive treats like fudge, cookies, or truffles.
- Hot Cocoa Garnish: Drop a few mints into a mug of hot cocoa for a minty twist.
- Party Favors: Package in decorative tins or holiday-themed bags for a thoughtful homemade gift.
- Table Decor: Use them as edible decorations on holiday dessert tables.
Common Mistakes to Avoid
- Adding Too Much Extract: A little peppermint extract goes a long way. Start with ¼ teaspoon and adjust gradually.
- Skipping the Setting Time: Allow the mints to dry properly for the best texture.
- Using Liquid Food Coloring: Stick to gel food coloring to avoid altering the dough’s consistency.
Variations
1. Colorful Mints:
- Create additional colors like green or blue for variety.
2. Flavored Mints:
- Substitute peppermint extract with vanilla, almond, or even orange extract for unique flavors.
3. Dipped Mints:
- After setting, dip the mints halfway in melted chocolate for a luxurious touch.
Storage and Freezing
Storage
- Store in an airtight container at room temperature for up to two weeks. For longer storage, refrigerate for up to a month.
Freezing
- Freeze mints in a single layer on a baking sheet. Once frozen, transfer to a freezer bag or container. Thaw at room temperature before serving.
FAQs
1. Can I use margarine instead of butter?
Butter is recommended for the best flavor and consistency, but margarine can be used as a substitute in a pinch.
2. Can I make these ahead of time?
Yes, these mints store well for weeks, making them an ideal make-ahead treat.
3. Can I use liquid food coloring?
Gel food coloring is best, as it won’t affect the dough’s consistency. If you must use liquid, add sparingly.
4. How do I make these dairy-free?
Substitute butter with a dairy-free alternative, like vegan butter, and replace heavy cream with coconut cream or a non-dairy milk.
5. Are these mints safe for kids?
Yes! They’re a kid-friendly treat, and children can even help shape the mints.
Conclusion
These Soft Christmas Peppermints are a delightful holiday treat, perfect for sharing, gifting, or adding a festive touch to your celebrations. Easy to customize and fun to make, they’ll quickly become a holiday tradition in your home.


You might also like these recipes
Dreamy Recipes
Dreamy Recipes
Christmas Kiss Cookies: A Festive Holiday Treat
Amore Eats
Red Lobster-Style Crab Stuffed Mushrooms