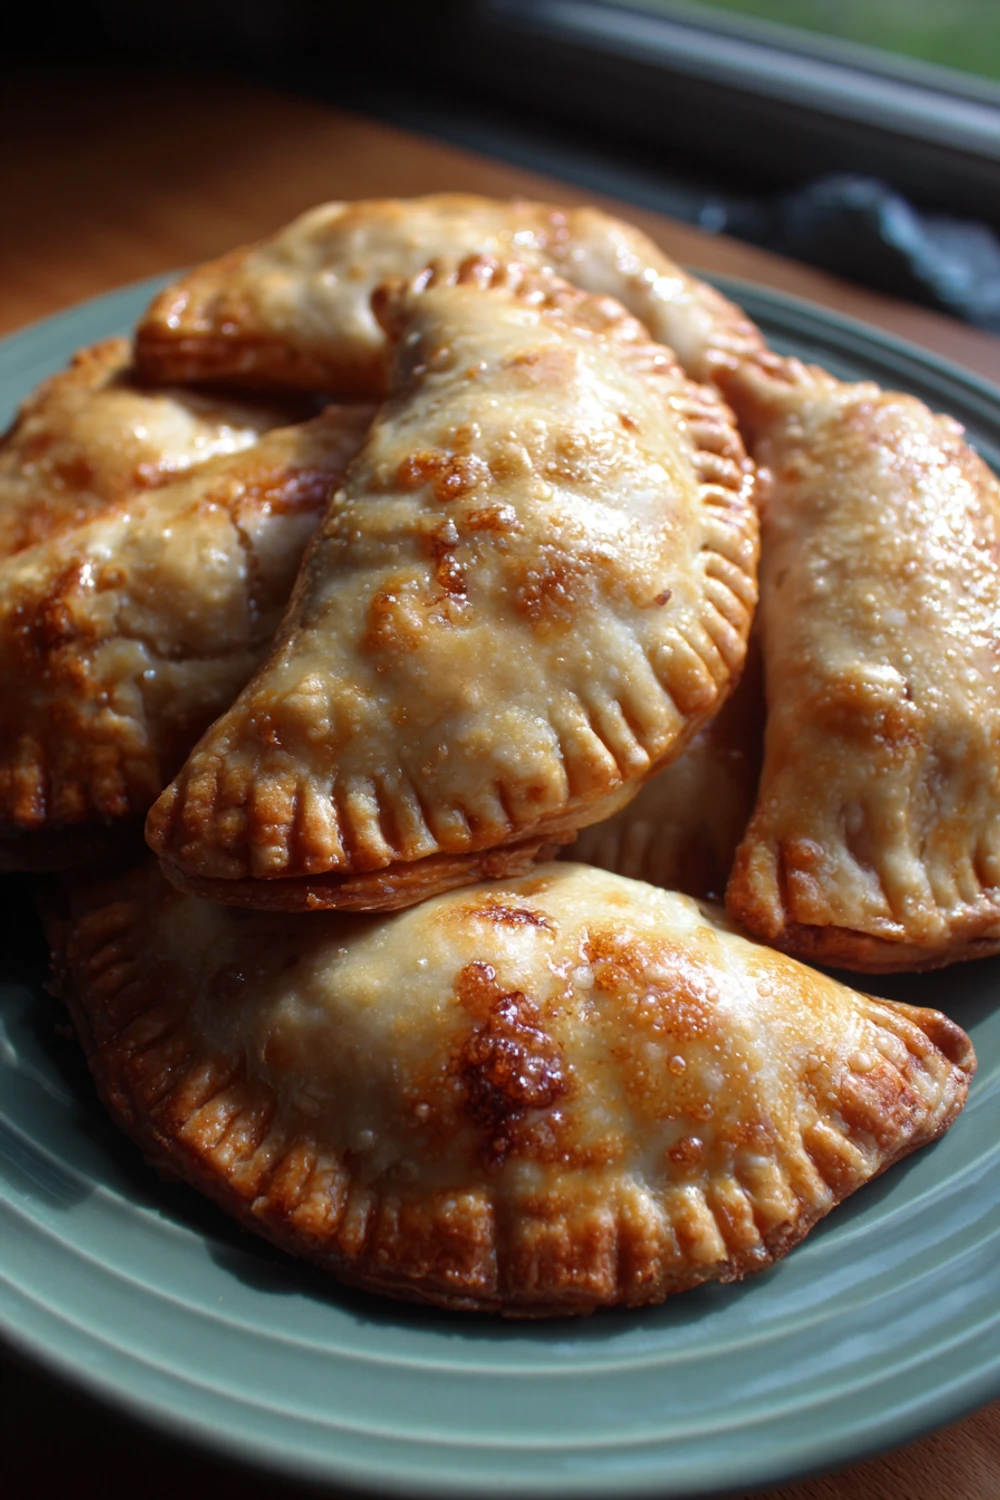
Dried-Apple Hand Pies Recipe
I’ll never forget the first time I tried to make these hand pies. I was so confident, I didn’t even rehydrate the dried apples properly. Let’s just say we ended up with what my nephew lovingly called “rocks in a pastry blanket.” They were so hard you could’ve used them as hockey pucks. But that disaster is exactly why I kept trying, and now this Dried-Apple Hand Pies Recipe is my go-to for every potluck and lazy Sunday.
Recipe Card
| Recipe Title | Dried-Apple Hand Pies Recipe |
|---|---|
| Servings | 8 hand pies |
| Prep Time | 45 minutes (plus chilling) |
| Cooking Time | 25 minutes |
| Calories | About 320 per pie |
Those times are a bit optimistic, I won’t lie. The first time it took me over an hour just to get the dough right. Don’t rush the chilling part, trust me. I did once and my kitchen looked like a flour bomb went off.
Ingredients
- 2 cups all-purpose flour
- 1/2 teaspoon salt
- 1 cup (2 sticks) unsalted butter, cold and cubed
- 1/2 cup cold water
- 2 cups dried apples
- 1 1/2 cups apple cider or water
- 1/3 cup brown sugar
- 1 teaspoon cinnamon
- 1/4 teaspoon nutmeg
- 1 tablespoon lemon juice
- 1 egg (for egg wash)
- Coarse sugar (for sprinkling)
That cold butter is no joke. I once used butter that was just a little soft and the dough was a greasy mess. It wouldn’t hold together at all. And the dried apples, don’t skimp on the quality. The cheap, leathery ones just won’t get as tender and you’ll be chewing forever.
Directions
- First, make the pie dough. Whisk the flour and salt together in a big bowl.
- Add the cold, cubed butter. Use a pastry cutter or your fingers to work it in until it looks like coarse crumbs with some pea-sized bits of butter left.
- Slowly drizzle in the cold water, mixing with a fork until the dough just starts to come together.
- Dump the shaggy dough onto a floured surface and gently knead it a few times until it forms a ball. Don’t overwork it!
- Flatten the ball into a disc, wrap it in plastic, and chill it in the fridge for at least 30 minutes.
- While the dough chills, make the filling. In a saucepan, combine the dried apples, apple cider, brown sugar, cinnamon, and nutmeg.
- Bring it to a simmer over medium heat, then reduce the heat to low, cover, and let it cook for 15-20 minutes until the apples are soft and plump.
- Take the lid off, stir in the lemon juice, and let it cook for another 5-10 minutes until most of the liquid has cooked off. Let it cool completely.
- Preheat your oven to 375°F (190°C) and line a baking sheet with parchment paper.
- Take your chilled dough and roll it out on a floured surface to about 1/8-inch thickness.
- Use a bowl or a large round cutter to cut out 6-inch circles. Re-roll the scraps to get all your circles.
- Spoon about 2-3 tablespoons of the cooled apple filling onto one half of each dough circle.
- Brush the edges of the circle with a little water, then fold the other half over the filling to create a half-moon shape.
- Crimp the edges firmly with a fork to seal them shut.
- Place the hand pies on the prepared baking sheet. Cut a couple of small slits in the top of each one so steam can escape.
- Whisk the egg with a teaspoon of water and brush it over the tops of the pies. Sprinkle generously with coarse sugar.
- Bake for 20-25 minutes, or until the crust is a beautiful golden brown.
- Let them cool on the baking sheet for at least 10 minutes before you try to eat one. The filling is like molten lava!
The step about letting the filling cool completely is one I learned the hard way. I was impatient and used warm filling once. It melted the butter in the dough as I was assembling them, and they leaked everywhere in the oven. I had a sticky, burnt apple puddle and sad, flat pies. Let it cool, I’m begging you.
After the recipe card, write at least 3 full paragraphs about your honest experience with “Dried-Apple Hand Pies Recipe”: funny moments, big mistakes, why you love it, why it works for meal prep or family, and what you’d change next time. Mention related keywords like easy dinner, comfort food, family favorite, leftovers, one-pot, healthy swap, etc., only if they fit naturally.
These pies have seen it all in my kitchen. One time I was so proud of my perfectly crimped edges that I forgot to cut the steam vents. They puffed up like little footballs in the oven and then one exploded, shooting hot apple goo all over the window. My dog was thrilled, but my oven was a nightmare to clean. It’s these little fails that make a recipe a real family favorite, you know?
What I love most is that they’re the ultimate comfort food and they’re perfect for leftovers. I make a big batch on a Sunday and my husband grabs one for his breakfast all week. They’re way better than any store-bought pastry. It feels good to know exactly what’s in your food, even if it’s not the healthiest swap in the world.
If I were to change one thing next time, I might try a mix of apples and pears just to see what happens. I’m always tempted to tweak things. But honestly, this version is so reliable now. It’s my little piece of baking victory after that first hockey-puck disaster.
Nutrition Info (per serving)
| Calories | Carbs | Fat | Protein |
|---|---|---|---|
| 320 | 45g | 14g | 4g |
Okay, so it’s not a salad. I’m always a little surprised it’s not higher, to be honest, with all that butter and sugar. But it’s a treat! I’ve tried a healthier swap using half whole-wheat flour and less sugar, and it was… fine. A bit denser, but still tasty. If you’re watching sugar, you could definitely cut the brown sugar down to 1/4 cup.
Ingredient Swaps
| Ingredient | Substitution |
|---|---|
| Apple Cider | Water or orange juice |
| All-purpose flour | 1-to-1 gluten-free flour blend |
| Butter | Vegan butter or shortening |
| Dried Apples | Dried peaches or apricots |
I’ve tried most of these swaps. The orange juice with dried peaches is actually amazing. The gluten-free flour worked pretty well, but the crust was a touch more crumbly. The one that failed me was using all shortening instead of butter. The crust was just bland and didn’t have that nice flakiness. It’s worth the real butter, in my opinion.
Tips
- Seriously, make sure your butter and water are ice cold. I even stick my measured flour in the freezer for 10 minutes if my kitchen is warm.
- Don’t overfill the pies! A heaping tablespoon is plenty. More is not better here, it’s just a leaky mess.
- If your dough gets too soft while you’re working with it, just pop the whole baking sheet back in the fridge for 10 minutes. It’s a lifesaver.
- Use a pizza cutter to trim your dough circles. It’s so much easier than a knife.
I learned the overfilling tip the messiest way possible. I thought, “More apple filling is more love, right?” Wrong. So wrong. I had four pies burst open and the bubbling sugar cemented them to the parchment paper. We had to chisel them off. A heaping tablespoon is the perfect amount, I promise.
FAQ
Can I make these ahead of time?
Oh yeah, for sure. You can assemble them and keep them in the fridge on the baking sheet for a day before baking. Or freeze them unbaked! Just add a few extra minutes to the baking time if you’re putting them in frozen. It’s the best easy dinner prep for a crazy week.
My dough is too sticky! What do I do?
Welcome to my world. This happens to me all the time if I’m rushing. Just add a little more flour, a tablespoon at a time, until it’s manageable. And don’t be afraid to get your hands floured up. It’s supposed to be a little shaggy, but it shouldn’t stick to your fingers like glue.
Why did my crust not get flaky?
This usually means your butter was too warm or you overworked the dough. You want to see little streaks of butter in the dough. Those bits melt in the oven and create the steam that makes the layers flaky. If you knead it until it’s totally smooth, you’re basically making a bread dough.
That’s everything I know about making Dried-Apple Hand Pies! Hope you give it a try, and if you mess it up, you’re in good company—I still do it all the time. Let me know how yours turn out!
Dried-Apple Hand Pies Recipe
Flaky, buttery hand pies filled with sweet cinnamon-spiced dried apples – the perfect portable comfort food that’s worth every minute of preparation.
Ingredients
- 2 cups all-purpose flour
- 1/2 teaspoon salt
- 1 cup (2 sticks) unsalted butter, cold and cubed
- 1/2 cup cold water
- 2 cups dried apples
- 1 1/2 cups apple cider or water
- 1/3 cup brown sugar
- 1 teaspoon cinnamon
- 1/4 teaspoon nutmeg
- 1 tablespoon lemon juice
- 1 egg (for egg wash)
- Coarse sugar (for sprinkling)
Instructions
-
Whisk flour and salt together in a large bowl
-
Add cold, cubed butter and use a pastry cutter or fingers to work it in until mixture resembles coarse crumbs with pea-sized butter bits
-
Slowly drizzle in cold water while mixing with a fork until dough just comes together
-
Transfer shaggy dough to floured surface and gently knead a few times to form a ball
-
Flatten dough into a disc, wrap in plastic, and chill in refrigerator for at least 30 minutes
-
Combine dried apples, apple cider, brown sugar, cinnamon, and nutmeg in a saucepan
-
Bring to simmer over medium heat, then reduce to low, cover, and cook for 15-20 minutes until apples are soft and plump
-
Remove lid, stir in lemon juice, and cook uncovered for 5-10 minutes until most liquid evaporates
-
Let filling cool completely
-
Preheat oven to 375°F (190°C) and line baking sheet with parchment paper
-
Roll chilled dough on floured surface to 1/8-inch thickness
-
Cut out 6-inch circles using bowl or cutter, re-rolling scraps as needed
-
Spoon 2-3 tablespoons cooled apple filling onto one half of each dough circle
-
Brush edges with water and fold other half over filling to create half-moon shape
-
Crimp edges firmly with fork to seal
-
Place hand pies on prepared baking sheet and cut small steam vents in tops
-
Whisk egg with teaspoon of water and brush over pie tops
-
Sprinkle generously with coarse sugar
-
Bake for 20-25 minutes until crust is golden brown
-
Cool on baking sheet for at least 10 minutes before serving
Nutrition (Per Serving)