Easy Salt Dough Recipe for Crafts
I still laugh about the first time I tried to make salt dough. My niece was over and we wanted to make Christmas ornaments. I was so confident, I didn’t even measure the flour. Let’s just say we ended up with a sticky, gloopy mess that more closely resembled pancake batter than dough. She looked at me with these big, disappointed eyes and asked if we could just make cookies instead. That was the moment I decided to actually figure this out, and now it’s our favorite rainy day activity.
Recipe Card
| Recipe Title | Easy Salt Dough Recipe for Crafts |
|---|---|
| Servings | Enough for a handful of ornaments |
| Prep Time | 15 minutes |
| Cooking Time | 2-3 hours (baking) |
| Calories | Not for eating! |
Ingredients
- 2 cups all-purpose flour
- 1 cup table salt
- 1 cup warm water
The flour is your main structure. I once used bread flour by accident because it was all I had. The dough was way too elastic and hard to roll out, it kept springing back. Stick with all-purpose for the right consistency. The salt is crucial for preservation and texture. Don’t use fancy sea salt flakes, they won’t dissolve and you’ll get weird crunchy bits. And the water needs to be warm, not hot. Hot water can start to cook the flour and make it all weird and clumpy.
Directions
- Preheat your oven to its lowest setting, usually around 200°F (95°C).
- In a big bowl, mix the 2 cups of flour and 1 cup of salt together.
- Slowly add the 1 cup of warm water and stir with a spoon.
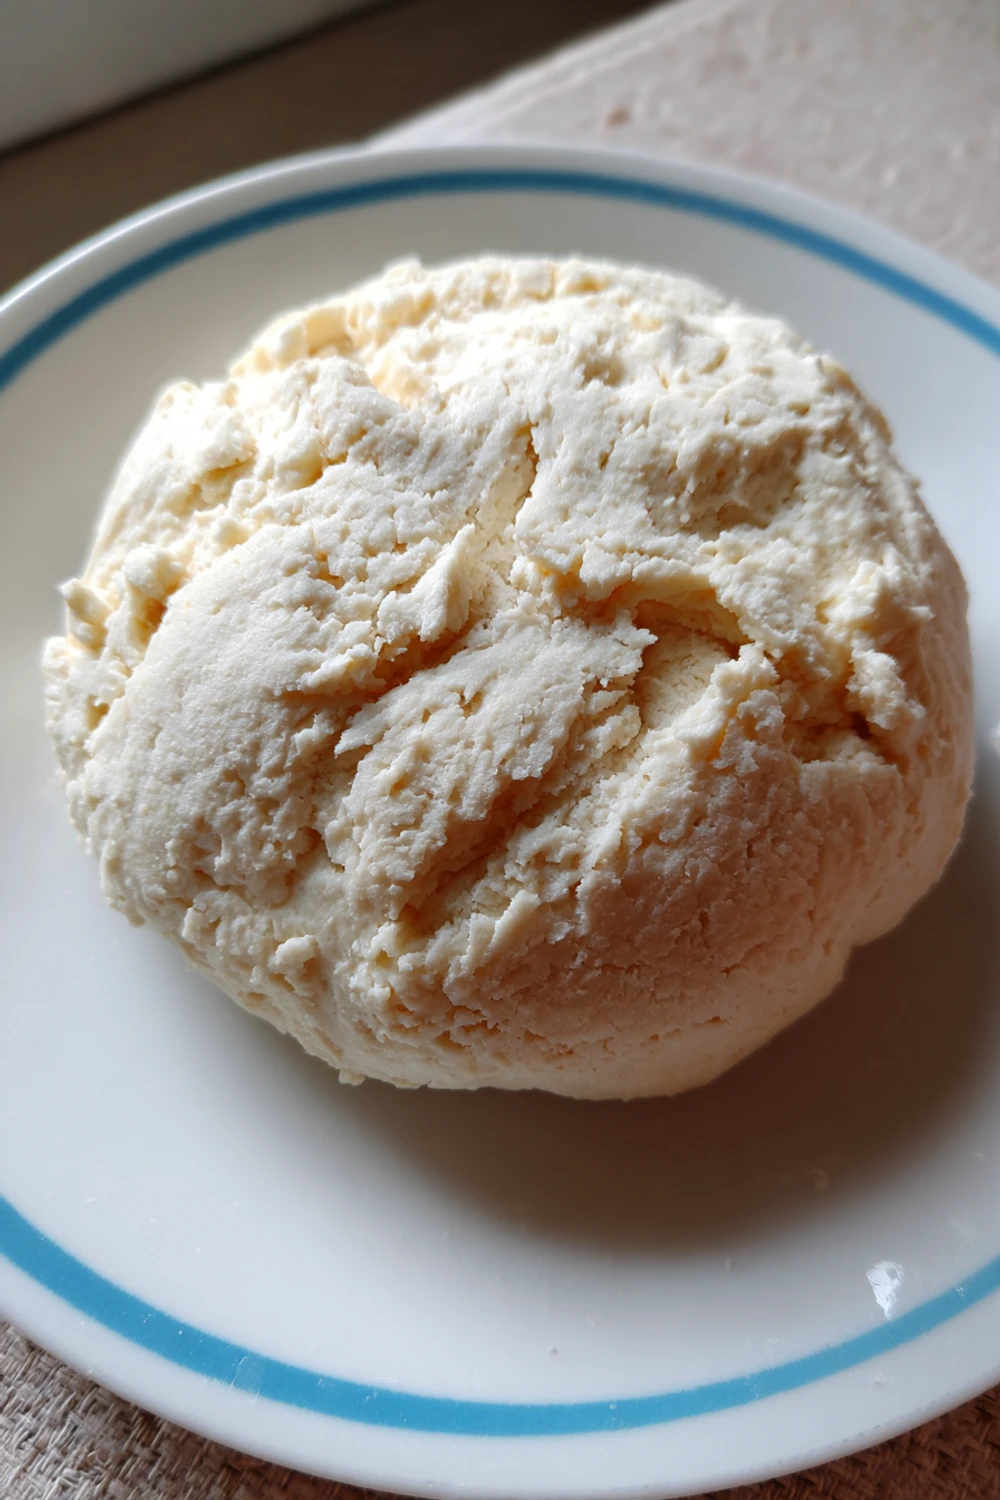
- Once it starts to come together, get your hands in there and knead it for 5-7 minutes.
- Roll it out on a floured surface and cut out your shapes.
- Place shapes on a baking sheet and bake for 2-3 hours, flipping halfway.
- Let them cool completely before painting or sealing.
The kneading part is where I always think I’m done too early. One time my arm got tired and I stopped after like two minutes. The dough was still crumbly and it cracked like crazy when I rolled it. You gotta really knead it until it’s super smooth and elastic, like Play-Doh. It makes all the difference. And the flipping part! I forgot to flip a batch once and they came out all warped and curved on one side. They looked like little salt dough tacos.
This stuff is the ultimate cheap entertainment. I’ve made so many handprint ornaments for family, and my fridge is covered in lumpy, lovingly painted magnets. The best part is you probably have everything you need right in your pantry. It’s a total lifesaver for last-minute school projects or when the kids are bouncing off the walls. I love that it’s a no-fuss, one-bowl kind of project that actually creates something lasting.
My biggest mistake ever was getting impatient with the drying. I had a thick ornament and after two hours it still felt soft. So I cranked the oven up to 300°F to speed things up. Big mistake. They puffed up, browned, and some even cracked. I learned the hard way that low and slow is the only way to go. You can’t rush this craft, it teaches you patience whether you like it or not.
Next time, I really want to try adding some spices to the dough itself, like cinnamon or pumpkin pie spice. I saw it online and it’s supposed to make your ornaments smell amazing while they bake. I’m a little worried it might attract bugs or something, but I guess if you seal them well it should be okay. It just seems like a fun way to add another layer to the whole experience.
Nutrition Info (per serving)
| Calories | Carbs | Fat | Protein |
|---|---|---|---|
| Do not eat! | Seriously, no | Not applicable | Nope |
Okay, I feel silly even putting this table here, but you’d be surprised! The first time my dog got ahold of a dried ornament, I panicked and called the vet. They said because of the massive amount of salt, it can be really dangerous if a pet or a little kid eats it. So yeah, this is definitely not a healthy snack swap. Keep your creations out of reach.
Ingredient Swaps
| Ingredient | Substitution |
|---|---|
| All-Purpose Flour | Gluten-Free Flour Blend |
| Table Salt | Fine Sea Salt |
| Oven Drying | Air Drying |
I tried the gluten-free flour once for a friend’s kid who has celiac. It worked okay, but the dough was much more fragile after baking and broke really easily. Fine sea salt is a perfect swap for table salt, just make sure it’s fine and not coarse. And air drying totally works if you don’t want to use the oven! It just takes forever, like a couple of days. I tried it in a humid bathroom and it got moldy, so make sure it’s a dry place.
Tips
- If your dough is too sticky, add flour a tablespoon at a time.
- If it’s too dry and crumbly, add water a teaspoon at a time.
- Use a straw to poke a hole for hanging before you bake.
- To get a really smooth surface, roll it out on parchment paper.
That tip about the hole is a lifesaver. I’ve tried to drill holes into already-baked ornaments and let me tell you, it’s a disaster. They just shatter. Poking the hole with a straw before it goes in the oven is so easy and you get a perfect little circle every time. I learned that after a very frustrating afternoon with a power drill and a lot of broken dough.
FAQ
Q: Can I paint them right after baking?
A: Nope, you gotta let them cool all the way down! I was so excited to paint once that I started while they were still warm. The paint bubbled and peeled right off. Total waste of time. Let them sit on the counter for a few hours until they’re room temperature.
Q: Why did my ornaments puff up and get bubbly?
A: Your oven was too hot, my friend. I’ve done this! You think a higher temp will save time, but it just makes them bake unevenly and puff up. It has to be low and slow. If they puff, you can sometimes sand them down gently after they cool.
Q: How do I make them last forever?
A: You gotta seal them! A few coats of mod podge or a clear acrylic sealer will do the trick. I didn’t seal my first batch and within a year they absorbed moisture from the air and got soft and weird. Sealing locks them in and makes the paint job last, too.
That’s everything I know about making salt dough! Hope you give it a try, and if you mess it up, you’re in good company—I do it all the time. Send me pics of your creations!
Easy Salt Dough Recipe for Crafts
A simple, no-fuss salt dough perfect for creating lasting handmade ornaments and crafts with common pantry ingredients.

Ingredients
- 2 cups all-purpose flour
- 1 cup table salt
- 1 cup warm water
Instructions
- Preheat your oven to its lowest setting, around 200°F (95°C).
- In a large bowl, mix together the 2 cups of flour and 1 cup of salt.
- Slowly add the 1 cup of warm water and stir with a spoon until combined.
- Knead the dough with your hands for 5-7 minutes until it is smooth and elastic.
- Roll the dough out on a floured surface to your desired thickness.
- Cut out your shapes using cookie cutters or a knife.
- Use a straw to poke a hole in each shape for hanging.
- Place the shapes on a baking sheet and bake for 2-3 hours, flipping them halfway through the baking time.
- Let the ornaments cool completely before painting or sealing with a clear acrylic sealer.