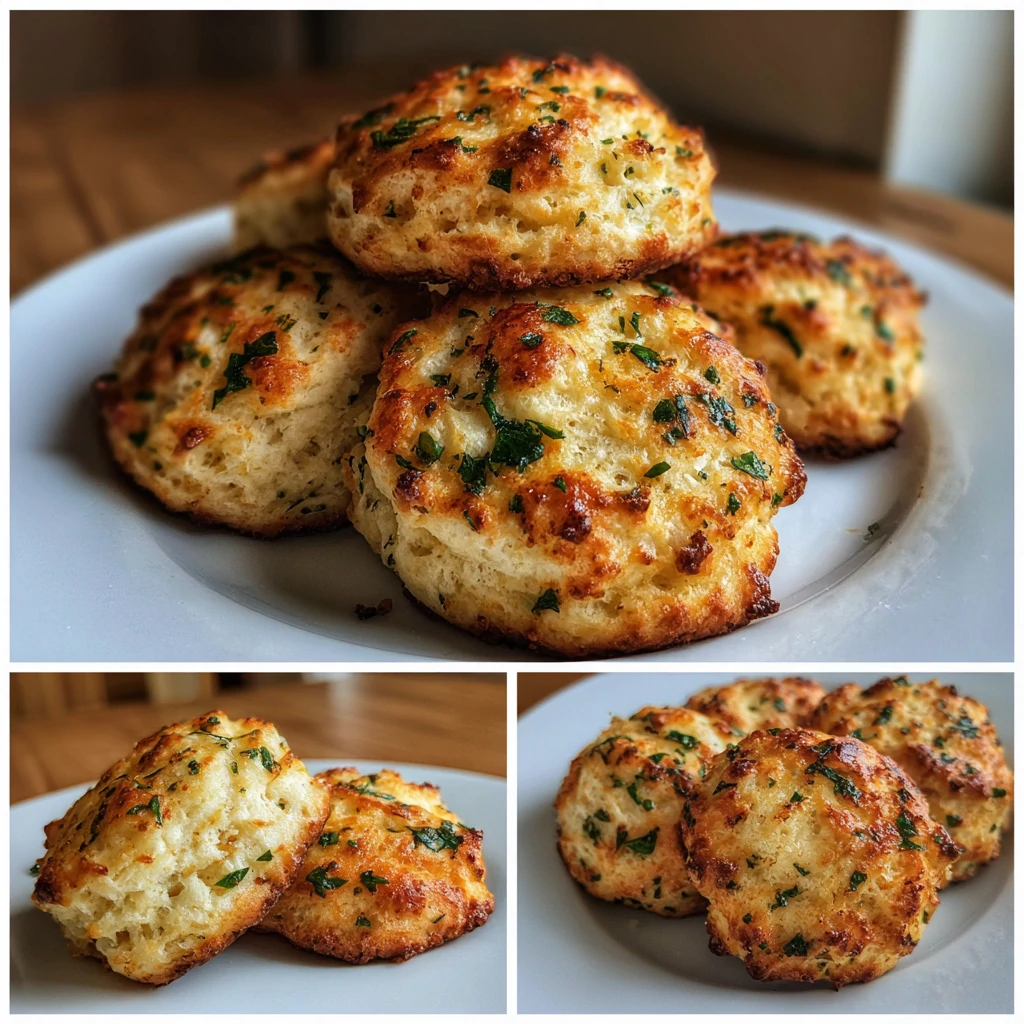
Herby Ricotta Biscuits Recipe
I’ll never forget the first time I tried to make these Herby Ricotta Biscuits. I was so excited, I dumped all the ingredients into a bowl at once and just started stirring. What came out of the oven looked more like sad, green hockey pucks than fluffy biscuits. My husband, god love him, took a bite and said, “Well, the flavor is… interesting.” It was a disaster. But that failure made me obsessed with getting them right, and now they’re my go-to for every brunch or cozy soup night.
Recipe Card
| Recipe Title | Herby Ricotta Biscuits Recipe |
|---|---|
| Servings | 8 biscuits |
| Prep Time | 15 minutes |
| Cooking Time | 15 minutes |
| Calories | About 220 each |
Ingredients
- 2 cups all-purpose flour
- 1 tablespoon baking powder
- 1 teaspoon salt
- 1/2 cup cold unsalted butter, cubed
- 1 cup whole milk ricotta cheese
- 1/2 cup whole milk
- 1/4 cup fresh parsley, finely chopped
- 2 tablespoons fresh chives, finely chopped
- 1 tablespoon fresh dill, finely chopped
The flour and baking powder are non-negotiable for that rise. I once used expired baking powder and my biscuits didn’t puff up at all. They were so flat we used them as crackers. And please, use fresh herbs if you can! I tried dried once and it was like eating a mouthful of dust. The flavor just isn’t the same.
Directions
- Preheat your oven to 425°F (220°C) and line a baking sheet with parchment paper.
- In a large bowl, whisk together the flour, baking powder, and salt.
- Add the cold, cubed butter to the flour mixture.
- Using a pastry cutter or your fingers, work the butter into the flour until it looks like coarse crumbs with some pea-sized bits of butter remaining.
- In a separate small bowl, mix the ricotta, milk, and all the fresh herbs together.
- Pour the wet ricotta mixture into the dry flour mixture.
- Gently fold everything together with a spatula until a shaggy, sticky dough forms. Don’t overmix!
- Turn the dough out onto a lightly floured surface and gently pat it into a 1-inch thick rectangle.
- Use a floured biscuit cutter or a glass to cut out rounds. Press straight down, don’t twist!
- Place the biscuits on the prepared baking sheet, close together so they help each other rise.
- Bake for 13-15 minutes, or until the tops are golden brown.
- Let them cool on a wire rack for a few minutes before serving. Best warm!
The biggest mistake I make is overworking the dough. I get nervous and keep folding it to make it look perfect. This activates the gluten and makes the biscuits tough. One time I did this and they were so dense you could’ve built a house with them. Just mix until it barely comes together, I promise it’ll work.
Another thing I learned the hard way is twisting the biscuit cutter. I used to twist it to get a clean cut, but that seals the edges and prevents them from rising high. Now I just press straight down and maybe give it a little wiggle, but no twisting. It makes a huge difference in how tall and fluffy they get.
And the baking time is so crucial. My oven runs hot, so I have to pull them out at 13 minutes. I left them in for 16 minutes once because I was on a phone call and the bottoms were almost black. Keep an eye on them, especially the first time you make them in your own oven.
Nutrition Info (per serving)
| Calories | Carbs | Fat | Protein |
|---|---|---|---|
| 220 | 22g | 12g | 6g |
Honestly, I don’t make these for the nutrition, I make them because they’re pure comfort food. But the ricotta does add a nice bit of protein! I’ve tried making them with low-fat ricotta and skim milk to be healthier, but they just aren’t as rich and tender. For a special treat, I stick with the whole milk stuff. They’re biscuits, after all!

Ingredient Swaps
| Ingredient | Substitution |
|---|---|
| All-purpose flour | 1-to-1 gluten-free flour blend |
| Whole milk ricotta | Full-fat cottage cheese (blended smooth) |
| Fresh herbs | 1 tbsp dried Italian seasoning |
| Whole milk | Buttermilk or 2% milk |
I’ve tried almost all of these swaps. The gluten-free flour works surprisingly well, just make sure your blend has xanthan gum in it. Blended cottage cheese is a great sub for ricotta, it gives a similar tang. But the dried herbs… I really don’t recommend it unless you’re truly desperate. The flavor is just so muted compared to the bright, fresh herbs.
Tips
- Freeze your butter for 10 minutes before cubing it. Cold butter is the secret to flaky layers.
- Don’t have a pastry cutter? Use a cheese grater to grate the cold butter into the flour. It works like a charm!
- If your dough is too sticky to handle, pop it in the fridge for 15 minutes. It makes it so much easier to pat out.
- For extra cheesy flavor, fold in a 1/4 cup of grated parmesan cheese with the dry ingredients.
The grated butter tip was a game-changer for me. I could never get the butter small enough with my fingers without melting it with my warm hands. Grating it is so fast and keeps it perfectly cold. I felt like a genius when I first tried it, and my biscuits were the flakiest they’ve ever been.
FAQ
Can I make the dough ahead of time?
Absolutely! I often mix the dry and wet ingredients separately the night before. In the morning, I just combine them, pat them out, and bake. You can also cut the biscuits and freeze them on the sheet pan, then toss them in a bag. Bake from frozen, just add a few extra minutes.
Why are my biscuits dry?
Oh, I’ve been there. This usually means you overmeasured the flour. The best way is to spoon the flour into the measuring cup and level it off. Don’t scoop the cup directly into the flour bag—it packs it down and you end up with too much. A kitchen scale is even better for accuracy.
Can I use a food processor?
You can, but be super careful. Pulse the dry ingredients with the butter just a few times until it looks crumbly. Then transfer it to a bowl before adding the wet ingredients. If you mix the whole thing in the processor, you’ll overwork the dough in a heartbeat and end up with tough biscuits. Ask me how I know!
That’s everything I know about making Herby Ricotta Biscuits! Hope you give it a try. And if you mess it up, you’re in good company—I still do it sometimes. They’re almost always delicious anyway.