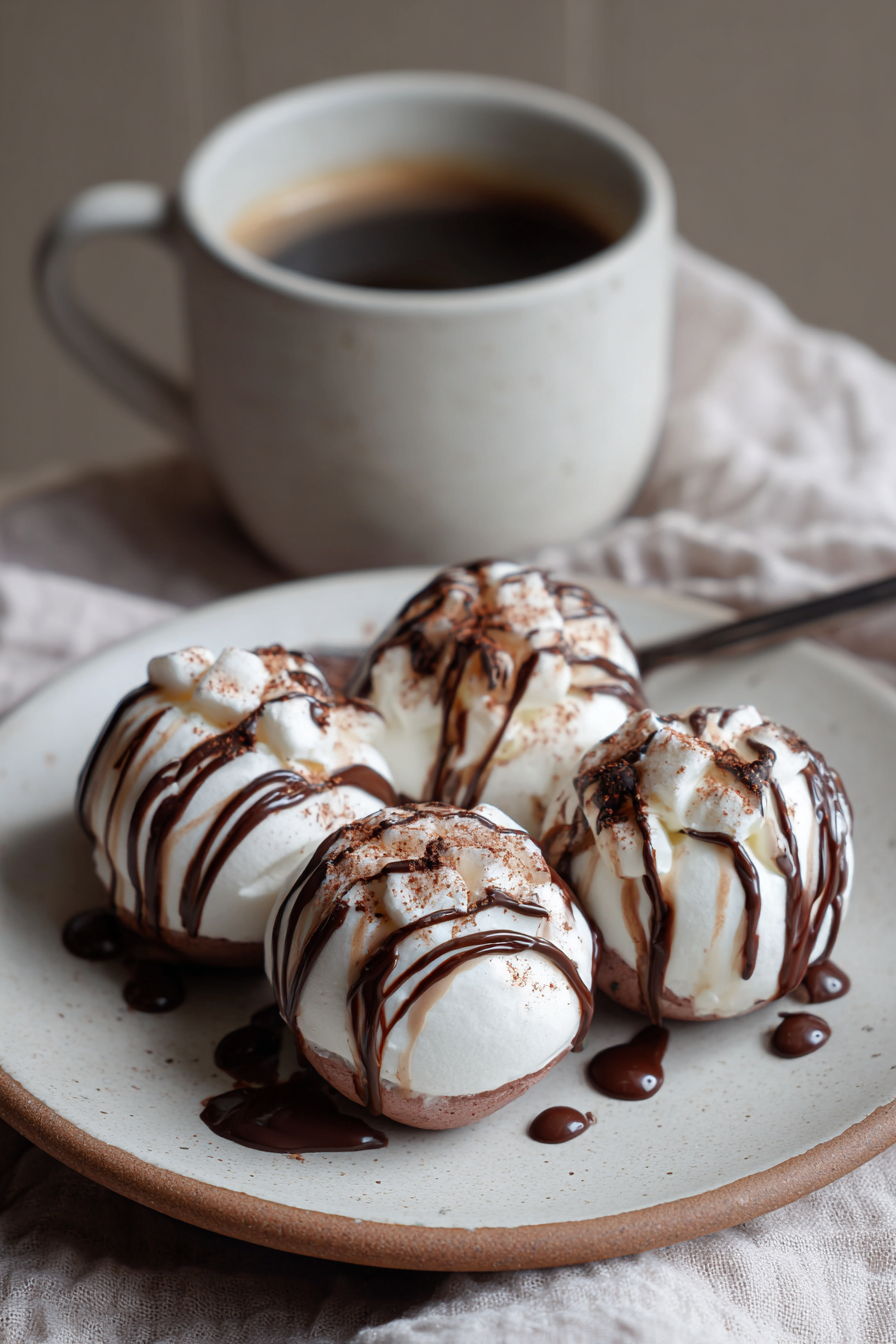
Hot Chocolate Bombs Recipe Tutorial
My first time making hot chocolate bombs was a total disaster. I saw a video online and thought, how hard could it be? I melted the chocolate, filled the molds, and then tried to pop them out. They shattered into a million pieces. My kitchen looked like a chocolate crime scene. I was so frustrated, but my kids thought it was the funniest thing ever. That failure is exactly why I kept trying, and now I want to share everything I learned the hard way with you.
Recipe Card
| Recipe Title | Hot Chocolate Bombs Recipe Tutorial |
|---|---|
| Servings | 6 bombs |
| Prep Time | 45 minutes |
| Cooking Time | 5 minutes (melting) |
| Calories | approx. 180 per bomb |
Ingredients
- 12 oz high-quality chocolate melting wafers
- 6 tbsp hot cocoa mix
- 6 tbsp mini marshmallows
- Optional: crushed candy canes, sprinkles, sea salt
That first time, I used cheap chocolate chips instead of wafers. Big mistake. They don’t temper right and stay goopy forever. You need those proper melting wafers, trust me. And don’t skimp on the cocoa mix either, get the good stuff with mini chocolate chips in it. It makes all the difference in flavor.
Directions
- Melt your chocolate wafers in a microwave-safe bowl in 30-second bursts, stirring well each time.
- Use a spoon or brush to coat the inside of each semi-sphere mold with a thick, even layer of chocolate.
- Pop the molds into the freezer for exactly 10-12 minutes to set completely.
- Gently pop the chocolate hemispheres out of the molds.
- Take one hemisphere and warm a plate in the microwave for 30 seconds.
- Press the flat edge of the hemisphere onto the warm plate for just a second to melt it slightly.
- Quickly fill that half with 1 tbsp of cocoa mix and 1 tbsp of mini marshmallows.
- Press the other hemisphere onto the melted edge to seal the bomb.
- Use any leftover melted chocolate to decorate and cover the seam.
- Add sprinkles or crushed candy canes while the chocolate is still wet.
- Let them set completely at room temperature before storing.
- To serve, place one bomb in a mug and pour 1 cup of hot milk over it.
The step where you melt the edge on a warm plate? I burned my fingers so many times. I was too impatient and would press too hard. The trick is just a light, quick touch. You just need to melt the very edge to act like glue. If you hold it there, the whole shell starts to wilt and you’ll have a mess on your hands, literally.
I can’t tell you how many bombs I cracked trying to get them out of the mold. I’d get excited and just try to pry them out. You have to be so patient and let the freezer do its work. If they don’t pop out easily, they’re not ready. Walk away for a few more minutes. It’s a test of willpower, I swear.
The sealing part is where the magic happens, but also where things can go wrong. One time I was talking to my neighbor and I let the filled half sit too long before sealing. The marshmallows started to melt from the residual heat and made the chocolate all sticky. It was a gluey, un-salvageable disaster. You gotta work fast and have your second half ready to go.
Nutrition Info (per serving)
| Calories | Carbs | Fat | Protein |
|---|---|---|---|
| 180 | 25g | 9g | 2g |
Okay, so these aren’t a health food, let’s be real. But I was surprised the calories aren’t insane if you use a decent cocoa mix. I’ve tried making them with sugar-free chocolate and a stevia-based cocoa mix for my sister who’s diabetic. They worked okay, but the texture was a little waxy. Sometimes you just need the real deal for a special treat.
Ingredient Swaps
| Ingredient | Substitution |
|---|---|
| Chocolate Wafers | High-quality chocolate bars, chopped fine |
| Mini Marshmallows | Dried mini marshmallows or a white chocolate chunk |
| Hot Cocoa Mix | Your own mix of cocoa powder, sugar, and salt |
I tried using those fancy chocolate bars once because I wanted a specific flavor. It was a nightmare to temper and they set with streaks and spots. They tasted amazing, but looked terrible. The dried mini marshmallows are a great swap though, they don’t get sticky and hold up better if you’re making these ahead of time.
Tips
- Don’t rush the freezer step. Set a timer and don’t peek.
- Have all your fillings measured and ready to go before you start sealing.
- If a bomb cracks, just melt it down and re-coat the mold. It’s not wasted!
- Use a small paintbrush for the chocolate to get into all the mold crevices.
That last tip about the paintbrush, I learned that from my mom. I was using a spoon and my layers were so uneven. She came over, saw me struggling, and just handed me a brand new, clean paintbrush from her craft room. It was a total game-changer for getting a smooth, even coat that’s strong enough to handle.
FAQ
Can I use a double boiler instead of the microwave?
Absolutely! I actually prefer it now. The microwave is faster but it’s so easy to overheat the chocolate and then it seizes up. A double boiler gives you more control. Just make sure no water or steam gets into the bowl, that’s another way to ruin your chocolate in a heartbeat.
How far in advance can I make these?
I’ve made them a week ahead and they were fine, but they’re best within 2-3 days. The marshmallows can start to get a little stale if you wait too long. Store them in a single layer in a cool, dry place. Don’t put them in the fridge long-term, they can get condensation and look blotchy.
My bombs won’t melt when I pour the hot milk over them! What did I do wrong?
Oh man, I’ve been there. This usually means your chocolate shell is way too thick. You were probably nervous about breakage and coated the mold too heavily. Next time, try a thinner layer. You can always do a second coat if it looks too thin after the first freeze. A thinner shell cracks open so beautifully in the hot milk.
That’s everything I know about making hot chocolate bombs! Hope you give it a try, and if you mess it up, you’re in good company—I do it all the time. Send me a picture if you make them!
Hot Chocolate Bombs Recipe Tutorial
Learn to create beautiful, professional-looking hot chocolate bombs with this detailed tutorial that covers all the common pitfalls and solutions. Perfect for holiday gifts or cozy winter treats.
Ingredients
- 12 oz high-quality chocolate melting wafers
- 6 tbsp hot cocoa mix
- 6 tbsp mini marshmallows
- Optional: crushed candy canes
- Optional: sprinkles
- Optional: sea salt
Instructions
-
Melt chocolate wafers in microwave-safe bowl using 30-second bursts, stirring well each time
-
Use spoon or brush to coat inside of semi-sphere molds with thick, even chocolate layer
-
Place molds in freezer for 10-12 minutes to set completely
-
Gently pop chocolate hemispheres out of molds
-
Warm plate in microwave for 30 seconds
-
Press flat edge of one hemisphere onto warm plate briefly to melt slightly
-
Quickly fill that half with 1 tbsp cocoa mix and 1 tbsp mini marshmallows
-
Press second hemisphere onto melted edge to seal the bomb
-
Use leftover melted chocolate to decorate and cover the seam
-
Add sprinkles or crushed candy canes while chocolate is still wet
-
Let bombs set completely at room temperature before storing
-
To serve: place one bomb in mug and pour 1 cup hot milk over it
Nutrition (Per Serving)