Spooky Witch Finger Cookies Recipe
I’ll never forget the first time I tried to make these Spooky Witch Finger Cookies. I was so excited for a Halloween party that I rushed everything. My first batch came out looking less like creepy witch fingers and more like a bunch of bloated, ghostly sausages. My husband took one look and asked if I was making “spooky breakfast links” instead. It was a total fail, but we laughed so hard we cried. That’s when I knew I had to master these cookies. Now, they’re my go-to for every spooky season, and I’ve learned all the tricks the hard way.
Recipe Card
| Recipe Title | Spooky Witch Finger Cookies Recipe |
|---|---|
| Servings | About 30 cookies |
| Prep Time | 30 minutes |
| Cooking Time | 15-18 minutes |
| Calories | Approx. 90 per cookie |
Ingredients
- 1 cup (2 sticks) unsalted butter, softened
- 1 cup powdered sugar
- 1 large egg
- 1 teaspoon almond extract
- 1 teaspoon vanilla extract
- 2 ¾ cups all-purpose flour
- 1 teaspoon baking powder
- ½ teaspoon salt
- ⅔ cup whole blanched almonds
- 1 tube red gel icing or red decorating gel
That almond extract is the secret weapon, trust me. I once used imitation extract because it was cheaper and the cookies tasted so fake and weird. Real almond extract makes all the difference. And for the almonds, you really need the blanched ones. I tried using sliced almonds once and they just looked like weird, flat thumbs. Not spooky at all.

Directions
- Preheat your oven to 325°F (165°C). Line your baking sheets with parchment paper.
- In a big bowl, beat the softened butter and powdered sugar together until it’s light and fluffy.
- Beat in the egg, almond extract, and vanilla extract until everything is just combined.
- In a separate bowl, whisk together the flour, baking powder, and salt.
- Gradually add the flour mixture to the butter mixture, mixing until a stiff dough forms.
- Take a heaping tablespoon of dough and roll it into a thin log on a floured surface.
- Shape the log to look like a finger, making it a little lumpy and uneven for a bony effect.
- Pinch the dough in a couple places to make knuckles.
- Press a blanched almond firmly into one end to create the fingernail.
- Use a butter knife or a toothpick to score little lines on the knuckles for wrinkles.
- Place the fingers on the prepared baking sheets, about an inch apart.
- Bake for 15 to 18 minutes, or until the fingertips are just barely starting to turn golden.
- Let them cool on the baking sheet for a few minutes before moving them.
- Once completely cool, squeeze a little red gel icing under the almond “nail” for a bloody effect.
The shaping part is where I always messed up at first. I’d roll the dough too thick and they’d puff up into those sausage fingers I mentioned. You really have to roll them thinner than you think. Also, don’t skip scoring the knuckles! I did that once and they just looked like smooth, alien fingers. And for the love of all that is spooky, let them cool completely before adding the “blood.” I didn’t, and the red icing just melted and ran everywhere. It looked like a crime scene, not a cookie.
My biggest disaster was the year I doubled the recipe for my kid’s class party. I was so proud until I realized I forgot the baking powder in the second batch. They came out of the oven as dense, rock-hard little finger-shaped bricks. We tried to eat them and it was a total jaw workout. I had to run to the store and buy cookies at the last minute. I was so embarrassed.
But when you nail it, these cookies are the absolute best. They’re buttery and crisp with that amazing almond flavor. They’re the perfect easy Halloween treat that always gets a reaction. Kids love how gross they look, and adults love how tasty they are. They’ve become a family favorite that we make every single year.
If I were to change one thing, I might try a version with a little green food coloring in the dough for an extra witchy vibe. I haven’t done it yet because I’m scared of messing up the dough texture, but maybe this is the year I’ll be brave and give it a shot.
Nutrition Info (per serving)
| Calories | Carbs | Fat | Protein |
|---|---|---|---|
| 90 | 10g | 5g | 1g |
Honestly, I don’t make these for the nutrition, they’re a straight-up treat. You could probably swap in some whole wheat flour for a portion of the all-purpose, but I haven’t tried it. The texture might get a little denser. For a gluten-free version, a 1-to-1 gluten-free flour blend works okay, but the dough can be a bit more crumbly, so handle it gently.
Ingredient Swaps
| Ingredient | Substitution |
|---|---|
| Almond Extract | Vanilla Extract (but the flavor is totally different) |
| Blanched Almonds | Slivered Almonds (they look more like claws) |
| Red Gel Icing | Red Jam or Jelly |
I’ve tried all these swaps out of desperation. Using all vanilla extract makes them taste like a boring sugar cookie, so I don’t recommend it. Slivered almonds are a fun swap if you want your witch to have long, creepy claws. And the red jam? It works in a pinch, but it can be a bit sticky and messy. The gel icing really gives you that clean, bloody look.
Tips
- Chill the dough for 20 minutes if your kitchen is warm. It makes shaping so much easier.
- Don’t roll the dough logs perfectly smooth. Imperfections make them look more realistic and creepy.
- Press the almond nail in really, really hard so it doesn’t pop off during baking.
- Bake until just lightly golden on the fingertips. Overbaking makes them brown and less finger-like.
I learned the chilling tip the hard way. My kitchen was super hot one summer and the dough was a greasy, sticky mess. I couldn’t shape anything. I ended up just making blobs and calling them “witches’ warts.” They were not a hit. Now, if the butter feels too soft, I just pop the dough in the fridge for a bit. It’s a total game-changer.
FAQ
Can I make the dough ahead of time?
Absolutely! I do this all the time now. You can wrap the dough tightly in plastic wrap and keep it in the fridge for up to 2 days. Just let it sit out for like 10-15 minutes to soften a bit before you try to roll it out, or it might crack.
Why did my cookies spread so much?
Oh, I’ve been there. This usually means your butter was too soft or you didn’t measure your flour correctly. I used to just scoop the flour right out of the bag with my measuring cup, which packs it in. Now I spoon it into the cup and level it off. It makes a huge difference in preventing those puffy sausage fingers.
My almonds keep falling off! What am I doing wrong?
You’re probably not pressing them in hard enough. You really have to shove that almond in there. Also, make a little indentation with your finger first before you press the almond in. It gives it a better seat to hang on to during baking.
That’s everything I know about making Spooky Witch Finger Cookies! Hope you give it a try, and if you mess it up, you’re in good company—I do it all the time. Happy baking!
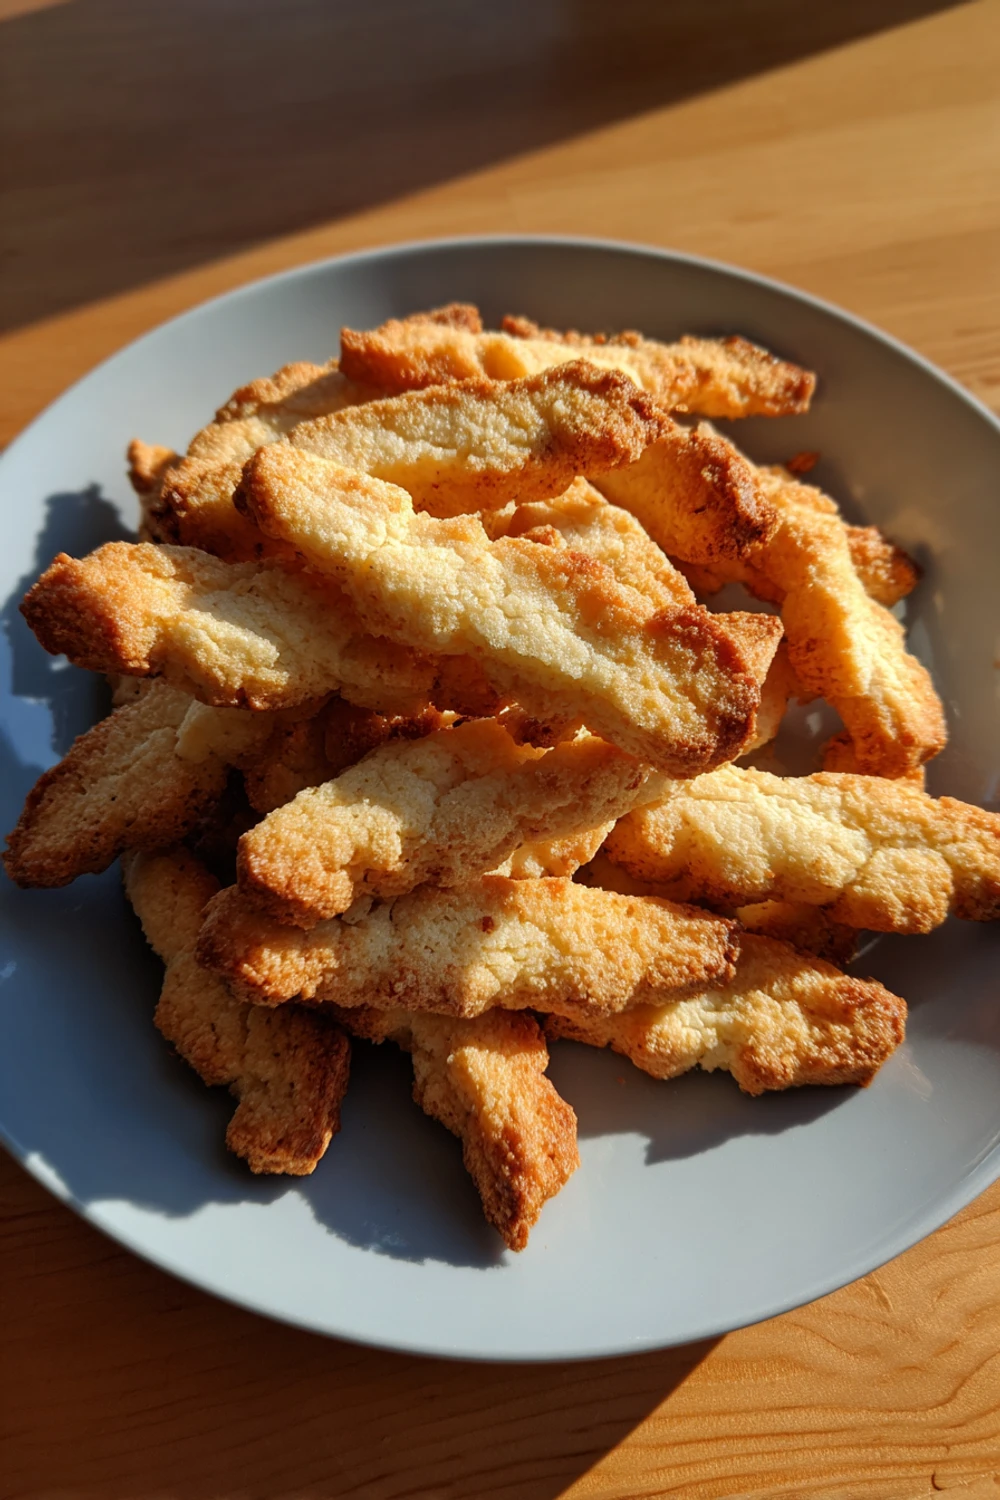
Spooky Witch Finger Cookies
Creepy but delicious almond-flavored cookies shaped like witch fingers, perfect for Halloween parties and spooky season treats.
Ingredients
- 1 cup (2 sticks) unsalted butter, softened
- 1 cup powdered sugar
- 1 large egg
- 1 teaspoon almond extract
- 1 teaspoon vanilla extract
- 2 ¾ cups all-purpose flour
- 1 teaspoon baking powder
- ½ teaspoon salt
- ⅔ cup whole blanched almonds
- 1 tube red gel icing or red decorating gel
Instructions
- Preheat oven to 325°F (165°C) and line baking sheets with parchment paper
- In a large bowl, beat softened butter and powdered sugar until light and fluffy
- Beat in egg, almond extract, and vanilla extract until just combined
- In a separate bowl, whisk together flour, baking powder, and salt
- Gradually add flour mixture to butter mixture, mixing until a stiff dough forms
- Take a heaping tablespoon of dough and roll into a thin log on a floured surface
- Shape the log to look like a finger, making it lumpy and uneven for bony effect
- Pinch the dough in a couple places to create knuckles
- Press a blanched almond firmly into one end to create the fingernail
- Use a butter knife or toothpick to score lines on the knuckles for wrinkles
- Place fingers on prepared baking sheets, about 1 inch apart
- Bake for 15-18 minutes or until fingertips are just barely starting to turn golden
- Let cool on baking sheet for a few minutes before transferring
- Once completely cool, squeeze red gel icing under the almond nail for bloody effect