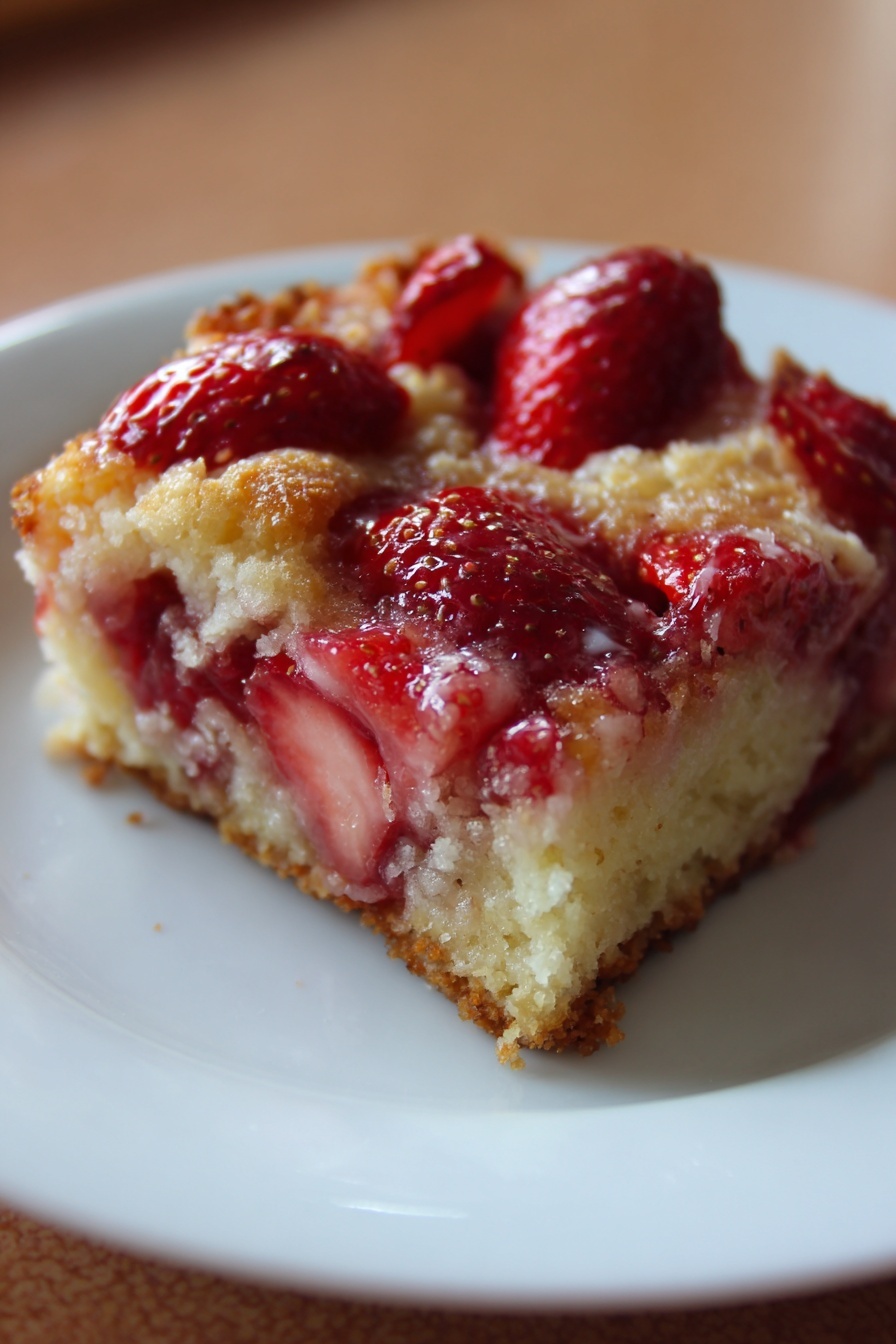
Strawberry-Lemonade Bars Recipe
The first time I tried to make these Strawberry-Lemonade Bars, I completely blanked on the crust. I was so excited about the pink filling I just mixed everything together and poured it in. It came out of the oven a soupy, grainy mess. My husband, trying to be nice, said it tasted like “warm, fruity polenta.” We still laugh about it, but that disaster is why I’m so careful with the steps now.
Recipe Card
| Recipe Title | Strawberry-Lemonade Bars Recipe |
|---|---|
| Servings | 12 bars |
| Prep Time | 25 minutes |
| Cooking Time | 35 minutes |
| Calories | approx. 280 per bar |
Ingredients
- For the Crust: 1 1/2 cups all-purpose flour, 1/2 cup powdered sugar, 3/4 cup cold unsalted butter, cubed
- For the Filling: 1 1/2 cups fresh strawberries, hulled, 3 large eggs, 1 cup granulated sugar, 1/3 cup fresh lemon juice (about 2 lemons), 1/4 cup all-purpose flour, 1 tablespoon lemon zest
- For Dusting: Extra powdered sugar for the top
That cold butter is non-negotiable for the crust. I once used softened butter because I was impatient, and my crust was tough and greasy. It pooled butter in the pan, it was a total disaster. And for the love of all that is good, use real lemons for the juice. The bottled stuff just tastes… off. I learned that the hard way for a family picnic, and the bars had a weird chemical aftertaste.
Directions
- Preheat your oven to 350°F (175°C). Line an 8×8 inch baking pan with parchment paper, leaving some overhang on two sides.
- Make the crust: In a medium bowl, whisk together the 1 1/2 cups flour and 1/2 cup powdered sugar.
- Add the cold, cubed butter. Use a pastry cutter, a fork, or your clean fingers to work the butter into the flour until the mixture looks like coarse, pebbly sand.
- Press this crust mixture firmly and evenly into the bottom of your prepared pan.
- Bake the crust for 18-20 minutes, or until the edges are just barely starting to turn golden.
- While the crust bakes, make the filling: Puree the fresh strawberries in a blender or food processor until completely smooth.
- In a large bowl, whisk the eggs and granulated sugar together until they’re well combined and a little pale.
- Whisk in the strawberry puree, fresh lemon juice, 1/4 cup flour, and lemon zest until the filling is smooth.
- Once the crust is out of the oven, carefully pour the filling over the hot crust.
- Return the pan to the oven and bake for another 20-25 minutes, or until the filling is set. The center should only have a slight jiggle.
- Let the bars cool completely in the pan on a wire rack. Then, chill them in the refrigerator for at least 3 hours, or ideally overnight.
- Use the parchment paper overhang to lift the whole slab out of the pan. Dust with powdered sugar and cut into squares.
The step where you pour the filling onto the hot crust is magic, but it can be tricky. I was once talking to my neighbor and poured it so slowly that the crust cooled down. The final texture was weird and separated. You gotta be confident and pour it all at once while that crust is still nice and warm from the oven. It makes all the difference for that perfect creamy layer on top of the shortbread.
I love making these bars for summer potlucks because they feel fancy but are honestly so simple. They’re my go-to comfort food dessert when I need a bright, happy treat. The best part is that they keep so well in the fridge, making them perfect for leftovers throughout the week. I’ve even tried a healthy swap by using a mix of whole wheat and all-purpose flour in the crust, and it worked surprisingly well for a slightly heartier bite.
My biggest mistake, besides the first-time crust fiasco, was not straining the strawberry puree. I thought the little seeds would be cute and rustic. They were not. They got stuck in everyone’s teeth and added a gritty texture. Now I always press the puree through a fine-mesh sieve. It takes two extra minutes and makes the filling silky smooth. It’s a lesson I learned the hard way at a baby shower, of all places.
What I’d change next time? I might try adding a tiny pinch of salt to the filling. I think it would make the strawberry and lemon flavors pop even more. I’m always tweaking it a little, that’s the fun of being a home cook and not a chef. You get to make it your own after you’ve nailed down the basics.
Nutrition Info (per serving)
| Calories | Carbs | Fat | Protein |
|---|---|---|---|
| 280 | 38g | 13g | 4g |
I was kinda surprised by the fat content, but hey, it’s that delicious butter in the crust! It’s a dessert, after all. I have made it a bit lighter by using a butter substitute in the crust, but the flavor isn’t quite as rich. For my friends who are gluten-free, a 1-to-1 gluten-free flour blend works perfectly in both the crust and the filling, no other changes needed.
Ingredient Swaps
| Ingredient | Substitution |
|---|---|
| Fresh Strawberries | Frozen, thawed strawberries |
| All-Purpose Flour | Gluten-Free 1-to-1 flour blend |
| Granulated Sugar | An equal mix of white and coconut sugar |
Frozen strawberries are a lifesaver when berries are out of season, but you MUST thaw and drain them really well. I didn’t once, and my filling was so watery it never set properly. The coconut sugar swap gives it a deeper, almost caramel-like flavor which is interesting, but it does make your bars look a little muddy, not that pretty pink. The texture stays great, though.
Tips
- Really chill the bars. I know it’s hard to wait, but cutting into them warm is a guaranteed mess. They need that fridge time to firm up.
- Use a plastic knife to cut the chilled bars. It sounds weird, but it gives you the cleanest cuts without sticking or tearing.
- Zest your lemons before you juice them. It’s so much easier than trying to zest a floppy, juiced lemon half.
I cannot stress the plastic knife tip enough. I ruined a whole batch’s presentation at a family reunion by using a giant chef’s knife. It squished the top and dragged the filling everywhere. My aunt pulled out a plastic knife from the picnic supplies and showed me how it’s done. I felt so silly, but it’s a game-changer. I wish I knew that years ago.
FAQ
Can I double this recipe?
Oh yeah, absolutely. Just use a 9×13 inch pan. The baking time might be a few minutes longer, so just keep an eye on it. The first time I doubled it, I forgot to use a bigger pan and had lemonade bar volcano all over my oven. Not a fun clean-up.
Why is my filling weeping or watery?
This usually happens if the berries were too watery or if you didn’t bake it quite long enough. The center should have a slight jiggle, but it shouldn’t look liquidy. If it happens, they still taste amazing, just maybe serve them in a bowl with a spoon!
How long do these bars keep?
They’re best within 3 days in the fridge. The powdered sugar on top will start to dissolve and get absorbed after the first day, so I usually just dust them right before serving. They’ve never lasted more than two days in my house, anyway.
That’s everything I know about making Strawberry-Lemonade Bars! Hope you give it a try, and if you mess it up, you’re in good company—I do it all the time. Let me know how yours turns out!
Strawberry-Lemonade Bars Recipe
Perfectly balanced sweet and tart strawberry-lemonade bars with a buttery shortbread crust – a refreshing summer dessert that’s both beautiful and delicious.

Ingredients
- For the Crust: 1 1/2 cups all-purpose flour
- 1/2 cup powdered sugar
- 3/4 cup cold unsalted butter, cubed
- For the Filling: 1 1/2 cups fresh strawberries, hulled
- 3 large eggs
- 1 cup granulated sugar
- 1/3 cup fresh lemon juice (about 2 lemons)
- 1/4 cup all-purpose flour
- 1 tablespoon lemon zest
- For Dusting: Extra powdered sugar for the top
Instructions
-
Preheat oven to 350°F (175°C). Line an 8×8 inch baking pan with parchment paper, leaving overhang on two sides.
-
Make the crust: In a medium bowl, whisk together 1 1/2 cups flour and 1/2 cup powdered sugar.
-
Add cold, cubed butter. Use a pastry cutter, fork, or clean fingers to work butter into flour until mixture resembles coarse, pebbly sand.
-
Press crust mixture firmly and evenly into the bottom of prepared pan.
-
Bake crust for 18-20 minutes, until edges are just barely starting to turn golden.
-
While crust bakes, make the filling: Puree fresh strawberries in blender or food processor until completely smooth.
-
In a large bowl, whisk eggs and granulated sugar together until well combined and pale.
-
Whisk in strawberry puree, fresh lemon juice, 1/4 cup flour, and lemon zest until filling is smooth.
-
Once crust is out of oven, immediately pour filling over the hot crust.
-
Return pan to oven and bake for 20-25 minutes, until filling is set (center should have only a slight jiggle).
-
Let bars cool completely in pan on wire rack. Chill in refrigerator for at least 3 hours, or ideally overnight.
-
Use parchment paper overhang to lift entire slab out of pan. Dust with powdered sugar and cut into squares with a plastic knife for clean cuts.
Nutrition (Per Serving)