Best Classic Deviled Eggs Recipe
Oh man, deviled eggs. There’s just something about ’em, isn’t there? For me, they bring back so many memories of family get-togethers, potlucks at church, and pretty much any holiday. My grandma, bless her heart, always had a platter of them, and they were always the first thing to disappear. I remember trying to make my first batch for Thanksgiving one year, probably when I was about fifteen. I was so confident, thinking, “It’s just eggs, how hard can it be?” Famous last words, right? I boiled them until the yolks were that weird greenish-gray color, and then I tried to peel them while they were still hot, practically scalding my fingertips and tearing half the whites to shreds. The filling was a lumpy mess because I didn’t mash the yolks well enough, and I definitely put too much mustard in. They looked like something a toddler had made, and tasted, well, *eggy* with a kick of sadness. But even then, my family ate them, probably out of pity, and I swore I’d figure out the Best Classic Deviled Eggs Recipe if it killed me.
Recipe Card
| Recipe Title | Best Classic Deviled Eggs Recipe |
|---|---|
| Servings | 12 halves (from 6 large eggs) |
| Prep Time | 15 minutes |
| Cooking Time | 12-15 minutes |
| Calories | 75 per half (approx.) |
Ingredients
- 6 large eggs
- 1/4 cup mayonnaise (full-fat, please!)
- 1 teaspoon yellow mustard
- 1 teaspoon white vinegar (or pickle juice, if you’re feeling wild)
- 1/4 teaspoon salt
- Pinch of black pepper
- Paprika, for garnish
Okay, let’s talk about these ingredients. Every single one plays a role, and I’ve messed up plenty of batches by either skimping or going overboard.
First up, the eggs. Six large ones are perfect for a small gathering, yielding a dozen deviled egg halves. I’ve learned the hard way that older eggs, like a week or two past their purchase date, peel so much easier. Fresh-from-the-chicken eggs are a nightmare to peel, I swear, you lose half the white every time!
Mayonnaise – this is super important. Please, for the love of all that is good, use real, full-fat mayonnaise. Not salad dressing, not light mayo, just the good stuff. I once tried to make a “healthier” version with low-fat mayo, and it just didn’t have that creamy richness. It tasted… sad and watery, and the texture was all wrong. My aunt even asked if I forgot an ingredient. Never again.
Yellow mustard is what gives it that classic deviled egg zing. Don’t go fancy with Dijon here, unless you’re specifically going for a different vibe. I tried Dijon once, thinking it’d be sophisticated, but it just wasn’t the same. It was too sharp, too fancy. Stick with the good old basic yellow for this classic recipe.
White vinegar might seem like a small amount, but it’s crucial for that little bit of tang that makes deviled eggs so addictive. I’ve forgotten it before, and the filling tasted flat, like it was missing something bright. Sometimes, if I have some leftover pickle juice from a jar of dill pickles, I’ll use that instead for an extra layer of flavor. It adds a little something extra, a bit more depth.
Salt and black pepper are just your basic seasonings. Don’t skip them, even though it’s a small amount. A pinch of pepper really wakes up the flavor, and salt, well, salt makes everything taste better. I’ve been in a rush and forgot to season, and the eggs just tasted… bland. You’ve got to season the yolk mixture, friends.
And finally, paprika for garnish. It doesn’t really add much to the flavor, but it makes them look so pretty and classic. A little sprinkle of brightness. I used to forget this all the time, or just dump it on sloppily. Now I take my time, or sometimes use smoked paprika for a tiny twist, but the classic sweet paprika is always a winner.
Directions
- Carefully place eggs in a single layer in a saucepan. Cover with cold water by about an inch.
- Bring water to a rolling boil over high heat. Once boiling, immediately turn off the heat, cover the pan, and let sit for 12-15 minutes.
- While eggs are sitting, prepare an ice bath: fill a large bowl with ice water.
- After 12-15 minutes, use a slotted spoon to transfer eggs to the ice bath. Let cool completely, about 10-15 minutes.
- Gently tap each egg on the counter to crack the shell, then carefully peel under cool running water.
- Slice each peeled egg in half lengthwise.
- Scoop out the yolks into a medium bowl and place the egg white halves on a serving platter.
- Mash the yolks thoroughly with a fork until they are very fine and no lumps remain.
- Add mayonnaise, yellow mustard, white vinegar, salt, and black pepper to the mashed yolks.
- Mix well until the filling is creamy and smooth. Taste and adjust seasonings if needed.
- Spoon or pipe the yolk mixture back into the egg white halves.
- Garnish with a sprinkle of paprika.
- Chill in the refrigerator for at least 30 minutes before serving.
Okay, so those directions sound straightforward, right? Ha! Let me tell you, each one of these steps has a potential disaster lurking if you’re not careful.
The boiling part? That’s where the green ring of doom comes from if you overcook them. My first few times, I’d just boil them for like, twenty minutes, because I thought longer meant harder. Nope. It just means that gross sulfurous smell and a gray-green ring around the yolk. Now I stick to that 12-15 minute resting method after boiling, and it works perfectly every time. Also, don’t overcrowd the pot; if you stack them, they won’t cook evenly, and some might even crack.
And peeling! Oh man, peeling. This is where dreams go to die. I’ve stood at the sink, muttering curses, trying to get stubborn shells off, leaving behind jagged, ugly egg white craters. The trick is definitely the ice bath. That shock of cold stops the cooking and helps the membrane separate from the egg. And peeling under running water? Game changer. It helps wash away tiny shell fragments and makes the peeling so much smoother. If you try to peel them warm, you’re just asking for trouble and shredded whites.
Mashing the yolks is another spot where I messed up a lot early on. I’d just kinda smush them a few times and call it good, but then I’d have these chunky, lumpy deviled eggs. Nobody wants chunky deviled eggs! You really need to get in there with a fork and mash, mash, mash until it’s super fine. Almost like a powder before you add the wet ingredients. It makes all the difference in achieving that smooth, creamy filling that just melts in your mouth.
Adding all the other stuff to the yolks – this is where you can totally personalize it. My first few attempts, I’d just dump everything in and stir. Sometimes I’d forget the vinegar entirely, and they tasted so flat. Other times, I’d get heavy-handed with the mustard, and they’d be way too tangy. The best advice here is to taste as you go. Add the amounts listed, mix, and then take a tiny taste. Does it need more salt? A little more tang? Adjust it until it’s perfect for *you*. It’s your kitchen, after all!
For the filling part, you can absolutely just spoon the mixture back into the egg whites. That’s how my grandma always did it, and it gives them that charming, rustic, homemade look. But if you want them to look a little fancier for a party, a piping bag with a star tip makes them look really professional. I actually just use a Ziploc bag, snip off a corner, and pipe it in. My first attempt at this, the corner I snipped was too big, and the whole bag exploded. I had deviled egg filling everywhere! Now I start with a tiny snip and make it bigger if I need to. Live and learn!
Honestly, making deviled eggs can be a bit of a process, especially if you’re chasing that perfectly smooth, creamy, beautiful appetizer. I’ve had my share of green yolks, torn whites, and too-runny fillings. But even with all those little mishaps, it’s one of my absolute favorite things to bring to a potluck because everyone loves them. They’re such a classic comfort food, and while they might not be an “easy dinner” or “one-pot meal,” they are a total crowd-pleaser and a family favorite. The joy on people’s faces when they see a platter of deviled eggs makes every peeling struggle worth it. Plus, they’re surprisingly easy to make ahead for meal prep—just keep the filling and whites separate until you’re ready to serve. What would I change next time? Probably try a different garnish like chives or a tiny bit of bacon. Just to shake things up.
Nutrition Info (per serving)
| Calories | Carbs | Fat | Protein |
|---|---|---|---|
| 75 | 1g | 6g | 3g |
The nutrition info always surprises me a little, even though it makes sense when you think about eggs and mayonnaise. Each half is about 75 calories, which adds up if you eat five (which I totally do sometimes!). When I first saw the fat content, I was a bit shocked, but hey, it’s full-fat mayo and a delicious egg yolk, so it’s bound to have some fat. I have tried making them lighter by using Greek yogurt instead of some of the mayonnaise, or using light mayo, but honestly, the flavor and texture just aren’t the same. They don’t have that rich, creamy decadence you expect from a classic deviled egg. For special diets, I usually just suggest sticking to the original recipe, because trying to lighten it too much really compromises the taste. If someone needs low-fat, maybe this isn’t the dish for them, or they can just enjoy one or two and savor it. It’s okay to have something a little indulgent sometimes!
Ingredient Swaps
| Ingredient | Substitution |
|---|---|
| Mayonnaise | Greek Yogurt (plain, full-fat) |
| Yellow Mustard | Dijon Mustard |
| White Vinegar | Pickle Juice (dill or sweet) |
| Paprika | Fresh Chives, Dill, or Smoked Paprika |
Okay, so ingredient swaps. Some of these work pretty well, and some are just… not quite right for a “classic” recipe. Swapping some of the mayonnaise for plain, full-fat Greek yogurt can work for a slightly tangier, lighter version, but it does change the texture a bit – it’s not quite as rich. I tried this for a New Year’s party once, and while some people liked it, others definitely noticed the difference. It lacked that familiar creaminess.
Dijon mustard instead of yellow? That’s a definite flavor shift. Dijon is sharper, more complex. If you like that, go for it! But it won’t be that bright, simple, classic deviled egg taste. I accidentally grabbed Dijon instead of yellow mustard once, and the batch tasted totally different. Still good, but not what I was aiming for. So, be warned!
Pickle juice for white vinegar is a swap I actually love. It adds a little more depth and a hint of dill or sweetness, depending on what kind of pickle juice you use. It’s my go-to when I want to elevate the tang. This one is a winner in my book, and it usually gets compliments from people trying to guess the “secret ingredient.”
And for garnish, moving beyond paprika to fresh chives or dill is lovely! It adds a fresh herby note and looks beautiful. Smoked paprika also gives a nice subtle smoky flavor, which I sometimes use if I’m feeling adventurous. These garnishes are more about personal preference and visual appeal, and less about changing the core deviled egg experience. They rarely fail, and just add to the fun.
Tips
- Use older eggs for easier peeling.
- Don’t skip the ice bath!
- Mash those yolks *really* well.
- Taste and adjust your filling before piping.
- Chill your deviled eggs for at least 30 minutes before serving.
These tips? Oh man, these are lessons learned the hard way, through countless failed batches and moments of pure frustration.
Using older eggs for easier peeling: This is probably the biggest game-changer. I used to buy eggs the day before I planned to make deviled eggs, thinking fresher was better. Wrong! I’d end up with half the white stuck to the shell, and my deviled eggs looked like they’d been through a war. My grandma finally told me to use eggs that were at least a week old, and it was like magic. The shells practically slide off.
Don’t skip the ice bath: I used to think this was just an extra step, like, “Why can’t I just run them under cold water for a minute?” The ice bath really stops the cooking quickly and thoroughly. If you don’t cool them down fast enough, the residual heat keeps cooking the yolks, leading to that dreaded green ring around the yolk. Plus, that quick temperature change helps the shell separate from the egg white, making peeling much easier. I learned this when I was in a rush and just let them cool on the counter – green yolks and awful peeling, guaranteed.
Mash those yolks *really* well: I cannot stress this enough. I remember one time, I was trying to be quick and just barely mashed the yolks. When I mixed in the mayo and mustard, the filling was full of little hard lumps of yolk. It was edible, but it wasn’t that smooth, creamy texture you want. It felt gritty. Take the extra minute or two to really get those yolks super fine. It’s worth it, trust me.
Taste and adjust your filling before piping: This is a no-brainer now, but I used to just follow the recipe exactly, fill them up, and then taste. Sometimes they were bland, sometimes too tangy, and then it’s too late to really fix it without making a huge mess. Now, I always take a tiny spoon, taste a bit of the mixed filling, and tweak it. A little more salt? A dash more vinegar? This step is crucial for perfection.
Chill your deviled eggs for at least 30 minutes: I once made a batch right before a party and didn’t chill them at all. They were fine, but the filling was a little too soft, and they didn’t hold their shape as well. Plus, deviled eggs just taste better cold. The flavors meld, and they get firmer. I now always aim to make them a few hours ahead, or even the day before, and let them get nice and cold in the fridge. It really makes a difference to the overall enjoyment.
FAQ
**Q: Why are my deviled eggs hard to peel?**
A: Oh man, the bane of every deviled egg maker’s existence! Usually, it’s because your eggs are too fresh. Super fresh eggs tend to cling to their shells like crazy. Try using eggs that are at least a week old next time. Also, don’t skip the ice bath after boiling; that sudden temperature change helps the membrane release from the egg white, making them easier to peel. And peel them under cool running water, that helps too!
**Q: My deviled egg filling is too runny/too dry. What happened?**
A: This usually comes down to the mayo. If it’s too runny, you probably added too much mayonnaise or perhaps used a low-fat or salad dressing type mayo that has more water content. If it’s too dry, you likely didn’t add enough mayo, or maybe your yolks weren’t mashed finely enough. The fix for runny? Carefully mash in a tiny bit more egg yolk (if you have any extra) or even a pinch of dry mustard powder can help thicken it slightly. For dry, just add a tiny bit more mayo, a teaspoon at a time, until you hit that creamy consistency.
**Q: How far in advance can I make deviled eggs?**
A: You can definitely prep parts of them ahead of time! I often boil and peel the eggs the day before. You can also make the yolk filling the day before and store it in an airtight container in the fridge. Keep the egg white halves separate. Then, just before serving (an hour or two before), pipe or spoon the filling into the whites and garnish. Once they’re fully assembled, they’re best eaten within 1-2 days, but they’ll start to lose their freshness and might get a bit watery after that.
**Q: What’s the secret to a super smooth deviled egg filling?**
A: It all comes down to mashing those yolks! You want them to be as fine as possible, almost powdery, before you add any wet ingredients. Don’t be shy with your fork! Some fancy chefs even push their yolks through a sieve, but honestly, as a home cook, a good vigorous mashing with a fork does the trick. Just make sure there are absolutely no lumps left. Also, using full-fat mayonnaise helps with creaminess.
**Q: Can I add other ingredients to my deviled eggs?**
A: Absolutely! The “classic” recipe is just a starting point. Once you’ve got the basics down, feel free to experiment. I love adding a tiny bit of finely minced relish (sweet or dill, depending on my mood), a dash of hot sauce for a kick, or even some crispy bacon bits. Finely chopped chives or fresh dill are also fantastic. Just remember that adding wet ingredients might make your filling runnier, so adjust the mayo accordingly. Have fun with it!
That’s everything I know about making Best Classic Deviled Eggs Recipe! Hope you give it a try. And if you mess it up, you’re in good company—I still do it sometimes.
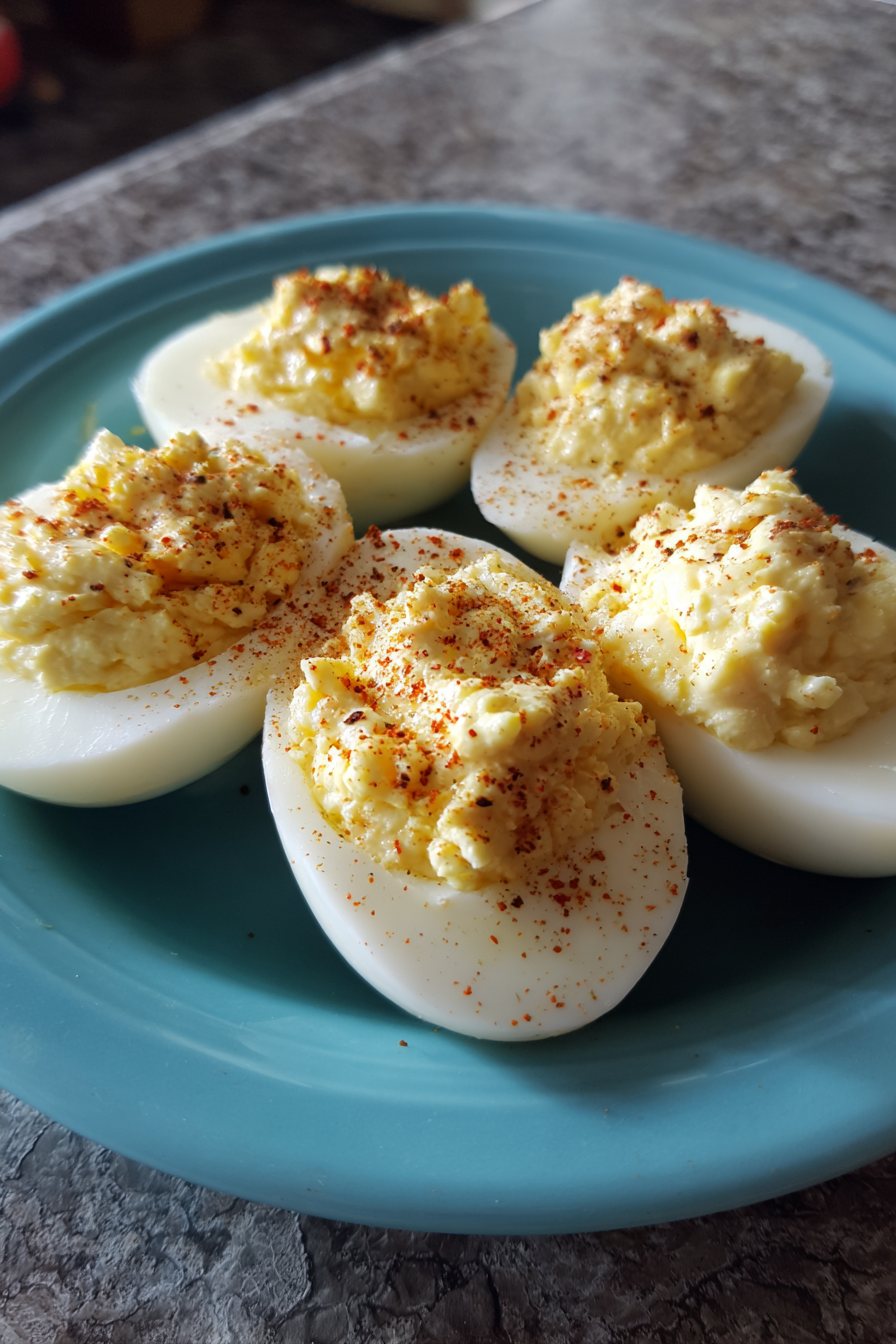
Best Classic Deviled Eggs Recipe
Rediscover the timeless appeal of perfectly creamy and tangy deviled eggs, a quintessential appetizer that brings back cherished memories of family gatherings and potlucks. This foolproof recipe guides you through every step to achieve smooth yolks and easy-to-peel whites, ensuring a crowd-pleasing classic.
Ingredients
- 6 large eggs
- 1/4 cup mayonnaise (full-fat)
- 1 teaspoon yellow mustard
- 1 teaspoon white vinegar (or pickle juice)
- 1/4 teaspoon salt
- Pinch of black pepper
- Paprika, for garnish
Instructions
-
Carefully place eggs in a single layer in a saucepan. Cover with cold water by about an inch.
-
Bring water to a rolling boil over high heat. Once boiling, immediately turn off the heat, cover the pan, and let sit for 12-15 minutes.
-
While eggs are sitting, prepare an ice bath: fill a large bowl with ice water.
-
After 12-15 minutes, use a slotted spoon to transfer eggs to the ice bath. Let cool completely, about 10-15 minutes.
-
Gently tap each egg on the counter to crack the shell, then carefully peel under cool running water.
-
Slice each peeled egg in half lengthwise.
-
Scoop out the yolks into a medium bowl and place the egg white halves on a serving platter.
-
Mash the yolks thoroughly with a fork until they are very fine and no lumps remain.
-
Add mayonnaise, yellow mustard, white vinegar, salt, and black pepper to the mashed yolks.
-
Mix well until the filling is creamy and smooth. Taste and adjust seasonings if needed.
-
Spoon or pipe the yolk mixture back into the egg white halves.
-
Garnish with a sprinkle of paprika.
-
Chill in the refrigerator for at least 30 minutes before serving.
Nutrition (Per Serving)