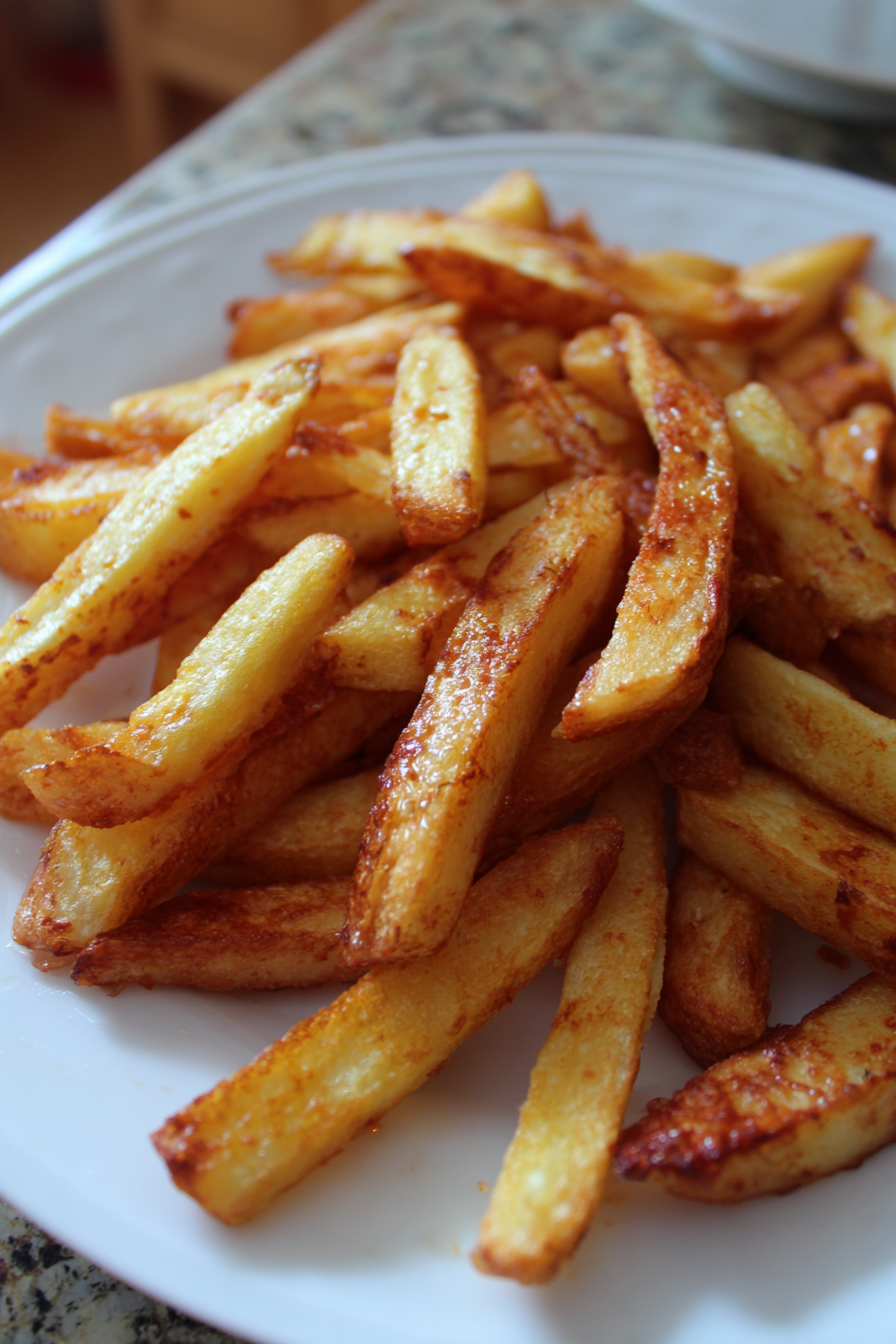
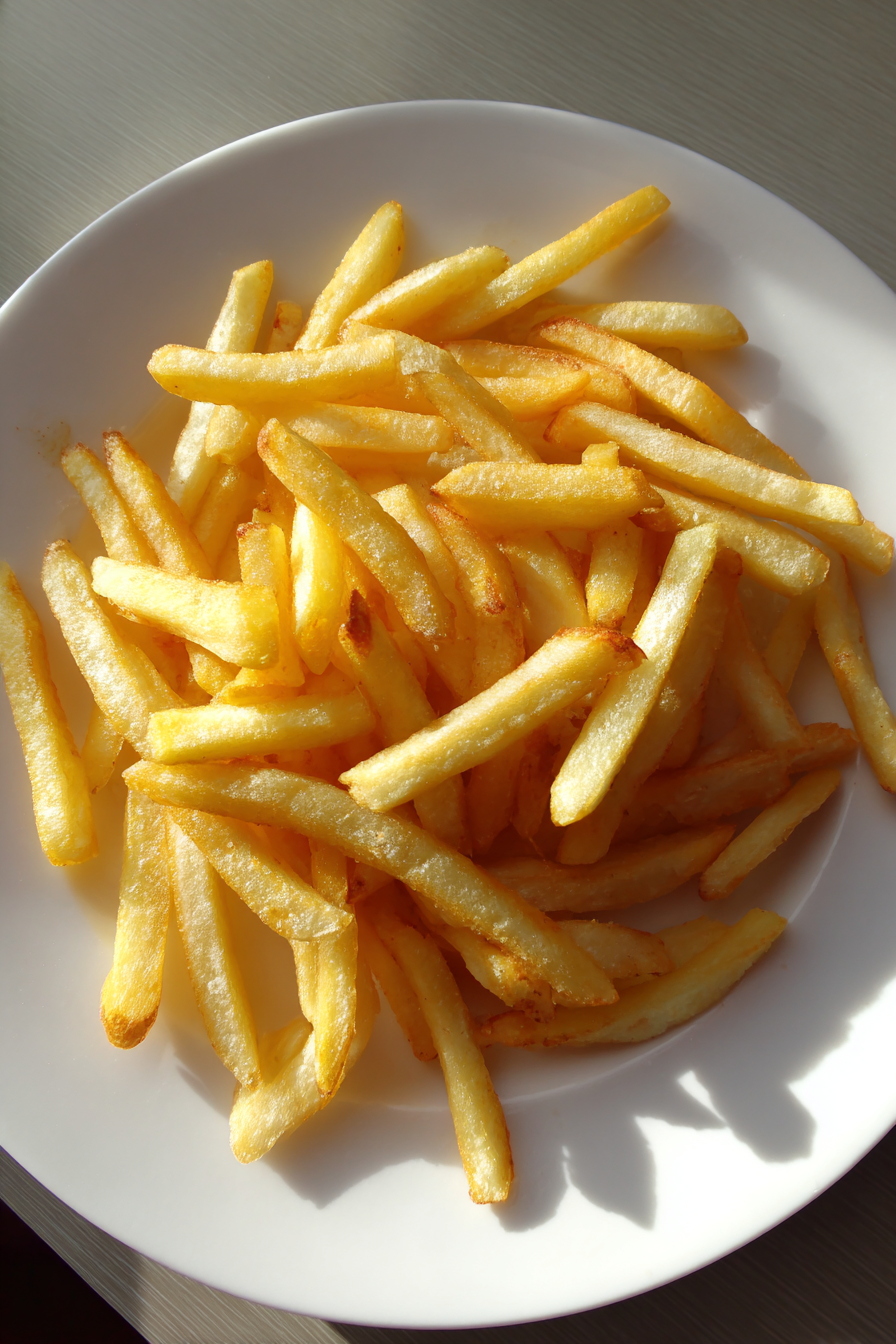
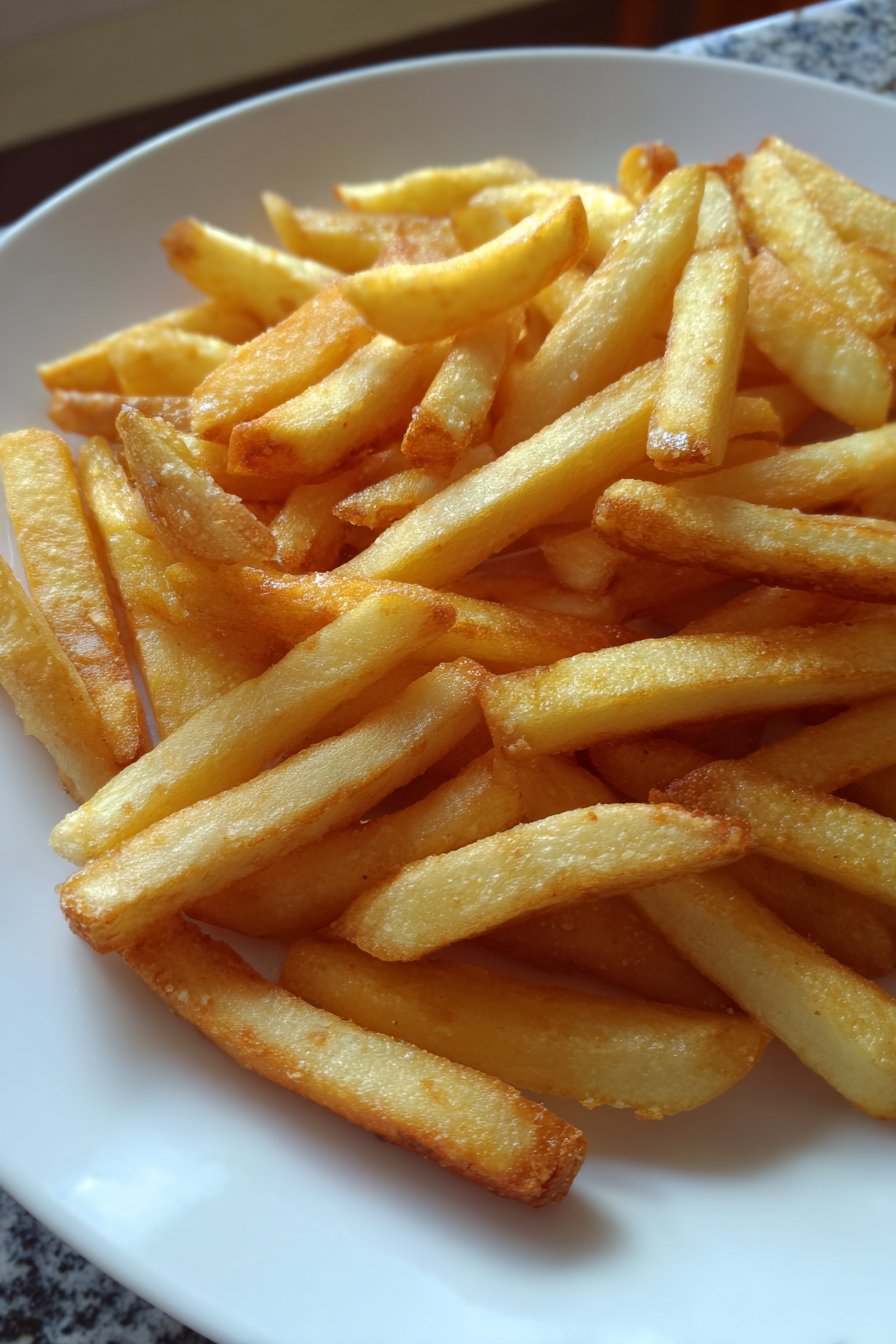
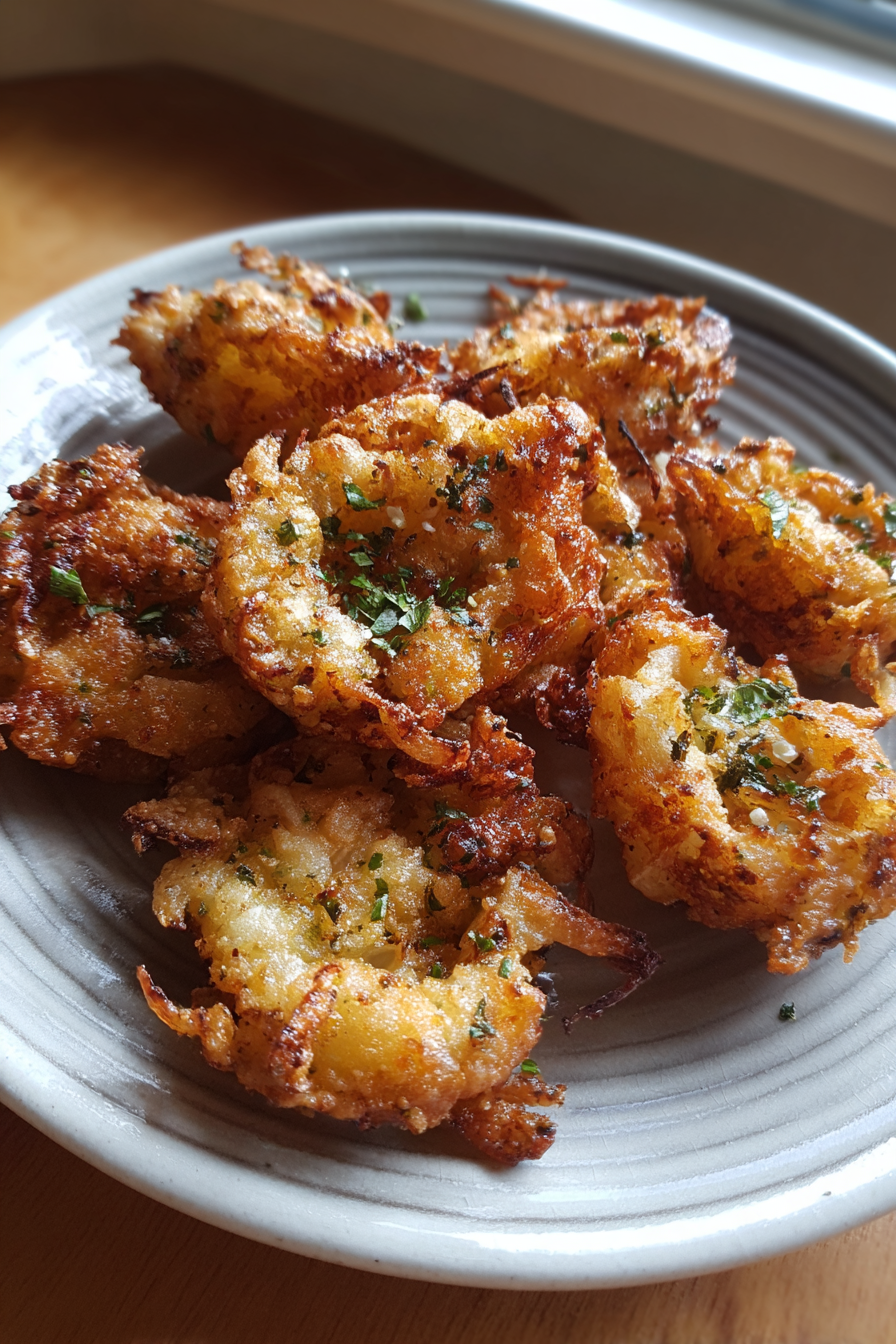
Crispy Easy Awesome Blossom Onion Bites
Oh my goodness, y’all. Let me tell you about these Crispy Easy Awesome Blossom Onion Bites. They’re not just a recipe; they’re a whole saga in my kitchen. You know how those big, fancy blooming onions at restaurants are just… legendary? Well, a few years back, I got it in my head that I was gonna make one for a game day party. I bought the biggest onion I could find, watched a dozen YouTube videos, and felt super confident. Fast forward to an hour before kickoff: my “blossom” looked more like a drowned, sad lily, the petals kept breaking off, and it was just a greasy, uncooked mess in the middle. I almost cried right there on the kitchen floor, surrounded by soggy onion bits and flour dust. My husband, bless his heart, walked in and said, “Honey, why don’t we just… chop it up and fry the good pieces?” And just like that, the “Crispy Easy Awesome Blossom Onion Bites” were born out of pure, unadulterated failure and a quick pivot. We scooped up all those sad, broken pieces, gave them a quick dredge, and fried them anyway. They weren’t a beautiful blossom, but boy, were they delicious! Crispy, flavorful, and way easier to eat. Now, they’re our go-to snack, and honestly, I wouldn’t trade that disaster for anything.
Recipe Card
| Recipe Title | Crispy Easy Awesome Blossom Onion Bites |
|---|---|
| Servings | 4-6 (as a snack) |
| Prep Time | 20 minutes (plus 30 min soak) |
| Cooking Time | 15-20 minutes |
| Calories | Approx. 350-400 per serving (see note below) |
Ingredients
- 2 large sweet onions (like Vidalia or Walla Walla)
- 2 cups all-purpose flour, divided
- 1 tbsp smoked paprika
- 1 tsp garlic powder
- 1 tsp onion powder
- ½ tsp cayenne pepper (or more for a kick!)
- 1 tsp dried oregano
- ½ tsp salt
- ½ tsp black pepper
- 1 ½ cups buttermilk
- 2 large eggs
- Vegetable oil or canola oil, for frying (about 4-6 cups)
Okay, so let’s chat about these ingredients for a sec. The onions are key, right? I learned pretty quickly that using a strong yellow onion can be a bit much. It’s got a bite that, when fried, sometimes feels a little too aggressive. Sweet onions, though? They caramelize just right and have that lovely, mellow flavor that really shines through the crispy coating. Don’t skimp on a good sweet onion, trust me on this one.
The flour is your foundation. I once tried to get fancy and used self-rising flour, thinking it’d be extra puffy. Nope. It was just… weirdly cakey and didn’t stick right. All-purpose is where it’s at. And dividing it is important because you’ll want some for that initial dredge and more for the spiced coating.
Spices! This is where you can really play. The paprika gives it that lovely, slightly smoky color and flavor, garlic and onion powder just amp up the savory goodness, and cayenne? Oh, cayenne. I learned the hard way that a little goes a long way if you’re not a huge spice fan. My husband loves heat, so one time I went a little wild with the cayenne, and my poor sister almost cried when she took a bite. Now, I usually put in ½ tsp and offer extra hot sauce on the side for the brave souls. Oregano, salt, and pepper are your flavor anchors. Don’t forget them!
Buttermilk and eggs create that magical wet dredge that helps everything stick. If you don’t have buttermilk, don’t sweat it. I’ve been there so many times. Just add a tablespoon of white vinegar or lemon juice to regular milk and let it sit for 5 minutes. It curdles a bit, and boom, instant buttermilk substitute. Works like a charm every single time. Just make sure your eggs are mixed in well so you don’t get a stringy yolk situation during dipping.
And finally, the oil. Get a neutral oil, like vegetable or canola. Please, for the love of all that is crispy, do not try to use olive oil. I saw someone suggest it once, and I thought, “Hmm, healthier?” The smoke point is too low, and it just tastes… off. Plus, you need a fair bit of it for frying. Don’t cheap out on the oil; it makes a huge difference in crispiness and flavor.
Directions
- Peel and slice the sweet onions into ¼ to ½ inch thick rounds. Separate them into individual rings or smaller pieces.
- Place the separated onion pieces in a large bowl and cover them with cold water. Let them soak for at least 30 minutes. This helps mellow their flavor and makes them extra crisp.
- While the onions soak, prepare your dredging stations. In a shallow dish or pie plate, combine 1 cup of all-purpose flour.
- In another shallow dish, whisk together the buttermilk and eggs until well combined.
- In a third shallow dish, combine the remaining 1 cup of flour with the smoked paprika, garlic powder, onion powder, cayenne pepper, oregano, salt, and black pepper. Whisk to combine.
- Drain the onions really well and pat them dry with paper towels. This is a critical step for a crispy coating!
- Working in small batches, first dredge the onion pieces in the plain flour, shaking off any excess.
- Next, dip the floured onions into the buttermilk mixture, letting any excess drip off.
- Finally, transfer the wet onions to the spiced flour mixture, pressing gently to ensure a good, even coating. Place the coated onions on a wire rack set over a baking sheet while you coat the rest.
- Heat 2-3 inches of oil in a large, heavy-bottomed pot or Dutch oven over medium-high heat until it reaches 350-375°F (175-190°C). Use a thermometer if you have one!
- Carefully add the coated onion bites to the hot oil in small batches, making sure not to overcrowd the pot.
- Fry for 2-4 minutes, flipping occasionally, until golden brown and crispy.
- Using a slotted spoon, remove the cooked onion bites and transfer them to a paper towel-lined plate to drain excess oil.
- Season immediately with a pinch more salt, if desired, and serve hot with your favorite dipping sauce.
Okay, let’s talk through these steps because there are a few places where I’ve messed up royally, and you absolutely don’t want to repeat my mistakes. That initial slicing? Try to keep them somewhat even. One time I was rushing and had super thin pieces alongside chunky ones. The thin ones burned to a crisp while the thick ones were still pale and sad. It was a texture nightmare!
The soaking step might seem like a pain, but oh my goodness, it’s a game changer. I used to skip it, thinking, “Who has time for that?” But the onions just don’t get as crispy, and that raw onion bite is more prominent. Soaking really mellows them out and helps them crisp up beautifully. Just think of it as a little spa treatment for your onions.
The dredging stations – this is where my kitchen usually looks like a flour bomb went off. My biggest mistake here was not having enough space or using bowls that were too small. The flour and wet mixtures got all mixed up, and by the time I was halfway through, I was basically just dipping onions into a gluey mess. Now, I use pie plates or wide, shallow containers, and I try to keep my “dry hand” and “wet hand” separate. It usually still gets messy, but at least the coating is consistent.
And for the love of all that is delicious, pat those drained onions DRY. Seriously. If they’re wet, the flour won’t stick properly, and you’ll end up with patchy, sad coating, or worse, the oil will splatter like crazy when you drop them in. I once thought “good enough” for drying was okay, and my kitchen floor paid the price with grease splatters everywhere. Learn from my messy, greasy past!
Frying is where the magic happens, but it’s also the trickiest part. That oil temperature? It’s everything. If it’s too cold, your onion bites will soak up too much oil and become greasy and soggy – I’ve done this more times than I care to admit. If it’s too hot, they’ll burn on the outside before the onion even has a chance to soften, and trust me, burnt flour tastes awful. A thermometer is your best friend here. And the small batches thing? It’s not just a suggestion. Overcrowding the pot drops the oil temperature too fast, leading to the dreaded soggy bite. Patience is a virtue when you’re frying! I once tried to fit way too many in, and they clumped together into one giant, sad onion fritter. Not exactly “bites” then.
After the recipe card, let me just pour my heart out about these Crispy Easy Awesome Blossom Onion Bites. They’ve become this unexpected hero in our house. When I first failed at the full blossom, I was so embarrassed. But watching everyone dive into these bites, picking them up with their fingers, laughing, and reaching for more… it was such a great feeling. It’s proof that sometimes, the best recipes come from trying to fix a kitchen disaster.
They’re just perfect for game nights or when you have friends over. Easy to grab, easy to dip, and everyone just loves them. My kids, who are usually skeptical of anything “onion,” devour these. I think it’s the crispy coating and the fact that they’re bite-sized – less intimidating, maybe? We’ve tried serving them with everything from ranch dressing to a homemade spicy mayo, and they always disappear fast. They are definitely a family favorite, and I’ve even started calling them our “happy accident bites.”
One thing I’ve noticed is that they don’t really do well as leftovers if you’re looking for that fresh-fried crispness. They get a little soft in the fridge. But honestly, they rarely make it to leftover status anyway! If I were to change anything next time, I’d probably experiment more with the spice blend—maybe some smoked paprika for an extra smoky kick, or even a little bit of cumin for a different twist. They’re great for an “easy dinner” appetizer, or a comforting snack on a chilly evening. And while not exactly a healthy swap, they’re certainly more manageable than a whole gigantic onion.
Nutrition Info (per serving)
| Calories | Carbs | Fat | Protein |
|---|---|---|---|
| 380 | 35g | 25g | 7g |
Okay, so looking at these numbers, yeah, it’s definitely not health food, right? It’s a fried snack, so the fat and calorie count isn’t super surprising. I mean, we’re deep-frying onions here! That said, I have tried to make it a little lighter sometimes. I’ve experimented with air frying, and while they do get crispy, they just don’t have that same rich, indulgent flavor that deep-frying gives. It’s a different kind of crispy, more dry. For people wanting a healthier swap, air frying is an option, but just know it’s not quite the same experience. I also tried using whole wheat flour once for the dredge, and it worked okay, but the texture was a bit denser, and the flavor was a little nuttier, which wasn’t everyone’s favorite for this particular snack. So, for special diets, you could probably look into gluten-free flour blends, but I haven’t personally tested them enough to give a solid recommendation. Sometimes, you just gotta embrace the deliciousness of a fried onion.
Ingredient Swaps
| Ingredient | Substitution |
|---|---|
| Sweet Onions | Yellow onions (stronger flavor) or shallots (milder, smaller bites) |
| Buttermilk | Regular milk + 1 tbsp vinegar/lemon juice (let sit 5 mins) |
| All-Purpose Flour | Gluten-free flour blend (texture may vary) or whole wheat flour (denser, nuttier) |
| Cayenne Pepper | Smoked paprika (for flavor without heat) or chili powder |
| Vegetable Oil | Canola oil, peanut oil (higher smoke point) |
Let’s talk about these swaps. The onion swap is real. Like I said, yellow onions work in a pinch, but they’re sharper, less sweet. If you really want to try something different, shallots actually make super cute, delicate little bites – they’re milder and a bit fancy, but you’ll need a lot of them. As for the buttermilk trick, that’s my absolute favorite shortcut. It works perfectly every time, so don’t let a lack of buttermilk stop you! The flour swaps are where it gets a little iffy. Gluten-free flour blends can be hit or miss; some give a really nice crisp, others turn out a bit gummy or fall apart. Whole wheat flour, as I mentioned, changes the texture and flavor quite a bit, so only go for that if you genuinely prefer it. For the cayenne, definitely swap it out if you’re not into heat! Smoked paprika is a great alternative; it keeps some of that lovely warmth and color without lighting your mouth on fire. And the oil? Canola or peanut oil are totally fine. Peanut oil actually gives a really great crisp, but obviously, watch out for allergies!
Tips
- **Chill your onions:** After soaking and drying, pop the onions in the fridge for 15-20 minutes before coating. It helps them hold their shape and stay crisp.
- **Don’t skip the double dredge:** The plain flour first, then the wet, then the spiced flour. This creates layers of crispness.
- **Oil temperature is key:** Invest in a candy/oil thermometer. Keeping the oil between 350-375°F (175-190°C) is crucial for crispy, not greasy, bites.
- **Fry in small batches:** Overcrowding the pot drops the oil temperature and makes your bites soggy. Give them room!
- **Season immediately:** A tiny sprinkle of salt right after they come out of the oil makes a huge difference in flavor.
These tips are basically a highlight reel of my past cooking fails. Seriously, every single one of these comes from a moment where I did the exact opposite and regretted it. I remember one time, I was just so impatient. I pulled the onions from their soak, barely dried them, and started coating. Then, I didn’t chill them. When they hit the hot oil (which I hadn’t checked the temperature for, of course!), they just kinda… slumped. And the coating was patchy. They absorbed so much oil, they were heavy and didn’t have that lovely crunch. I wished someone had just shaken me and said, “Slow down, buttercup! The fridge is your friend!” Learning to respect the process, especially with oil temperature and batch frying, has been the biggest game-changer. It took a few rounds of greasy, sad onions to really ingrain that lesson, but now I swear by it.
FAQ
**Q: Can I make these ahead of time?**
A: You *can*, but honestly, they’re best served fresh. Like, within minutes of coming out of the oil. They lose their crispness pretty quickly, becoming a bit softer. If you’re really desperate, you could fry them a few hours ahead and reheat them in a hot oven (around 375°F or 190°C) for 5-7 minutes to try and crisp them back up. But I wouldn’t recommend making them the day before and expecting perfection. Trust me, I’ve tried to reheat them in the microwave for a party, and they turned into sad, rubbery lumps. Lesson learned.
**Q: What kind of dipping sauce goes best with these?**
A: Oh, the possibilities! We usually go for a classic spicy ranch (just mix some ranch dressing with a squirt of Sriracha or a pinch of cayenne). A zesty aioli, a simple ketchup, or even a sweet chili sauce would be fantastic. My kids love them with just plain old ranch. Don’t overthink it, but definitely have a sauce ready – they’re made for dipping!
**Q: My coating isn’t sticking well, what am I doing wrong?**
A: This usually comes down to two things, and I’ve messed up both! First, make sure your onions are SUPER dry after soaking. Like, pat them aggressively with paper towels. Any moisture on the onion itself will prevent the flour from adhering. Second, ensure you’re doing the full “dry-wet-dry” dredge. The first plain flour layer gives the wet buttermilk something to grab onto, and then the spiced flour has a nice sticky surface to cling to. If you’re rushing or your wet mixture is too thin, it can be tricky. Also, don’t let the coated onions sit too long before frying; they can get a little soggy if they wait too long.
**Q: Can I bake or air fry these instead of deep frying?**
A: You absolutely can try, but set your expectations. They won’t be the same as deep-fried. I’ve air fried them at 375°F (190°C) for about 10-15 minutes, flipping halfway, after spritzing them with oil. They get crunchy, but it’s a drier crisp, and they miss that rich, indulgent flavor that deep-frying provides. Baked versions can be even trickier to get truly crispy. So, if you’re going for the full “awesome blossom” experience, deep frying is really the way to go. If you need to avoid frying, the air fryer is your next best bet, just know it’s a different vibe.
That’s everything I know about making Crispy Easy Awesome Blossom Onion Bites! Hope you give it a try. And if you mess it up, you’re in good company—I still do it sometimes.
Crispy Easy Awesome Blossom Onion Bites
Born from a kitchen ‘disaster,’ these irresistible, bite-sized onion pieces offer all the legendary flavor and crispiness of a blooming onion without the fuss. Perfect for game day, parties, or any craving for a delicious, savory snack.
Ingredients
- 2 large sweet onions (like Vidalia or Walla Walla)
- 2 cups all-purpose flour, divided
- 1 tbsp smoked paprika
- 1 tsp garlic powder
- 1 tsp onion powder
- ½ tsp cayenne pepper (or more for a kick!)
- 1 tsp dried oregano
- ½ tsp salt
- ½ tsp black pepper
- 1 ½ cups buttermilk
- 2 large eggs
- Vegetable oil or canola oil, for frying (about 4-6 cups)
Instructions
-
Peel and slice the sweet onions into ¼ to ½ inch thick rounds. Separate them into individual rings or smaller pieces.
-
Place the separated onion pieces in a large bowl and cover them with cold water. Let them soak for at least 30 minutes. This helps mellow their flavor and makes them extra crisp.
-
While the onions soak, prepare your dredging stations. In a shallow dish or pie plate, combine 1 cup of all-purpose flour.
-
In another shallow dish, whisk together the buttermilk and eggs until well combined.
-
In a third shallow dish, combine the remaining 1 cup of flour with the smoked paprika, garlic powder, onion powder, cayenne pepper, oregano, salt, and black pepper. Whisk to combine.
-
Drain the onions really well and pat them dry with paper towels. This is a critical step for a crispy coating!
-
Working in small batches, first dredge the onion pieces in the plain flour, shaking off any excess.
-
Next, dip the floured onions into the buttermilk mixture, letting any excess drip off.
-
Finally, transfer the wet onions to the spiced flour mixture, pressing gently to ensure a good, even coating. Place the coated onions on a wire rack set over a baking sheet while you coat the rest.
-
Heat 2-3 inches of oil in a large, heavy-bottomed pot or Dutch oven over medium-high heat until it reaches 350-375°F (175-190°C). Use a thermometer if you have one!
-
Carefully add the coated onion bites to the hot oil in small batches, making sure not to overcrowd the pot.
-
Fry for 2-4 minutes, flipping occasionally, until golden brown and crispy.
-
Using a slotted spoon, remove the cooked onion bites and transfer them to a paper towel-lined plate to drain excess oil.
-
Season immediately with a pinch more salt, if desired, and serve hot with your favorite dipping sauce.
Nutrition (Per Serving)