Pull Apart Roasted Garlic Pizza Dip Sliders
I’ll never forget the first time I tried to make these Pull Apart Roasted Garlic Pizza Dip Sliders. It was for my husband’s birthday party and I was so nervous. I thought I could just throw everything in a pan and call it a day. Big mistake. The garlic wasn’t roasted enough, the cheese was a solid brick, and the rolls were somehow burnt and doughy. My friend Mark took a bite and just said, “It’s… interesting.” I was so embarrassed. But now, after so many tries, it’s my most requested dish for game day. I guess I learned the hard way, just like with most of my cooking.
Recipe Card
| Recipe Title | Pull Apart Roasted Garlic Pizza Dip Sliders |
|---|---|
| Servings | 6 people |
| Prep Time | 20 minutes |
| Cooking Time | 25 minutes |
| Calories | About 420 per serving |
Ingredients
- 2 whole heads of garlic
- 1 tablespoon olive oil
- 1 package (12 count) Hawaiian sweet rolls
- 8 ounces block mozzarella cheese, shredded
- 1/2 cup grated Parmesan cheese
- 1 cup whole milk ricotta cheese
- 1/2 cup mini pepperoni
- 1/2 cup marinara sauce
- 2 tablespoons melted butter
- 1 teaspoon Italian seasoning
- 1/4 teaspoon garlic powder
Let’s talk about the garlic. The first time, I used pre-minced jarred garlic to save time. Don’t do that. It totally lacks the sweet, mellow flavor you get from actually roasting it yourself. It’s a game changer, I promise. And for the cheese, shred your own mozzarella. I know, it’s a pain, but the bagged stuff has a coating that makes it not melt as nicely. I learned that after a very stringy, weird-textured mess one Thanksgiving.
Directions
- First, preheat your oven to 400°F. Cut the tops off the two garlic heads to expose the cloves. Drizzle with olive oil, wrap them in foil, and roast for about 40 minutes until they’re soft and golden brown.
- While that’s happening, take your package of Hawaiian rolls. Do NOT pull them apart. Instead, slice the entire slab of rolls in half horizontally, so you have a top and a bottom “sheet” of rolls.
- Place the bottom half of the rolls in a 9×13 baking dish. In a bowl, mix the ricotta, half of the shredded mozzarella, and half of the Parmesan. Squeeze the soft, roasted garlic out of its skins and mash it right into the cheese mixture.
- Spread this cheesy, garlicky mixture evenly over the bottom layer of rolls in the pan.
- Next, spread the marinara sauce over the cheese layer. Then, sprinkle the mini pepperoni and the remaining mozzarella and Parmesan cheeses on top.
- Place the top “sheet” of rolls back on. Brush the top generously with the melted butter and sprinkle with the Italian seasoning and garlic powder.
- Bake for 20-25 minutes, or until the top is a beautiful golden brown and you can see the cheese bubbling furiously around the edges.
- Let it sit for at least 5-10 minutes before you try to pull it apart. I know it’s hard to wait, but it’s crucial!
The step about slicing the rolls is where I messed up bad once. I was in a hurry and just started tearing them apart individually. It was a disaster. The dip just leaked everywhere and the structure was totally gone. It became a pizza dip soup with bread chunks. Not the vibe. So please, use a sharp serrated knife and keep them connected.
Another time I completely forgot to let it rest after baking. I was so excited to serve it I just went for it. The cheese just oozed out like lava and burned my thumb. It also made a huge mess on the serving plate. That 10 minute wait is honestly the difference between a beautiful presentation and a cheese avalanche.
I love this recipe because it feels like a fancy comfort food but it’s secretly so easy. It’s our go-to easy dinner for busy weeknights now. The leftovers are surprisingly great, just reheat in the air fryer for a few minutes. I’ve even made it for new parents as a meal prep gift, and they said it was a lifesaver.
Nutrition Info (per serving)
| Calories | Carbs | Fat | Protein |
|---|---|---|---|
| 420 | 35g | 22g | 20g |
Okay so yeah, this isn’t a salad. I’m always a little surprised it’s not more calories to be honest. I have tried to make it lighter, like using low-fat ricotta and mozzarella. It works okay, but the texture is a bit less creamy. For my friend who’s vegetarian, we just skip the pepperoni and add some chopped olives and mushrooms instead. It’s very forgiving.
Ingredient Swaps
| Ingredient | Substitution |
|---|---|
| Hawaiian Rolls | Dinner rolls or slider buns |
| Mini Pepperoni | Cooked Italian sausage, diced ham, or veggies |
| Ricotta Cheese | Cottage cheese (blended smooth) |
| Marinara Sauce | Pesto or Alfredo sauce |
I’ve tried almost all of these swaps. The pesto version is actually amazing, it feels fancier. But the one time I used Alfredo sauce, it was just too rich and heavy for us. It kind of made the whole thing feel a bit greasy. Swapping the rolls for plain dinner rolls works, but you lose that little bit of sweetness which I think really balances the salty cheese and pepperoni.
Tips
- Don’t rush the garlic roasting. If it’s not soft and spreadable, it’ll be too sharp and chunky in the dip.
- Let the sliders rest after baking. I know, I said it before, but it’s the most important tip!
- Use a pizza wheel to cut the sliders after they’ve rested. It’s so much easier than a knife and makes clean cuts.
I learned the pizza wheel trick after I tried to use a regular knife and just squished the whole thing. The rolls are so soft that a knife just pushes them down. The pizza wheel glides right through and keeps all that cheesy goodness inside. I felt like a genius when I figured that out, I can’t even lie.
FAQ
Can I make this ahead of time?
Oh for sure. I assemble the whole thing the night before, cover it tightly with plastic wrap, and keep it in the fridge. I just add about 5-10 extra minutes to the baking time since it’s going in cold. It’s a lifesaver for parties.
My cheese always leaks out and burns. Help?
Yep, been there. This usually means you’re overfilling it. You really don’t need as much cheese as you think you do. Also, make sure your bottom layer of rolls is pressed firmly into the baking dish to create a bit of a barrier.
Can I use pre-shredded cheese?
You can, but I really don’t love it. It just doesn’t melt the same way. It’s got that weird powdery coating to keep it from clumping, and it makes the texture a little grainy. Shredding your own is a bit more work but it makes such a difference in the final gooey-ness.
That’s everything I know about making Pull Apart Roasted Garlic Pizza Dip Sliders! Hope you give it a try, and if you mess it up, you’re in good company—I do it all the time.
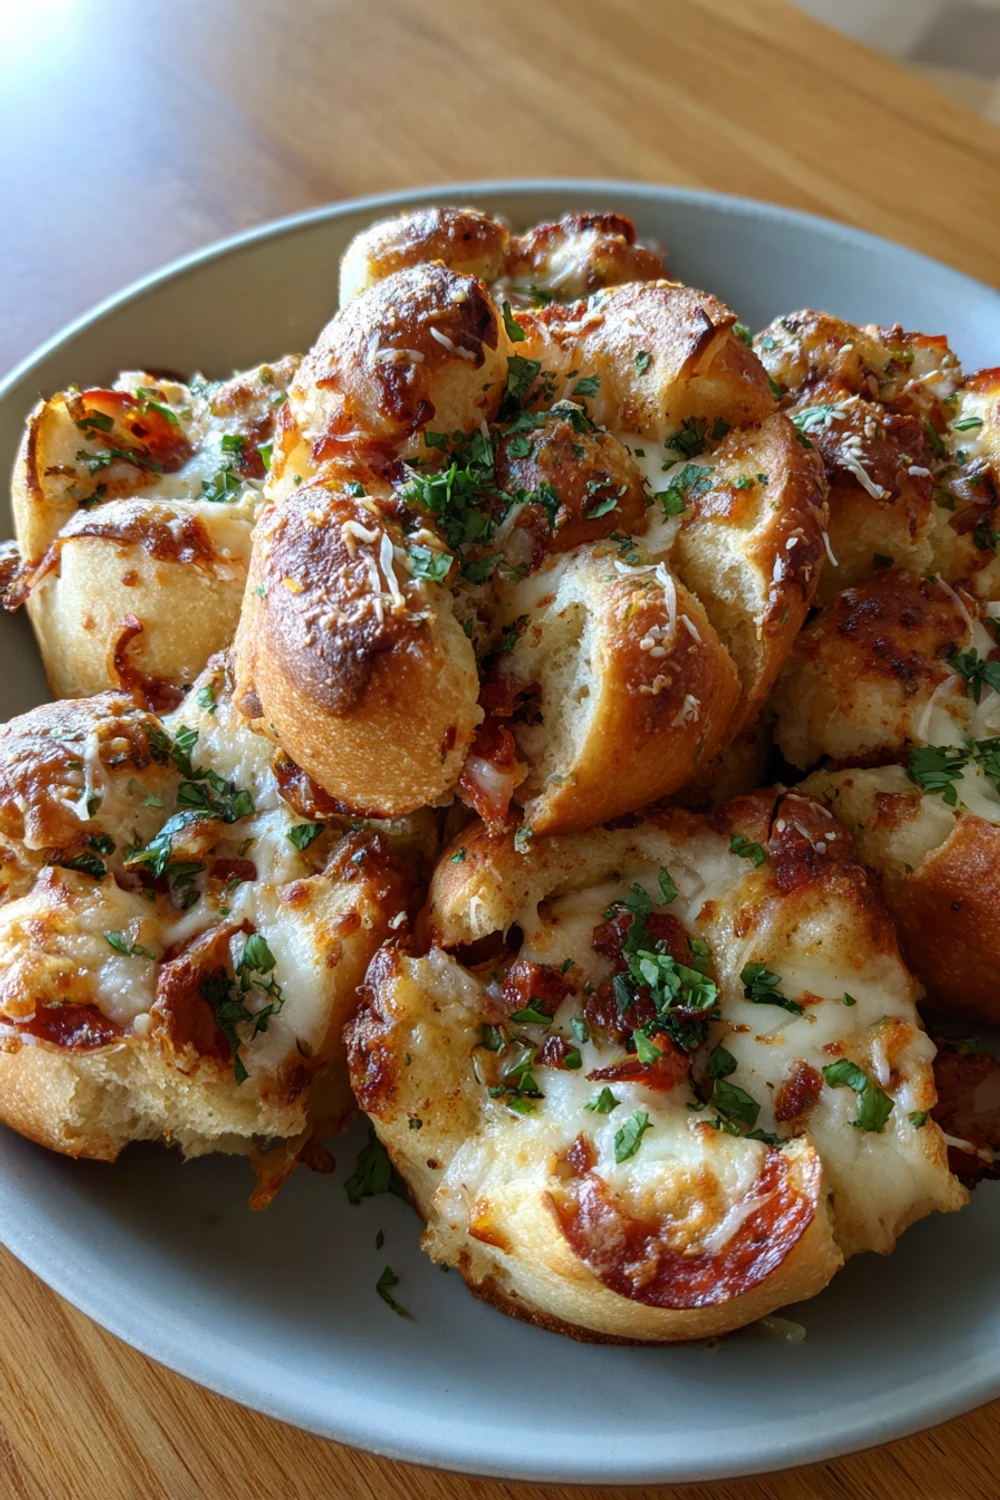
Pull Apart Roasted Garlic Pizza Dip Sliders
These irresistible sliders combine sweet Hawaiian rolls with a rich roasted garlic and cheese filling, creating the perfect pull-apart appetizer for game day or parties.
Ingredients
- 2 whole heads of garlic
- 1 tablespoon olive oil
- 1 package (12 count) Hawaiian sweet rolls
- 8 ounces block mozzarella cheese, shredded
- 1/2 cup grated Parmesan cheese
- 1 cup whole milk ricotta cheese
- 1/2 cup mini pepperoni
- 1/2 cup marinara sauce
- 2 tablespoons melted butter
- 1 teaspoon Italian seasoning
- 1/4 teaspoon garlic powder
Instructions
-
Preheat oven to 400°F. Cut tops off garlic heads to expose cloves, drizzle with olive oil, wrap in foil, and roast for 40 minutes until soft and golden brown.
-
While garlic roasts, slice entire slab of Hawaiian rolls in half horizontally to create top and bottom sheets (do not separate individual rolls).
-
Place bottom half of rolls in 9×13 baking dish. In bowl, mix ricotta, half the mozzarella, and half the Parmesan. Squeeze roasted garlic from skins and mash into cheese mixture.
-
Spread cheesy garlic mixture evenly over bottom layer of rolls in pan.
-
Spread marinara sauce over cheese layer, then sprinkle with mini pepperoni and remaining mozzarella and Parmesan cheeses.
-
Place top sheet of rolls back on. Brush top generously with melted butter and sprinkle with Italian seasoning and garlic powder.
-
Bake for 20-25 minutes until top is golden brown and cheese is bubbling around edges.
-
Let rest for 5-10 minutes before pulling apart to allow cheese to set and prevent mess.
Nutrition (Per Serving)